


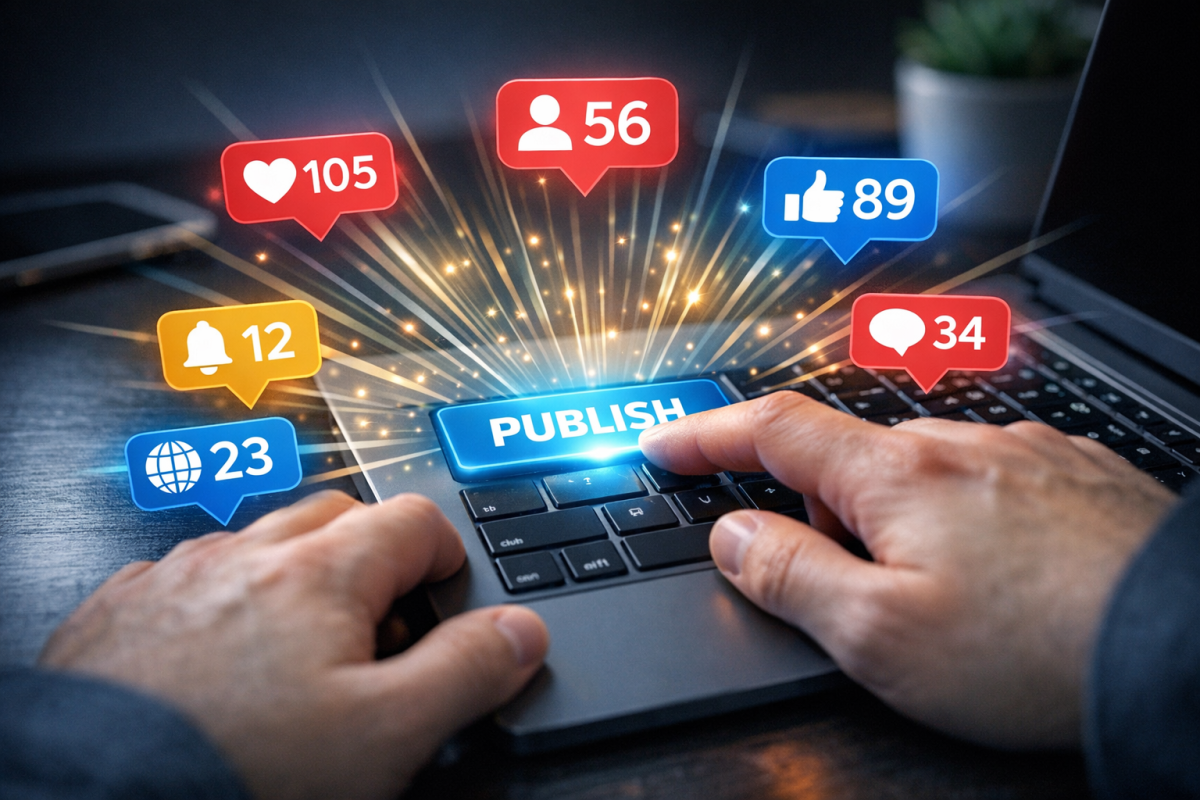
Part of the process of running a successful blog is publicizing your posts when you publish them. This spreads them around the Internet and allows them to get their wings and fly, possibly to incredibly viral heights, if your post is that good.
It can be an annoyance or a time-consuming process to share your posts on social media, unless you have a system set up to do it for you. It's a pain to log in to your various profiles and create new posts every time you write a blog post, particularly if you post daily.
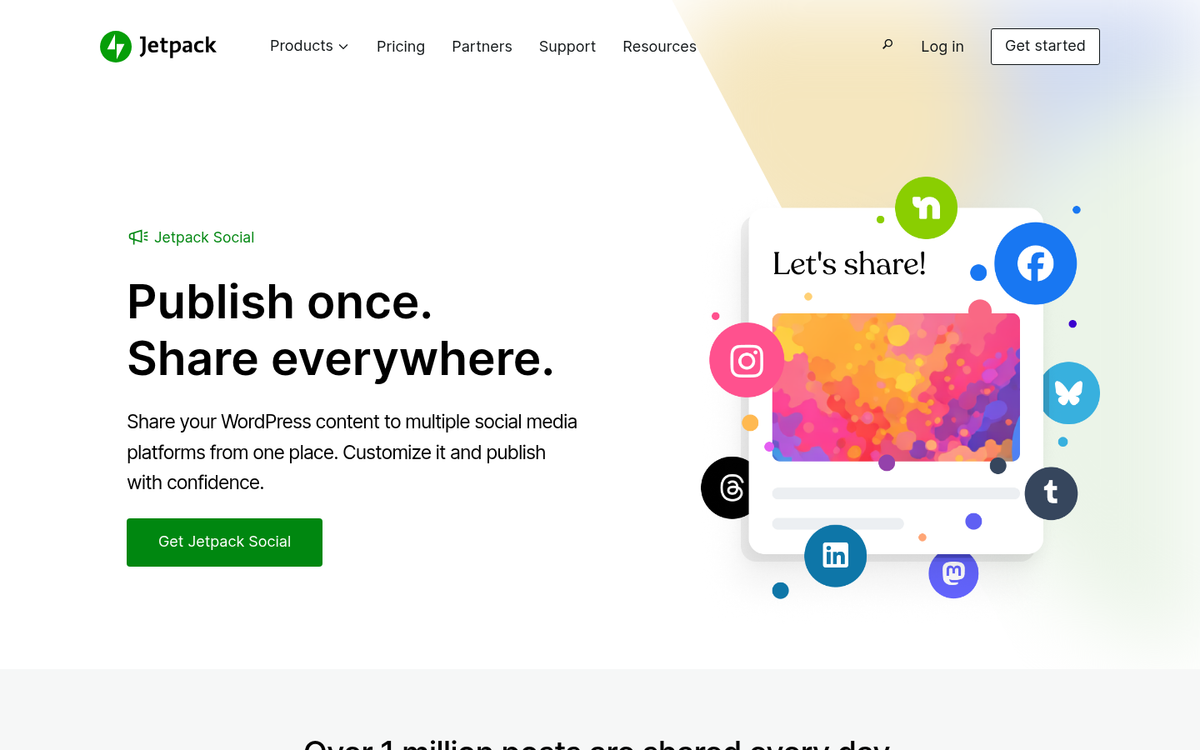
If your blog is running on WordPress, you have a solution. Through Jetpack Social and a handful of well-supported plugins, you can set up automatic publishing to social networks whenever you publish a new post.
Key Takeaways
- Jetpack Social enables automatic WordPress post sharing to Facebook, X, LinkedIn, Tumblr, Instagram Business, and Mastodon.
- WordPress.com users need a Premium, Business, or Commerce plan to access Jetpack Social's auto-sharing functionality.
- Revive Social and Buffer are strong plugin alternatives offering scheduling, multiple networks, and greater customization control.
- WordPress auto-selects preview images for social posts, prioritizing featured images before other attached images.
- When publishing, you can toggle specific social accounts on or off and customize the shared message per post.
A Note on Plugins and Native Options
The native auto-sharing functionality in WordPress is handled through Jetpack Social (formerly the Publicize feature built into Jetpack). It's worth noting that if you're on WordPress.com, auto-sharing via Jetpack Social requires a Premium, Business, or Commerce plan - free and Personal plan users will need to upgrade to access it.
Beyond Jetpack Social, there are several well-maintained plugins worth considering in 2026:
- Revive Social - Trusted by over 30,000 WordPress site owners with 340+ five-star reviews, Revive Social lets you automatically share new and old posts to social networks, including Facebook, X (Twitter), LinkedIn, and more. It's one of the most popular options for bloggers who want to keep their social feeds active without manual effort.
- WP to Buffer / Buffer - Buffer has long been a reliable third-party scheduling tool, and the WP to Buffer plugin became an official Buffer Partner back in October 2020. Buffer's free plan supports up to 3 social media accounts and up to 10 scheduled posts at a time, making it a solid no-cost starting point for smaller blogs. Importantly, Buffer maintained its X (Twitter) API access as an approved partner following Twitter's disruptive 2023 API changes, so auto-posting to X still works reliably through this route when many other tools fell short.
If all you need is basic sharing to a couple of networks, Jetpack Social covers the fundamentals without any additional plugins. But for more control, scheduling, and network variety, the plugins above are well worth exploring.
Step 1: Write a Post
This is the hardest part of the whole process. Write your post in WordPress, save it, give it a nice title, do any search optimizations you might want and so forth. In the publish panel, you will see several options. These include status, visibility, publication schedule, and social sharing settings.
If you have Jetpack Social set up and connected, you will see your linked social accounts displayed in the sharing panel on the right-hand side of the editor. When you publish your post, WordPress will automatically share it to those connected networks. If you haven't set this up yet, move on to step 2.
Step 2: Set up Sharing
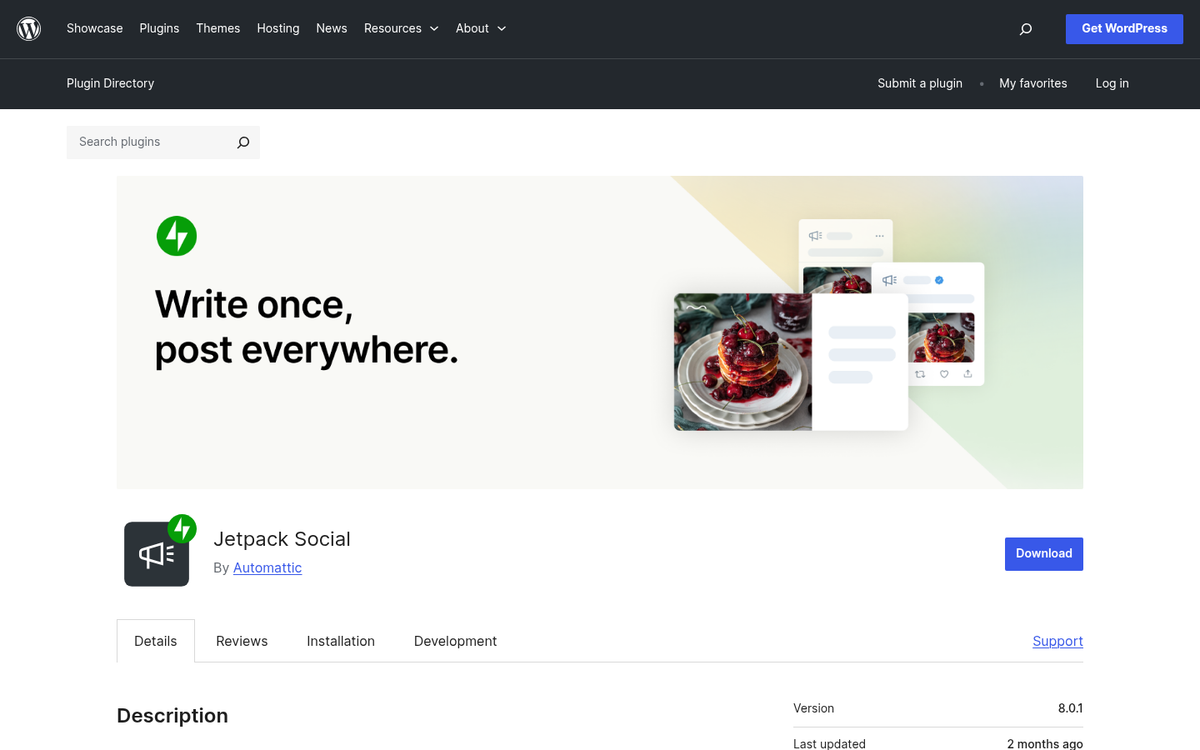
Install and activate the Jetpack Social plugin if you haven't already. Once active, head to Jetpack > Social in your WordPress dashboard. From here you can connect your social accounts. The currently supported networks include Facebook Pages, LinkedIn, X (Twitter), Tumblr, Instagram Business accounts, and Mastodon.
Each network follows a similar connection flow:
- Facebook. Click to connect and you'll be walked through a Facebook permissions dialogue. WordPress will request permission to post to your profile or pages on your behalf. If you manage multiple Facebook Pages, you'll be able to choose which ones to connect. As before, you can make the connection available to all users of the blog, which is handy if the linked accounts are shared business profiles.
- X (Twitter). Connect your X account and authorize the app to post on your behalf. Thanks to Jetpack and Buffer maintaining approved API access following the 2023 API changes, this connection remains stable - though it's worth double-checking periodically given how frequently X's policies shift.
- LinkedIn. Connect your LinkedIn profile or company page. Once authorized, your published posts will appear in your LinkedIn feed automatically.
- Tumblr. Connect your Tumblr account and grant the necessary permissions. If you run multiple Tumblr blogs, you'll be prompted to choose which one to post to.
- Instagram Business. Instagram personal accounts are not supported due to Meta's API restrictions, but Instagram Business and Creator accounts can be connected and posted to automatically.
- Mastodon. A newer addition reflecting the growth of decentralized social networks. Enter your Mastodon instance and handle to connect.
Note: Google+ and Path are no longer supported, as both platforms have shut down. Path closed in 2018 and Google+ shut down for consumers in 2019.
Step 3: Customize Posts
When auto-sharing, WordPress will pull a preview image for the social post based on the following priority order:
- Your featured image.
- The first image of a slideshow, if you have one.
- The first image of a gallery, if you have one.
- The first image attached and inserted into the post.
- Any other image, selected on a first-come basis.
You can also customize the message that gets sent along with the share. Keep in mind that different networks have different character limits and norms - what works as a LinkedIn caption may not work well as an X post. If you need per-network message customization, a tool like Buffer or Revive Social gives you more granular control over this natively.
Step 4: Publish and Publicize
Go back to your saved draft. Make sure everything is good to go, then look at the social sharing panel. You will see the accounts you have linked listed there. Toggle them on or off as needed for this particular post, and customize your message if you wish.
All you need to do now is hit publish, and your social notifications will go out accordingly. Simple as that - one publish action, multiple networks notified, and your post is out in the world doing its thing.