


Key Takeaways
- WordPress's built-in scheduling tool requires no plugins and works in both the Classic and Block editors.
- Before scheduling, complete meta information using SEO plugins like Yoast SEO or Rank Math to improve search visibility.
- Time-sensitive content should jump the publishing queue; evergreen content can wait without losing value.
- Tools like Jetpack Social, Zapier, and Make.com can automate social media promotion when scheduled posts go live.
- Auto-curating content from other sources risks copyright violations and Google duplicate content penalties if done carelessly.
Scenario: you run a blog that publishes posts once a day, seven days a week. You have an important family gathering to attend for three days in the middle of the week, in a location where you'll not have access to the Internet. What do you do?
Some will bring their devices and go out of their way to find an Internet connection. Some will bring cell phones with data connections, tether them and use that connection to publish their posts. The pros do something different.
The pros schedule their posts to publish automatically. Before they leave, they schedule up the posts they would miss. Then they go and enjoy themselves, protected in the knowledge that no one on the other side of the curtain will even know they were gone.
Of course, there are those rare occasions where some setting fails to trigger, or a button isn't pressed and the articles don't appear on time; it's just a danger you have to take to stay away from being a technological buzzkill at your family gathering.
Thankfully, it's an easy process and pretty foolproof to schedule posts. WordPress now powers 65.1% of all websites using a content management system and the platform's scheduling tools have matured considerably. I'll talk about how, and how you can do other things to improve the process.
The Preshow: Determining Article Topics
The first thing you have to do is something you have to do to write any blog post, regardless of when, or how you intend to post it. That's determining a topic.
There are a number of ways you can do this. Maybe you have monthly brainstorm sessions and come up with dozens or hundreds of ideas you can wrangle into posts. Could be you do a quick scan of other blogs in the industry looking for inspiration, or for posts you can "reply" to. Another idea is to use keyword planners, trend watchers and AI-assisted title generators to take the guessing out of things.
One important distinction: you're not trying to come up with workable titles at this stage, you're just trying to come up with topics. You can always smooth out a title later. A topic is a general hint of what you're writing about and can be as easy as a keyword phrase or as tough as a press release.
If you're having a hard time coming up with topics, try leaning on AI writing assistants like ChatGPT or Claude to help with brainstorming. These tools have become legitimately helpful for content ideation, just make sure that the writing remains your own so it goes well with your voice and expertise.
Step 1: Write Your Posts
Once you have a topic or a set of topics for the posts that will appear while you're away, it's time to write them. The topic will largely guide where the post goes. But you'll also want to keep a few other things in mind. For example, you want to know roughly how many words you're going for. You don't want to try to write 3,000 words on a thin topic; you'll end up with a post full of fluff and light on information.

You'll also want to decide on the format. Are you writing a data post with statistics and analysis? A tutorial with screenshots? A numbered list? A comparison piece? The format should match the topic and what your audience expects from you.
As for the text itself, the common advice applies. Frequent subheadings, plenty of links to internal and external pages, careful keyword usage, short paragraphs and so forth. In 2026, search engines are refined enough that writing for humans will usually serve you better than writing for algorithms.
Step 1b: Proofread Manually or with External Tools
Once you have a completed post, give it a once- or twice-over to make sure that the grammar, spelling and language use all work. Read the post with fresh eyes, best after taking a break, so you can find the typos and misuses of words you didn't see while writing.

In terms of automated tools, Grammarly remains one of the most popular options - it goes well past basic spell-check, catching comma errors, misused words and incorrect spellings that are technically correct words in the wrong context. Its premium tier also has tone and clarity suggestions. For a broader look at ways to spell and grammar check your blog posts, there are several approaches worth combining.
Hemingway Editor is still a useful tool - it doesn't analyze grammar so much as writing style, flagging overly long or complex sentences and suggesting easier alternatives where possible. Used together, Grammarly and Hemingway cover most of what a human copy editor would catch. You can also scan your WordPress posts for spelling errors directly within the platform as an additional safety net.
Step 2: Fill Out Meta Information
WordPress by default has a few places to put meta information. You'll want an SEO plugin to unlock the full number of options. Yoast SEO and Rank Math are currently the two dominant options, with Rank Math gaining ground with its more generous free tier and cleaner interface. Either will serve you well.
What meta information do you want to include?

- Title. Your meta title should be descriptive, include your target keyword naturally, and ideally stay under 60 characters so it doesn't get truncated in search results.
- Description. Your meta description appears under the title in Google search results. It's your pitch to get a user to click. Keep it concise, accurate, and compelling. While it's not a direct ranking factor, a well-written description improves click-through rates, which does matter.
- Image alt tags. These serve accessibility and image search purposes. Describe what's in the image accurately, and incorporate a relevant keyword where it fits naturally. Don't force it.
Skip the meta keywords field entirely - it has been ignored by all search engines for well over a decade and it's associated more with spam sites than legitimate content.
A wider note on keywords: in 2026, obsessing over keyword density is largely outdated thinking. Modern search engines use semantic analysis and review topical authority across your whole site. Write thoroughly about your topic, cover related subtopics and the right keywords will appear. If the keyword you want to rank for isn't showing up organically in your draft, you're probably writing about something adjacent instead of the thing itself. How you approach content marketing can make a real difference to how well your pages ultimately perform.
Optional Step: Research Optimal Date and Time
Some bloggers post whenever they're ready, others shoot for a steady time like noon every day. The honest answer is that for most blogs, the exact publication time matters less than consistency and content quality. That said, timing still matters for social sharing, and that's especially true on fast-moving platforms.
If you're using automation tools to push social posts the second your post goes live - which I'll talk about shortly - then the publication time of your blog post can become the publication time of your social content. That makes timing worth at least a little thought. It's also worth knowing that social buttons can slow down your website's load time, so how you integrate sharing tools matters too.
- Posting during peak hours in the mid-afternoon typically means more immediate traffic and engagement, but also more competition from other content being published at the same time.
- Posting during off-peak hours, such as early morning, gives you less competition for attention in feeds and can work well for audiences who catch up on content first thing in the morning.
The most reliable strategy is to look at your own analytics. Study the publication dates and times of your best-performing articles versus your weakest ones. If a pattern emerges, test it deliberately and see if changing your schedule moves the needle.
Step 3: Change Publication Date and Time
Now it's time to actually schedule the post. WordPress's native scheduling tool is easy and built into every installation with no plugins required.
In the classic editor, look for the Publish box. Click "Edit" next to "Publish Immediately" and a date and time field will appear. Set your desired month, day, year, hour and minute, click OK and then click Schedule. Done.
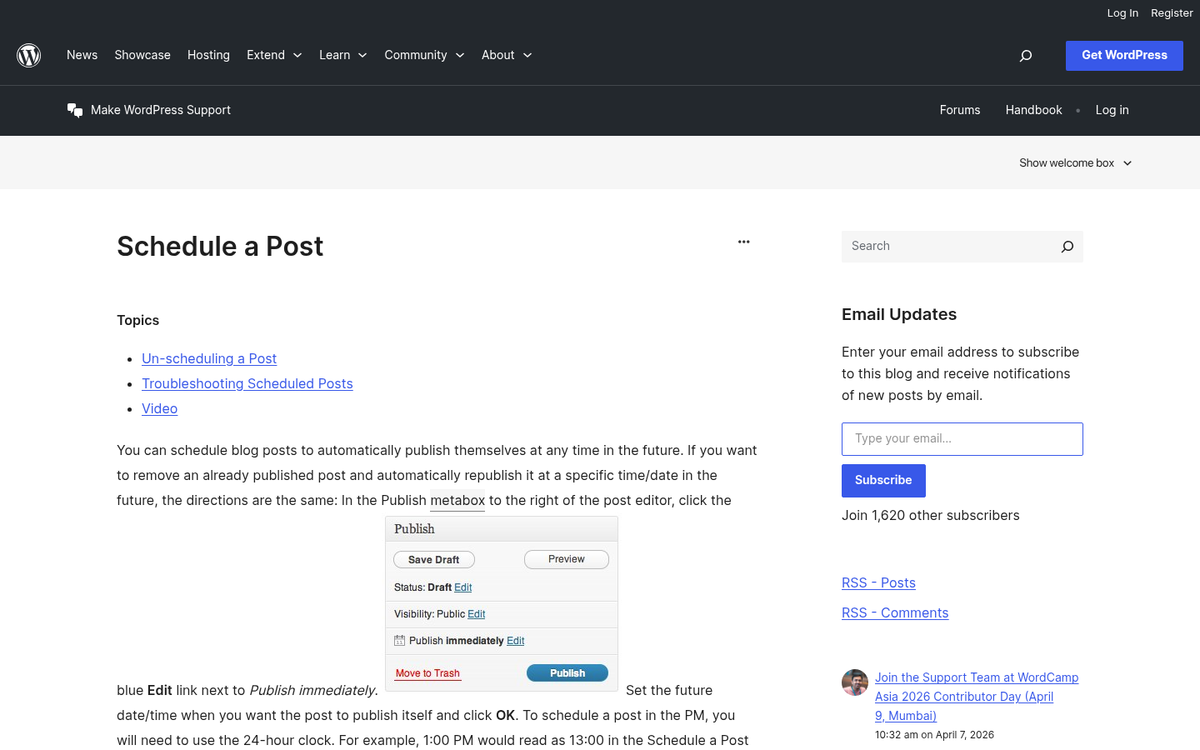
In the Block Editor (Gutenberg), which is now the default for most WordPress sites, the process is slightly different but equally easy. If you prefer the old editing experience, you can revert to the classic WordPress editor. In the right-hand sidebar, click on the Summary panel, then click on the date shown next to "Publish." A calendar and time picker will appear. Set your desired date and time, then click Schedule. The post will go live automatically at the time you specified.
One helpful tip: double-check that your WordPress timezone setting matches your intended audience's timezone. You'll find this under Settings → General in your WordPress dashboard - it's an easy thing to forget and an easy thing to get burned by.
Step 3b: Prioritize Fresh Content, Delay Evergreen Content
Time-sensitive content - a response to a trending story, a post tied to a news event, a reaction to something another blog published - should jump the queue. Even if you have weeks of content scheduled ahead of it, a timely post loses its value the longer it waits. Delay the evergreen pieces and let the quick post go first.

Evergreen content, by contrast, is perfectly happy sitting in the queue. A how-to guide or a reference post isn't going anywhere. Use it as filler between more time-sensitive pieces, or as a steady baseline to keep your publishing schedule on track when you haven't got anything urgent to share.
Optional Step: Use an Editorial Calendar Plugin
An editorial calendar gives you a visual overview of what's scheduled and when, which makes managing a queue of posts much easier than scanning a list of drafts. For a solo blogger scheduling a few posts over a vacation, it's a nice-to-have. For a team of contributors all working within the same WordPress installation, it's basically essential.
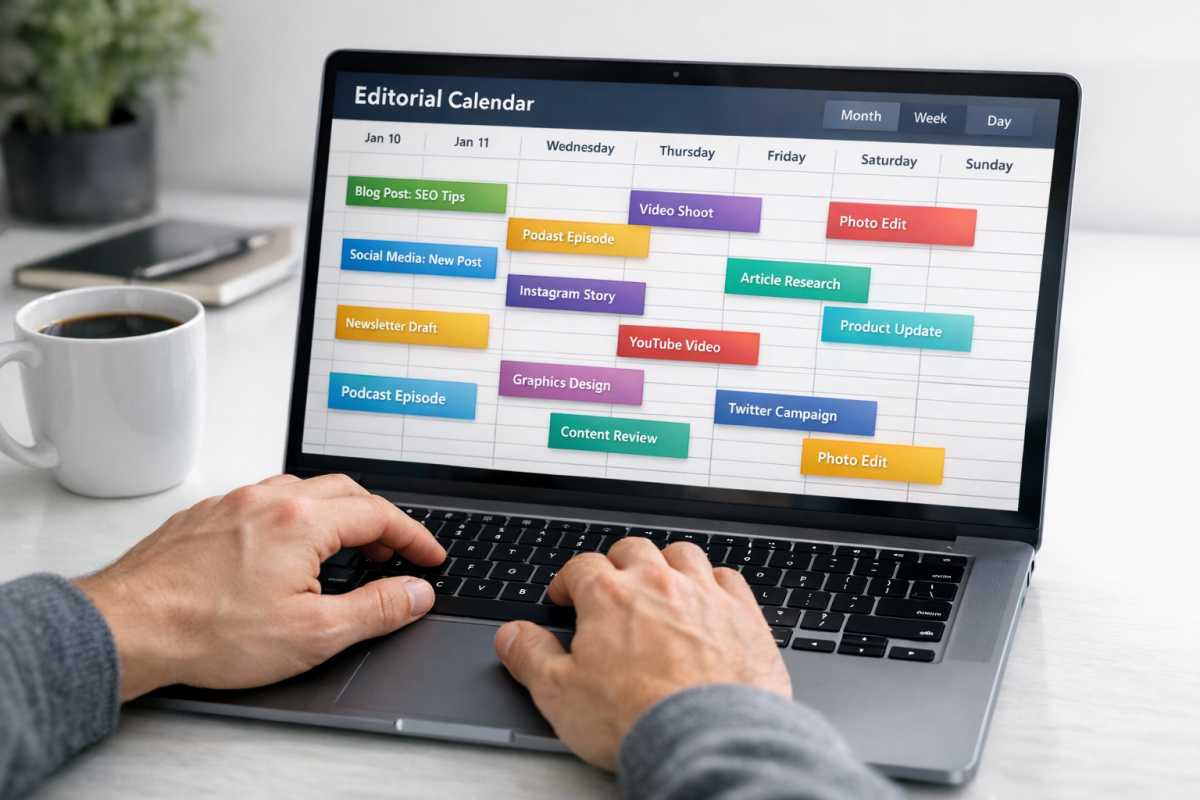
Editorial Calendar is a long-standing free plugin that does what it says - gives you a drag-and-drop calendar view of your scheduled posts. CoSchedule is a more robust option that integrates your blog schedule with your social media calendar, though it's a paid tool. For teams that need workflow management, job assignment and content approval features, PublishPress is worth a look.
Pick the one that matches the complexity of your operation. A simple calendar is usually all you need.
Step 4: Promote on Social Networks with the Right Tools
This is where scheduling gets really useful. Using the right tools, you can have WordPress automatically push a social media post the second your post goes live - meaning your social promotion runs on autopilot even while you're away from your devices.
One caution first: never fully automate your social media presence. Auto-posting is fine for announcements. But if you go dark on replies and engagement, your audience will notice and your reach will suffer. You want to automate the broadcast while staying present enough to respond when needed.
The tools:
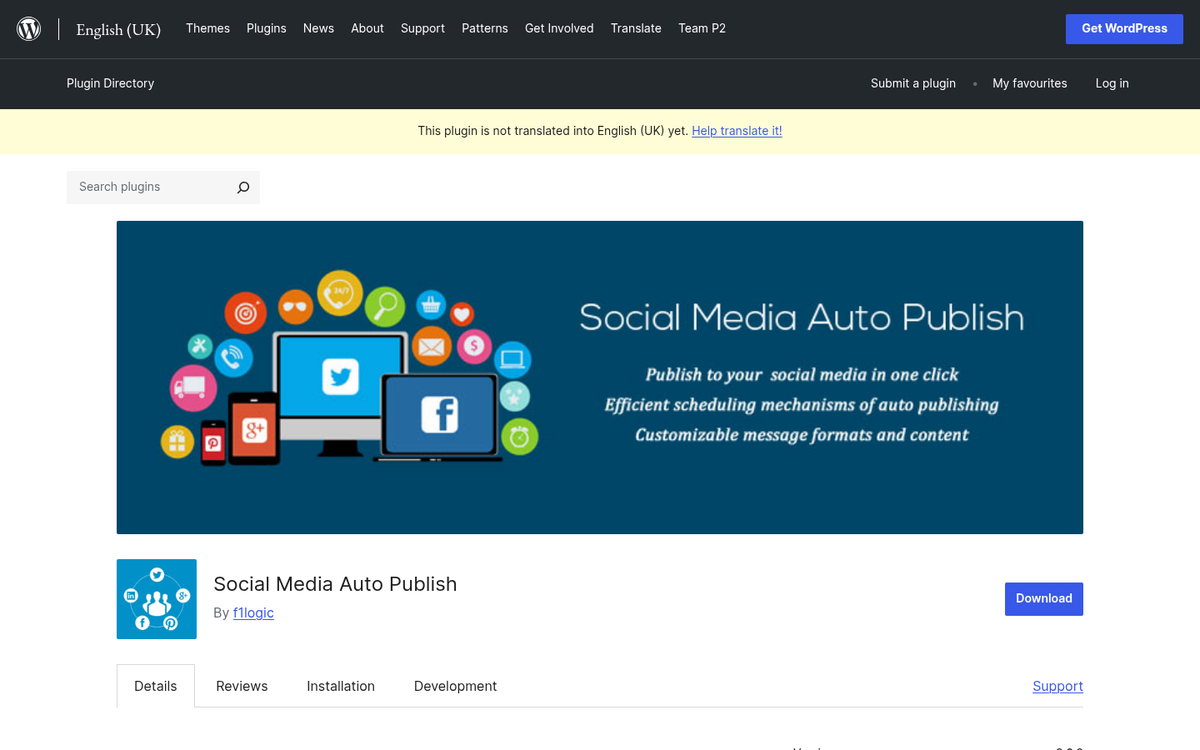
- Jetpack Social (formerly Jetpack Publicize). Built into Jetpack, this remains one of the most seamless options for connecting your WordPress site to social platforms. It supports Facebook Pages, Instagram, LinkedIn, and others. The free tier covers basic auto-sharing, while the paid tier adds additional features like custom scheduling and share counts.
- Zapier. Zapier connects WordPress to an enormous range of external platforms through automated workflows called "zaps." You can trigger a social post, an email notification, a Slack message, or dozens of other actions the moment a post publishes. The free tier is limited to 100 zaps per month, which is enough for light use. Paid plans unlock more volume and multi-step workflows.
- Make.com (formerly Integromat). Make.com performs very similar automation functions to Zapier but at roughly 25% of the cost. If you're running more complex automations or just want to stretch your budget further, it's worth evaluating seriously alongside Zapier.
- WP Auto Pro. A WordPress-native plugin offering over 100 functions and filters for customizing automatic content posting and distribution. More technical than the other options but highly flexible for power users who want granular control.
Bonus: Automatic Curation - Use with Caution
There's one more strategy worth mentioning, with a warning attached: automatically pulling and republishing content from other sources. Tools like WP RSS Aggregator allow you to import content from external RSS feeds into your WordPress site, either for display or for publishing as posts.
Done responsibly, this works pretty well for curation-based sites where you're aggregating industry news alongside your own commentary. Done carelessly, it can become content scraping, which violates copyright, damages your relationship with other publishers and can result in Google penalizing your site for duplicate content.

If you go this path, always attribute the original source, link back to the original post, add your own commentary or context and make sure that you have the legal right to reproduce the content. Ideally, use curation to supplement original content instead of replace it. A site that only aggregates what others wrote is not a blog - it's a feed reader with delusions of grandeur.
The bottom line: scheduling posts in WordPress is easy, reliable and one of the simplest ways to maintain a steady publishing presence even when life gets in the way. Set it up once and you can step away from your desk without your readers ever knowing you were gone.