

Key Takeaways
- Email two distinct groups after publishing: your opted-in subscribers and a small, selective list of influencers mentioned or linked to.
- High-frequency bloggers should send weekly digest emails rather than per-post notifications to avoid being marked as spam.
- Never reproduce full post content in emails; keep messages brief to drive readers back to your website where monetization happens.
- Personalized outreach emails generate 50% higher open rates and 30% higher response rates than generic templated messages.
- Tools like Mailchimp, Kit, and Brevo support RSS-to-email automation, automatically notifying subscribers whenever a new post is published.
When you publish a new post, who sees it? Who discovers it? If the first visitor you get is Google and you’re waiting for organic traffic to arrive, you’re missing out on some great opportunities. If you’re relying on paid advertising to get your exposure, you’re probably wasting opportunities and money. There’s a better way; email.
Why Send Notifications?
Sending email notifications after a new blog post can be very rewarding. There are two different groups you can target with these emails and I’ll be covering both of them in detail.
The first group is your dedicated followers and readers. These are the people who love you as a person or as a brand and who are most interested in reading your content. They sign up for your mailing list with the expectation that they’ll be notified when a new post goes live and they’ll come in to read it. When you are creating this mailing list, you make sure to capture as much of this traffic as possible in the first few days after the publication of the post.
The second group are your influencers. Think of this as though you’re doing a press release - it’s a little more work intensive. But I like to set up short lists of influencers for each post. Generally, these lists will include anyone who I linked to in the post and anyone who I mentioned - it may also have some industry influencers. But only if the post is very valuable and only if I think the influencer will like it. I try to stay away from sending influencers more than one email every two weeks, if they weren’t mentioned in the post - this keeps them from seeing me as spam. According to Backlinko’s study of 12 million outreach emails, 91.5% of outreach emails are ignored - so making every message count matters more than ever.
Considering the Digest
There are two outlooks when it comes to emailing about your blog posts.
The first is to send an email every time you publish a post. This is a good choice for slower blogs where you’re posting 1-2 articles per week - it doesn’t work as well if you’re posting more standard, shorter updates, or if your individual updates don’t have enough standalone value. Part of it can depend on managing the expectations of people signing up for your mailing list. If they are ready, willing and aware that you’re going to send them an email just about every day, then by all means go for it. If they’re expecting one email a week and you’re sending them one email a day, you might start looking like a spammer.
As with all forms of email marketing, being labeled a spammer can be devastating - it’s a problem that can damage your brand’s email reputation for years if you don’t take care of it immediately. A sufficiently large mailing list sending email too frequently can trip spam filters if enough recipients block or mark those messages as spam, instead of unsubscribing.
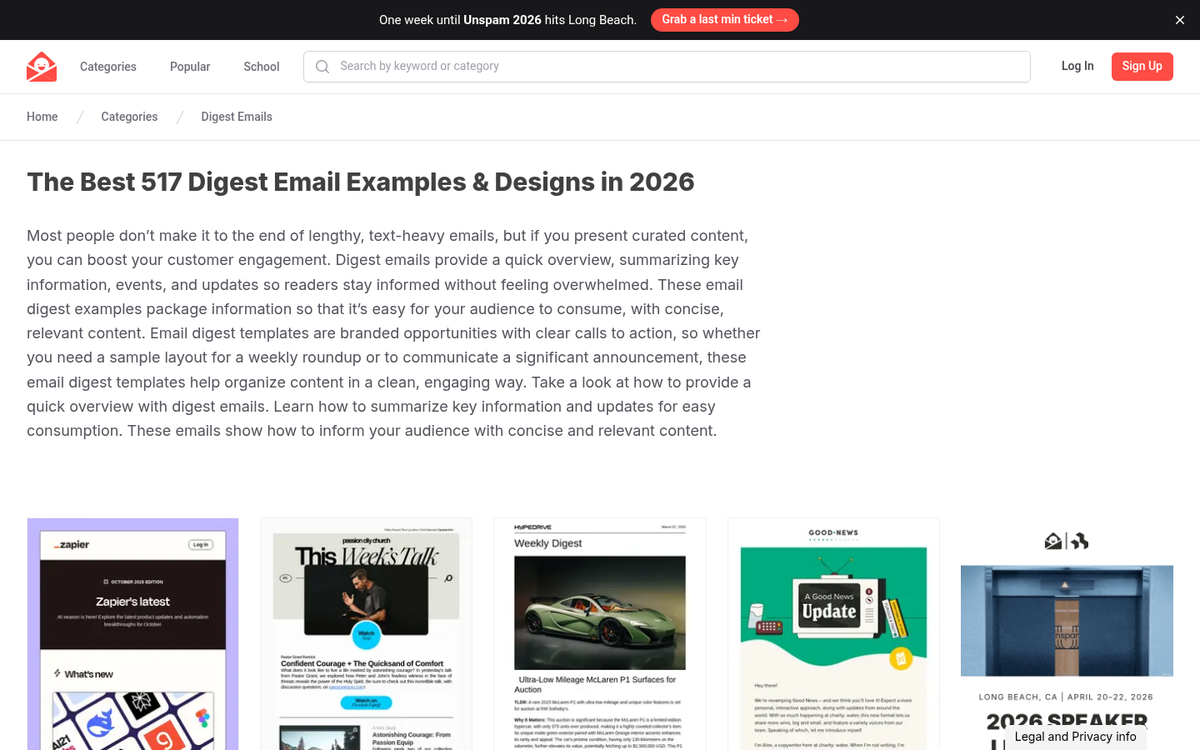
That’s why the second strategy is usually used for more standard blogs, those that post every day or multiple times each day. Rather than sending individual emails out for each post, you accumulate them over the course of a week and then send out one message with links and short descriptions for each post. A digest.
The primary reason I focus on per-post emails here is that a digest requires more manual work. Think about it - you have to create the digest yourself. If you’d rather automate your email newsletter from blog posts, there are tools that can handle much of that process for you.
Picking the Target List
There are two groups you should be targeting with this email campaign. But unsolicited emails on a large scale are usually frowned upon, so the majority of the people on your list should be those who have opted in to the list - it means creating an opt-in form on your site, one that harvests email addresses and is explicitly focused on people who want to stay up to date with your site. Something behind a button that says “to stay tuned to future updates, click here.” Obviously, you can do whatever you like to optimize your conversions for that form.
The second group will be much, much smaller and will be unsolicited - these will actually need to be individually crafted emails, not bulk mails based on metadata or something of the sort. I just lump it in here because influencer outreach matters - even if you’re not automating it.
This small list will change each time you create a post. Here’s what I like to add to it.
- Anyone whose website you linked to, and who you think has an audience that can be valuable to you. Be selective - linking to a massive celebrity or public figure might seem like a good idea, but if their audience has no interest in your niche, any attention you receive won’t convert into meaningful traffic or engagement.
- Anyone I mention in the post but don’t link to, within reason. If you’re just namedropping someone as a passing reference, it’s probably not worth reaching out. However, if the praise is glowing or the mention is substantive, it can be worth informing them. You should also consider adding a link to that mention, since many people prefer a backlink over a simple name-drop.
- Anyone who is considered an influential content curator in your niche. These are people who tend to share a lot of content in your industry but who aren’t necessarily creating it themselves. They have large audiences and will often be more than willing to share a strong post.
- Anyone who is a content amplifier in your industry. These are people who amplify content produced by industry bloggers without necessarily producing content of their own. Make sure they’re a high quality, relevant influencer before reaching out.
Consider it an extra tool to be used sparingly - not an every day thing.
One important note: according to a research study by Respona, the average outreach email only generates an 8.5% response rate. But personalized campaigns can have response rates above 30%. Emails with personalized subject lines specifically see a 50% higher open rate and a 30% higher response rate than generic ones. Given that approximately 53% of marketing teams now cite blogger outreach as their primary content marketing focus, standing out in someone’s inbox is going to require genuine personalization - not a copy-paste template. Also worth knowing: sending just one follow-up email can improve replies by as much as 65.8% and emails sent Monday through Friday convert 23.3% better than ones sent on weekends.
Both lists should be kept in your email management platform of choice. For automated subscriber notifications, tools like Mailchimp, Kit (formerly ConvertKit), or Brevo (formerly Sendinblue) are all solid options in 2026. Many of these platforms now include AI-assisted features to help personalize subject lines, optimize send times and improve deliverability automatically.
Determining the Message
Some send their “digest” as a recreation of the blog post in the email, sometimes even going as far as to include formatting and images to recreate it well. I don’t think this is the best strategy, for one reason. When you reproduce the content in its entirety in an email, you’re missing out on two things.
The first is pretty minor all things considered. Virtually every ad network doesn’t allow you to run their ads in emails. Most email programs won’t render scripts or externally linked ads, for the simple reason that it’d be too easy to inject malware via email if they were enabled. If readers are reading your post via email they aren’t exposed to any of your usual monetization streams.
The second is the most important one, which is user attraction. If your reader is reading the post entirely in their email, why would they ever visit your website? They have no reason to look at your site when its content is showing up in their inbox. You want them to be on your website, because that’s where they’ll click to other posts, view your advertising and might convert.
That’s why I recommend your message be kept simple. Generally, it will be little more than “Hey, we just published a new post. This one is called <Title of Post> and it’s about <description of post content>.” I wouldn’t necessarily draw directly from the meta data of the post.
If you’re doing a digest, drawing from the meta data is more of a viable choice, because you’ll be filling in that information for anywhere from four to a dozen different posts - it can become time consuming to come up with the content for each post if you’re doing it manually. It’s not to say you can’t, just that there may be a faster way. For a digest, I’d write something like:
“This week on <Website Name>;
<Title of Post 1>
<Description of above post>
<Title of Post 2>
<Description of above post>”
And so forth, until you’ve covered everything that you wrote during the week. After the first couple of emails, readers will ignore anything in the email other than the changing post content, so you don’t need to try to make things personal or unique every time.
In 2026, bloggers are also using AI writing tools to help draft these notification emails and outreach messages faster. Tools like ChatGPT, Claude, or built-in AI assistants inside platforms like Mailchimp can generate a first draft in seconds. Just make sure that you’re personalizing and reviewing anything sent to individual influencers - AI-generated copy that reads as generic will hurt your response rates.
Automatic Messages Via RSS and Mailchimp
It can work with virtually any blog platform, so long as you have an RSS feed set up. If you’re running WordPress, you have RSS by default, with www.yourblogurl.com/feed/ as your feed URL. Mailchimp remains a popular choice and their RSS-to-email campaign feature still works. Let’s look at how to set it up.
First, if you don’t have a Mailchimp account, sign up at their website. They’ll ask for your email address and basic details. Verify your email when the confirmation message arrives, then sign in and configure your profile.
Next, you’ll need to have a mailing list ready inside Mailchimp. If you’re starting from scratch, you’ll need to set up your opt-in forms and import any existing subscribers. Make sure to add yourself to the list so you can monitor what goes out and when.
Finally, create your campaign:
- Click Campaigns and create a new campaign, selecting the RSS campaign type. Note that in newer versions of the Mailchimp interface this may appear under Email > RSS.
- Enter the URL of your RSS feed.
- Set the frequency and time you want your emails to send.
- Select the audience list you want to receive the emails.
- Fill in your campaign info, including the email subject line.
- Choose a template and configure a basic layout.
- Use RSS merge tags (such as *|RSSITEMS|*) to pull in your post content automatically.
- Launch your RSS campaign.
Whenever you publish a blog post, you’ll automatically send a notification to your mailing list based on the content pulled from your RSS feed. You can revisit and update the template at any time.
Alternatives worth considering in 2026 include Kit (formerly ConvertKit), which is especially popular with bloggers and content creators and has robust RSS automation, and Brevo, which offers a generous free tier and strong deliverability. If you’re running a high-volume list, platforms like ActiveCampaign or Klaviyo give you more advanced automation and segmentation options. The core process for creating RSS-to-email campaigns is similar across these platforms - the exact steps will vary, but the logic is the same.