


Key Takeaways
- Standard fonts appear differently across devices; only "web safe fonts" like Arial and Verdana display consistently for all users.
- Google Fonts launched in 2010, offering over 600 free fonts and receiving 1.5 billion daily font requests worldwide.
- Self-hosted fonts are growing in popularity, with over 71% of pages now using them, up from 30% in 2024.
- Loading too many fonts or unnecessary font weights can slow page load times, negatively impacting SEO rankings.
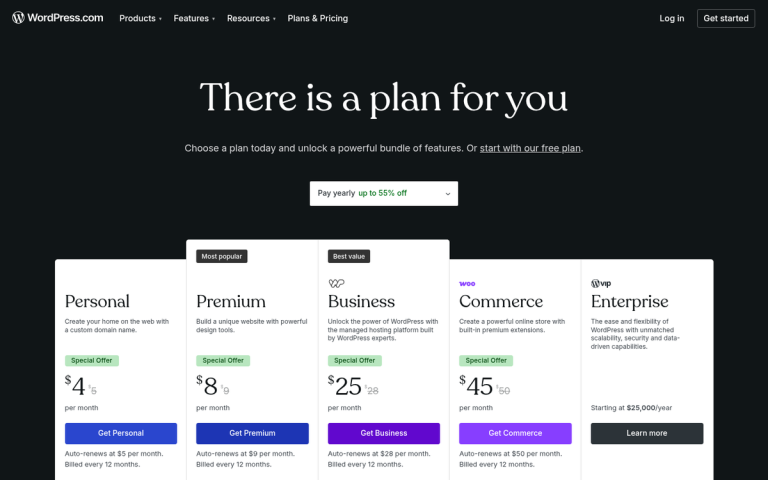
- WordPress.com users need a paid plan for custom fonts; Blogger users must edit HTML directly through the Theme dashboard.
If you've been playing around with web design on a casual basis, or if you're looking to add a little variety to your site, you might feel that one of the best ways to do so is with fonts. Playing around with fonts can be pretty fun and satisfying. But there's one roadblock with typefaces on the web.
We're used to seeing all kinds of different fonts all over the web. But think about it, you usually see those fonts in images. The text of a webpage is one of the standard fonts, like Verdana, Times New Roman, or Arial. Why don't bloggers spice up their blogs with new fonts?
The answer is in the way fonts work. Fonts are files installed on a computer, most frequently as part of the operating system. You can use any font you want in your web design. But it will only be visible to anyone who has the font installed on their computer- it will look fine for you, of course. But view the site from your phone, from another computer in your network, or a user's computer half the world away, it won't have that font installed. Your text will display as one of the default fallback fonts and the user will never know you tried to use a different font. The only hint could be if there's weird spacing because the font you wanted to use is wildly different than a standard font.
The few fonts available to virtually every user, by the way, are called the "web safe fonts." These are fonts that are available on every device by default and so are safe to use for the majority of your possible traffic. Arial, Courier New, Times New Roman and Verdana are all common web safe fonts.
Throughout the years, there have been a few workarounds to get fonts to display. Some old websites would use scripts that tried to get the user to download a font to use to display the site correctly. But this is very dangerous. No intelligent modern user will trust an automatic download and install and, this was used to hide all manner of malware.
Enter: Web Fonts
At this point, enough organizations had banded together to make large decisions about the way the web would work moving forward- how we ended up with modern standards like CSS and which elements of HTML are supported and which aren't, and also how we ended up with web fonts.
Web fonts are fonts that are downloaded as part of a server call-and-response when a user loads a page with a non-standard font. Web fonts had to be created as a tool back then (in 1997) and so the idea didn't catch on. Then, in 2010, the Mozilla Foundation, Microsoft and Opera banded together to get the W3C to support the WOFF format. WOFF, or Web Open Font Format, supports a number of fonts and works on that same old strategy, basically downloading the font in the background. However, because it's a limited and verifiable format, it's not exploitable by malware.

Also in 2010, Google launched Google Fonts which is a database of free web fonts web designers are able to use. Some of these fonts are unique and others mimic existing non-web fonts. Google Fonts now has over 600 fonts in their directory and the service receives over 1.5 billion font requests per day which makes it by far the most popular third-party font provider on the web.
Self-hosting fonts has also grown in popularity. According to the 2025 Web Almanac by HTTP Archive, over 71% of pages use self-hosted fonts and around 34% of sites depend exclusively on self-hosted fonts - up from about 30% in 2024. So while Google Fonts remains dominant as a third-party option, self-hosting is increasingly common for performance and privacy reasons.
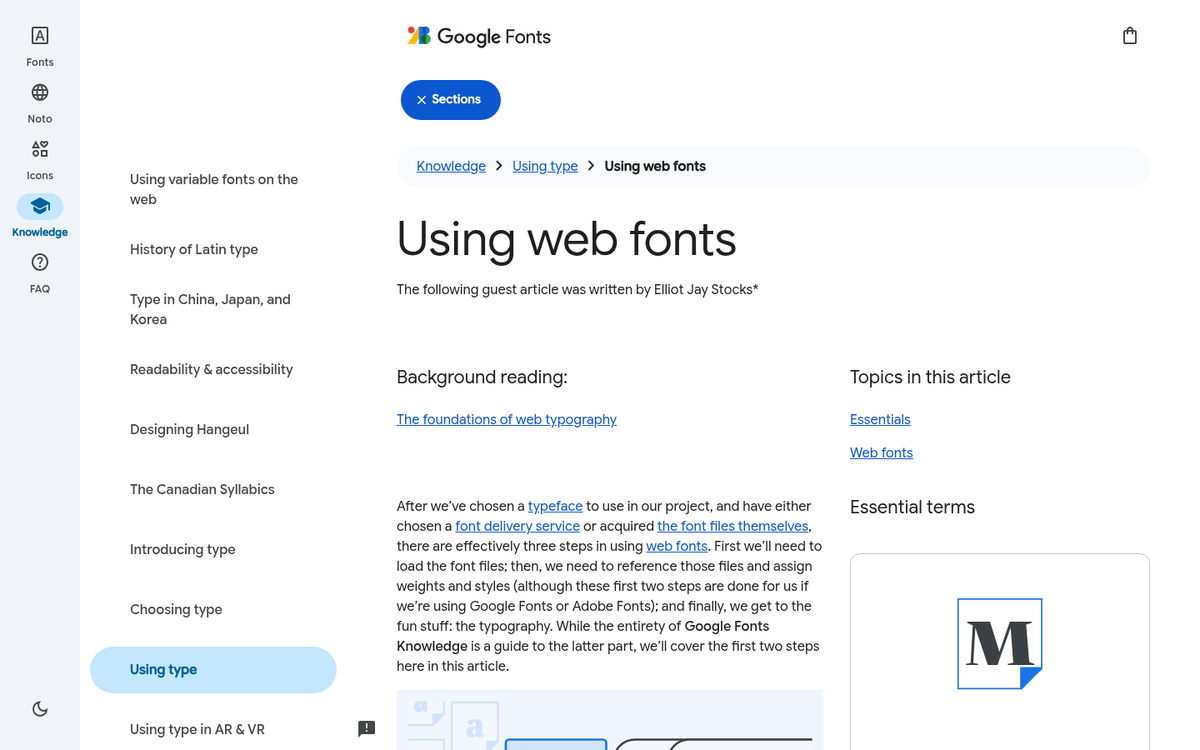
If you want to use a non-standard font with your web design, it's fairly easy. All you need is to use a designated web font. How can you do that? Let's check it out.
Where to Find Fonts
Before we start, there's one important note to make. There are hundreds of available fonts in the Google Fonts directory. But you might want something different. You can use any font as a web font with the right formatting. The thing is, most fonts are not actually free to use. Many fonts may have a license that will require you to pay to use the font, or to use it only in noncommercial ways, or to credit the creator of the font. As you might expect, it can be a issue - and can be expensive - so I'm mostly going to ignore it. Use a freely available font and save yourself the issue.
If you don't like the options available through Google Fonts, there are innumerable font directories of all kinds available. Here are some options:
- Free font distributors: Font Squirrel, DaFont, Everything Fonts
- Paid font distributors: Fonts.com, MyFonts, or font manufacturers like Linotype
- Online font services: Google Fonts, Adobe Fonts, Cloud Typography
Online font services are in some ways worse than buying fonts. Google Fonts is free. Other font services are usually subscription-based and the costs add up over time.
Installing and Using a Font
Alright, for the instructions I'm giving you, I'm assuming you can find something you want to use within the Google Fonts library. Speaking of:
Step 1: Find a font you like. Google Fonts is a pretty robust system. You can dynamically change the text, text size, formatting and even font style within the style library. For example, some fonts only have one style and others like Montserrat and Raleway have as many as 18 different styles- like bolds, italics, extra light and extra heavy character weights.
In addition, you can filter through fonts looking for characteristics you want for your web design. You can search for serif or sans serif fonts, display fonts, handwriting-style fonts and monospace fonts. You can look for fonts that are trending and you can search for different levels of thickness, style availability, font slant and character width.
Say you want to use Nunito. On the font page, you can see different information- like a character list, information about the designer of the font and the font itself, a display of the available styles and geographic distribution for the font's use.
Step 2: Use the font. On the font page, you can choose the styles you want to use. Google will provide you with an embed code and a CSS snippet to add to your project. You can choose multiple fonts if needed, though keep in mind that each extra font and style can add to your page load time.
Why might you want more than one font? Some designers like to use different fonts for headlines. You might want a handwriting-style font for quotes. You can use different fonts for block quotes or image captions. Really, it all can depend on how much you want to work with configuring your font usage.
This is relevant primarily for SEO. Page load times are a search ranking factor, so throwing 20 different fonts onto a page just for a few weird formatting options might hurt more than it helps. For example, loading all 18 weights of a font like Montserrat when you only need two or three of them is a common and avoidable mistake. You don't want to slow down your site just to load a font you only use for two quote boxes on your page.
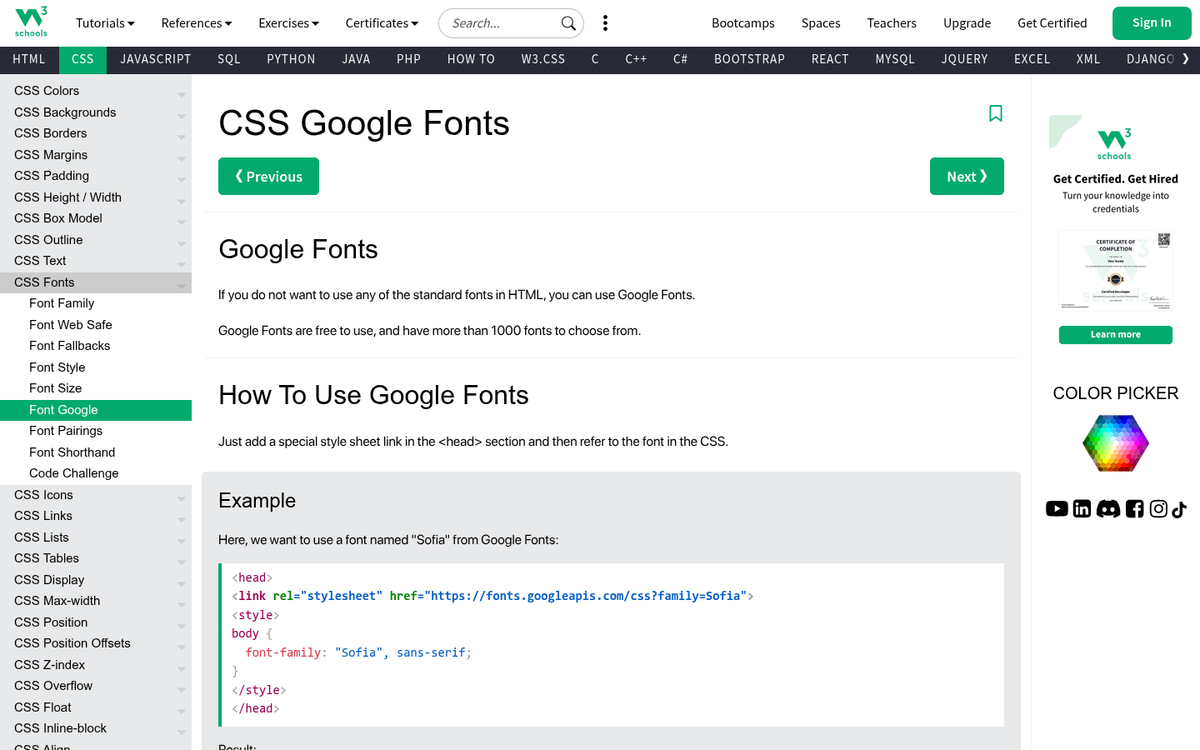
Step 3: Paste the code. Once you have the configuration options chosen and the fonts you want to embed, Google will generate a <link> tag for you to copy- it will look something like <link href="https://fonts.googleapis.com/css2?family=Nunito:wght@400;700&display=swap" rel="stylesheet">.
That is your font embed code. In a standard website, you would paste this into the <head> section of your code. However, if you're using Blogger or WordPress then you'll need to take a slightly different set of actions.
WordPress
For self-hosted WordPress sites, there are a couple of strategies. The first is to find your HTML template file for your theme- it's usually a good idea to create a child theme for your parent theme, so you're not making edits you can't roll back. Some themes warn against editing the original theme as well. Different themes are laid out differently. But you usually want to find your header.php file to edit. Find the <head> section and add in your font code.

Alternatively, if you want to self-host your fonts instead of loading them from Google, you can upload font files directly through the WordPress media library or theme editor. Remember that WordPress will need custom font files to be in either .otf or .ttf format for uploading.
One important caveat: if you're using WordPress.com (the hosted version instead of self-hosted WordPress.org), you are going to need to be on a paid plan in order to use custom fonts. Free WordPress.com accounts are limited to the fonts already bundled with your chosen theme.
Blogger
For Blogger, you are going to need to go to your Blogger dashboard and click on the Theme section. There, click Edit HTML and find the <head> section of your code.
You may need to edit the code block you paste in to use with Blogger. If your font doesn't work, go back in and find your code block. The part where it has rel="stylesheet">, add in a /, so it looks like rel="stylesheet"/>. If the stylesheet bit is not the last bit, put the / at the end before the >; it's the important part, the position of the /.
In order to actually use the font then you'll have to call for it in your CSS. You'll need to use font-family: 'Nunito', or whatever font family you've actually chosen, to specify that font as the one to use for your text.
Now all that's left is to save your changes and use your fonts in your designs. You can always change your fonts later, or add new fonts to your code. Just remember that if you remove a font family, any code that currently calls for that font family will fail and fall back to a default web safe font. Make sure you're no longer using a font before you remove it from your code.