How to Add an Embed Code to Your Infographic Page
Published by Kenny Novak • Content Marketing • Posted July 21, 2016 ContentPowered.com
Every year data is churned out by companies who conduct surveys to measure user engagement with websites and social media.
Want to know what the fastest growing type of content is? Infographics.
When done well, an infographic combines a stylistic design, concrete images, and informative or entertaining statistics.
This is a perfect learning combination for the brain. Not only will people remember those stats more than someone who heard them or simply read them as text, but they will be more likely to share them on social media and their own websites.
The metrics don’t lie — at this point in time, humans love infographics. Gobble them up. Devour them whole. Click on them to see the full image and scroll all the way down to make sure they get every last drop if information possible.
It’s like binge-watching a popular show, except you can usually do it one sitting in under 10 minutes.
You already know that though, because you already spent the time and resources to develop a great infographic, right?
That’s why you’re here. You’ve got an incredible infographic, one that should be spreading across Facebook, Pinterest, Twitter and every other social network like a wildfire.
Maybe it has traction and a few shares, but not the level of engagement you think is possible for how revolutionary your infographic really is.
Have you added an embed code to your infographic page? Probably not.
It’s a shame, because that’s one of the best ways to get the thing blazing.
Embed Codes
For those that don’t know, an embed code is a precise string of code that allows images or videos to show up on a web page.
The code employed (in most cases) is written in HTML, and can be inserted to the back-end of your website. The following examples will be based on the assumption that you use WordPress, but embed codes can be added to most content management systems.
There are two ways to get media to show up on your website:
- Upload the media. When you want to put your own image or video or infographic on your own website, you usually upload it. This puts it on your server and creates a file for it your website’s database.
- Embed the media. This allows you to take media from other places, like YouTube or Twitter or another website, and place it on your own. Typically embed codes include links back to the original source, and certain stylistic designs from that source, like YouTube’s video player box, or Twitter’s Like and Follow features.
Embed codes also have two sets of pixel dimensions included in the HTML code, width and height. These are adjustable once you put them in your website, and effect the size of the image or video.
The beauty of embed codes today is that they have been optimized and made somewhat universal. Everyone wants you to share their media, so tech companies have made the tools for sharing that media accessible and simple.
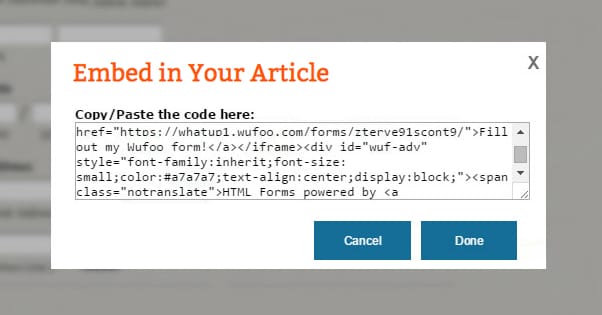
Usually it’s nothing more than a copy/paste process.
If you’re looking for embed codes for media, you’ll often find it under the “…” (ellipses) logo. It will appear as this sign: “< >”.
Click that and you’ll get a string of code that can be copied and pasted right into your website. The symbols “< >” are the embodiment of the code structure; the media you are embedding is in the middle.
Making an Embed Code for Your Infographic
Now that you know precisely what an embed code is, it’s about time we got to the point of this article — making one for your infographic.
You’re in luck. It’s not hard. In fact, the process has been highly automated by a number of free services so that you, the hard-working infographic-producing content creator, don’t have to learn any coding at all.
Embed Code Generator
If you type “Embed Code Generator” into Google you’ll find precisely what you need. If you include the word “infographic” it gets a little more specific, but it’s not necessary.
Embed Code Generators are the keyword for the program you need. All of the tools I’ll list below are embed code generators and all of those tools are also called embed code generators, but each is slightly different and made by different people.
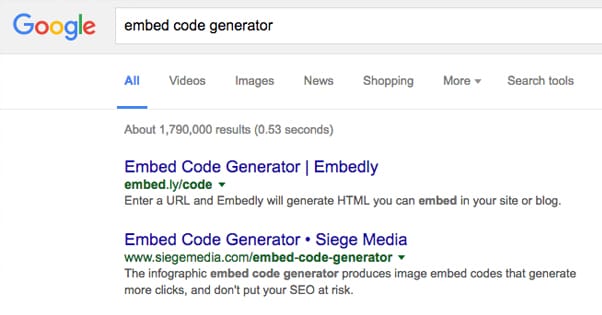
I’ll start with the most popular one, and include any discrepancies within the categories below.
Embed Code Generator by Siege Media
The most popular and first-ranked (as of when this post was published) embed code generator is by Siege Media.
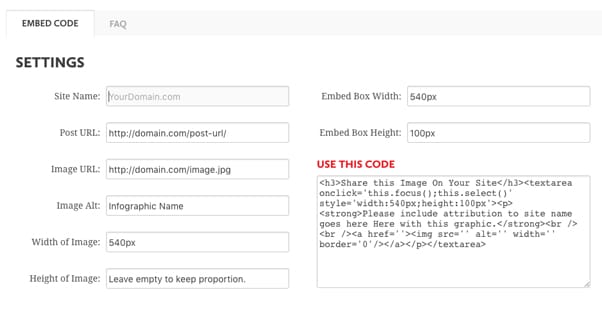
When you head to the site you’ll see it brings you right to code generator, and has a bunch of fields for you to enter. These fields will be used to generate your embed code, which you can see in the box titled “Use This Code”.
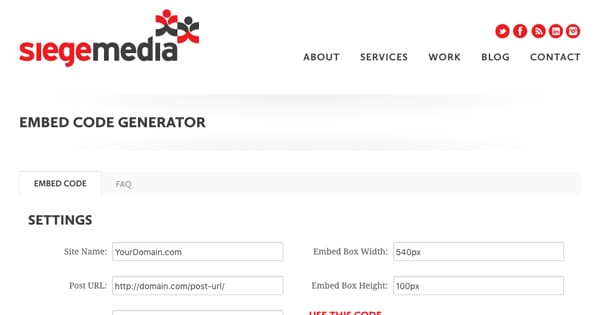
Below I’ll detail each of the fields, as most of them are applicable to the other embed code generators in this article.
Site Name
The directions here are pretty obvious: enter your site’s name in this section.
While that bit is easy, it’s important for you to know the purpose and implications behind entering your site’s name here, rather than something else.
Putting your site’s name here will mean that later, when somebody uses the embed code you’ve created, it will automatically say, “This infographic was brought to you by YourWebsite.com“.
That’s nice because it gives you visible credit, and it counts as a backlink.
It also means that your site name becomes the anchor text for your embed code, rather than some other keyword.
Anchor text is the literal text that supports a hyperlink, and is something Google tracks when it’s considering whether or not links are relevant.
A common practice just a few years ago was to include different anchor text for infographic credits.
For example, if you owned a site about Weight Loss and your site’s name was losingitall.com, instead of entering that in for the anchor text (or site name), you could simply enter “weight loss” as your anchor text.
Doing this would make you rank higher for that keyword, which is good for you, but Google will now penalize you for that, because it is dishonest. Yes, your site is about weight loss, but you’re linking back to your website, not to a comprehensive article about weight loss or an official source on the subject
This is a long explanation for a simple entry field, but it’s important to know what goes behind the “Site Name” area, as other embed code generators ask you for your anchor text, rather than your site name.
Part of the reason Siege Engine’s code embed generator is so popular is because it helps unsuspecting infographic creators follow guidelines. Now you know how.
Post URL
When you create a new infographic you often create a new post in WordPress to go along with it.
The post typically explains how the infographic was created, why, and what conclusions you’ve come to, along with the infographic itself (which usually contains much of the same information).
That new post you created should have its own URL.
Put that URL in this section.
In terms of search engine optimization, it’s best to include the name of your infographic (which is also hopefully optimized) as the title of the post.
As long as you’re using a good permalink, this will make it so that the URL for the post, in which the infographic is included, will all have the same name.
Image URL
This one may be less obvious. In order to put your infographic into that post, you had to upload it as an image, right?
Well, every time you upload an image to WordPress it creates a new URL for that image.
Most websites never link to this URL, because it’s just the image by itself, but this is important for infographics.
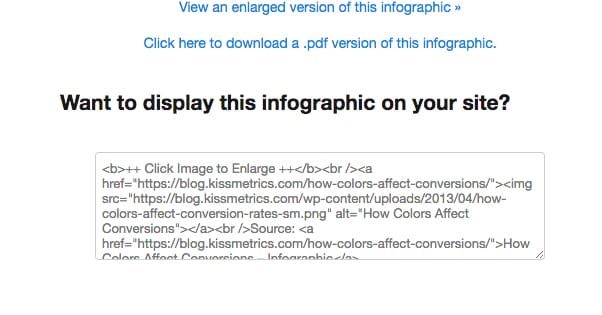
Most of the time infographics have so much information compacted onto a long banner that the details can’t be read.
If this is the case for your infographic, go into the image you posted and make sure it is set to “Link To Media File.”

This will be in the backend of WordPress, and found when you go into the post and open up the Image Details.
Make sure to also click “Open Link in New Tab” so when your user does click on the image, it will keep the current open page intact.
First, this helps your readers immensely by opening a secondary page with a very high resolution infographic that they can read at leisure.
Second, this gives you the Image URL needed to fill out this box appropriately.
This is a common practice in websites that don’t run WordPress as well, so you’ll be able to find the equivalent URL and place it in this box.
Image Alt
The Image Alt box should contain the name of your infographic, which is hopefully keyword optimized.
You’ll also want to include this in the Image Details in your WordPress, in the box also called Image Alt.
Doing this will help your image to be indexed and searched by Google, further increasing your optimization.
Width of Image
This is literally a pixel number that makes your embedded infographic a certain width on another website. Anyone who plans to embed that infographic will be able to change this width, so it’s not a huge deal.
Your best bet is to use a standard image width, like 540px or 600px.
If you really don’t know what to do, use your own site’s image width.
Height of Image
Because infographics are typically very long (read, lots of height), Siege Media’s Embed Code Generator form recommends you leave this box empty.
I agree with that — leave it empty. If you set too low a height it has the chance of cutting off your infographic, and you don’t want that.
Embed Box Width
This has to do with the actual embed box that will be created on your site once this process is complete.
You want this box to appear semi-normal in the context of the rest of your post, typically a little less wide than your infographic, or at least the same width.
If you infographic is 600px wide, make the box width 540px.
If you play with this number on the Siege Media site you’ll see the box under “SHARE THIS IMAGE ON YOUR SITE” change in width.
Embed Box Height
Following on the heels of the last field, this adjusts the height of that same embed code box.
You’ll want to keep this fairly thin — 100px is recommended.
Again, you can play around and see the results on Siege Media.
Other Embed Code Generators
There’s no reason you shouldn’t use Siege Media to do this. It’s free, easy, and I’ve just explained the whole process.
However, there are other options.
OctaTools
This embed code generator has a playful look, and everything else about it is almost the exact same as the one above.
If you look in the actual HTML code, you’ll see that OctaTools has some specific colors added in the coding, which means the embed box will look different than the one by Siege Media.
Go with what you like.
BuiltVisible
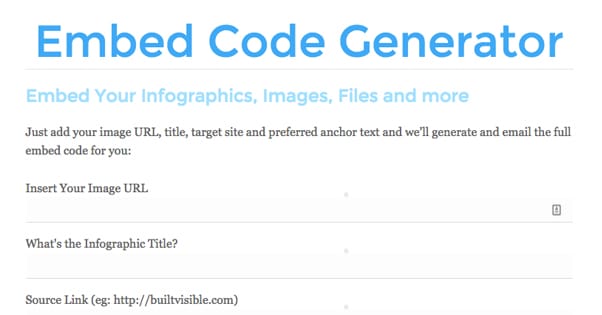
This is an embed code generator with a more simplistic approach.
There are less fields to enter, and they use “anchor text” instead of “site name.”
You also have to enter your email, and while you can opt out of messages, I don’t like giving away my email to anyone unless it’s necessary.
Embed Code Generator Plug-in
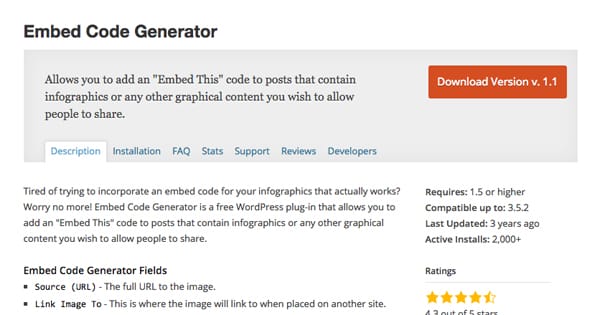
This list of generators wouldn’t be complete if I didn’t mention the very popular WordPress plug-in, also named Embed Code Generator.
This was one of the first tools developed to help embed infographics, and remains a standard for many WordPress sites.
The plug-in hasn’t been updated since 2015, so, while it certainly works, there isn’t an active development team on it.
This will require you to have a WordPress site, but it’s free.
Install the plug-in via your site and you’ll see a generator tool on the dashboard of the WordPress back-end.
This will have similar fields as the rest of these, which you can enter, and it will then generate a code for you to embed. This is nice because it will already be in your WordPress, so you don’t have to toggle in and out.
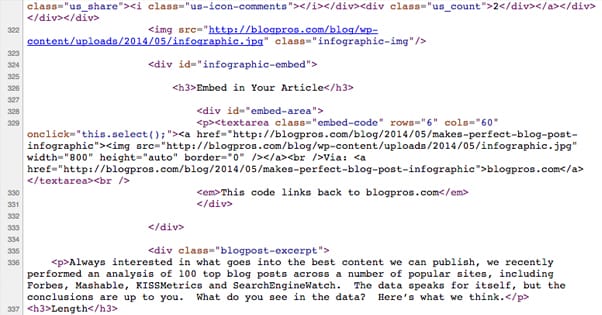
Embed Placement
Entering the information in the subject fields for any of the sites above will give you am embed code to copy and paste. It’s time to put it into your article.
Remember, you’ll already have uploaded the infographic as an image to your own site — now you’re just entering the embed code, which will create a box that lets other people easily embed the infographic to their site.
To do this, go into the WordPress post that has the infographic, toggle from the Visual editor to the HTML (or Text) editor, and paste your embed code.
You’ll want to either paste the code directly below the infographic, or directly above it.
Above doesn’t look as nice, but it makes it so those who want to share don’t have to scroll to find it. It’s up to you, but always put it either right above or below so people can see it easily.
Save the post and preview it — you should see a box with HTML code inside, and this code will allow others to easily post embed your infographic.
That’s it!
Troubleshooting
There is one small issue that comes up with these embed codes.
You have to paste the code in the HTML editor on WordPress. If you toggle back to the visual editor, it will strip the code.
This is a WordPress issue, and one that all of these various tools warn you about (if you read through the documentation and FAQ).
It’s very annoying, and causes some people to think there is a malfunction, and therefore not use the embed code.
None of that is true. After you’ve pasted the embed code, make sure to preview and publish the post without toggling back to the Visual editor side of things and you’ll be just fine.
Get That Backlink
The whole point of putting a nice embed code next to your infographic is so that people can share it with almost no effort.
The embed code allows anyone with a website to put your entire infographic on their site, and due to the links you entered in the code generator, you’ll get most likely get a backlink from that person.
This will increase your site’s rankings in Google, which will lead to an overall bump traffic.
You’ll also want to be sure to make the image itself (in your original post) sharable with a click to all social networks, so the image can spread there in addition to other websites.
Do this, and your infographic will spread far and wide!

Kenny is a blogger and networking professional. He uses blogging and content marketing as a launchpad for small businesses looking to grow their online presence.