How to Promote and Grow Your Blog Posts on LinkedIn
Published by James Parsons • Content Marketing • Posted September 24, 2017 ContentPowered.com

LinkedIn can be a surprisingly good place to promote your blog posts, but generally only if they’re in the right kind of niche. I wouldn’t go to the business-focused site and try to promote a blog with video game reviews or product recommendations, for example. On the other hand, articles focused on growing a business, or on pursuing a career, or on personal growth all tend to do well. Regardless, you can certainly try to promote anything you want; it just might work if your audience is on LinkedIn in the first place.
Step 1: Have a Complete Profile
I know this is tired old advice for basically every social network, but the first thing you always need to do is fill out your profile as completely as possible. The exact details depend on whether you’re trying to promote your blog via a brand page or a personal page.
For a company page, you want something memorable and personal. Hootsuite‘s page has a good description, complete business details, and a series of blog posts that bring their brand personality to life.
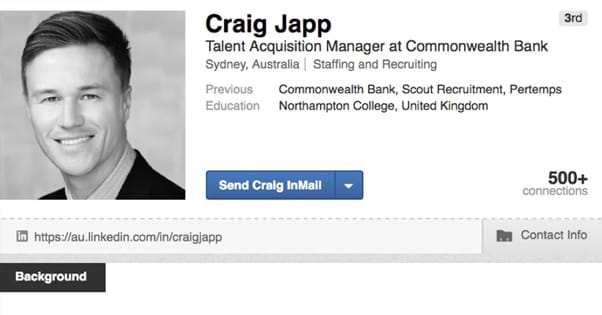
For a personal page, you want a friendly summary, a happy profile picture that’s professionally shot, a link to your site, and plenty of useful and fun information. The CEO of Hootsuite has a good one himself. Notice that his first paragraph is value-first, showing who he is and what his successes have been. The other three paragraphs are below the fold and are able to go into more detail at a slower pace.
Generally, it will be easier to promote a blog via a personal profile than a brand page, simply since more space is dedicated to it, and because LinkedIn is more focused on personal connections than media connections to brands. Typically if you want to connect with a brand, you’re looking to get hired.
That said, if you’re a blogger, you own your own business. Set up your business profile as well as your personal profile. You can promote blog post content from both of them at once.
Step 2: Build Up Your Connections
Success on LinkedIn relies on having a huge network. The larger your network, the more people will see your posts and the more people will have the chance to share them.
Unlike other social networks, casual users don’t really browse LinkedIn as much, so you want people who are active on the site and who are avid users. Who might you want to look for?
- Anyone you currently work with, ranging from freelancers you’ve hired to employees to your boss, if you’re not the owner.
- Anyone you have worked with previously, including ex-employees or coworkers who have moved on, so long as they didn’t do it under poor circumstances.
- Anyone you know from having gone to school with them. If you’re currently going to school, you can make up business cards with your LinkedIn information and hand them out. You won’t get a huge response, but every person is better than not having them.
- Anyone in your email contacts list. LinkedIn absolutely loves importing email lists, and will bug you about it pretty relentlessly until you give in.
- Anyone you are familiar with from a LinkedIn Group you’re in. Don’t just join a group and spam invites and connection requests, though; you should make sure they’re people who would at least recognize you from your participation, if not people who actively engage with you.
- Anyone your current contacts list chooses to introduce you to. Connecting on LinkedIn should be one of your top priorities, all things considered.
- Anyone you meet and engage with at an event, trade show, tech show, talk, or other networking event. Meeting people offline is great, and keeping in touch with them online later is even better.
- Anyone who is a customer. You can share your LinkedIn URL on your blog and leave it open to anyone who might want to connect with you. The more the merrier, after all.
- Anyone who you have a business partnership with. You can connect with suppliers, with producers, with distributors, with content creators, and anyone else who might have a beneficial relationship with you.
Over time, you can join and participate in more groups, so you can find more people to connect with. Joining a few active groups can be a great way to find a lot more networking opportunities.
When you send a connection request, make sure to properly categorize the user and include a personal note about where you met them. It can be something as simple as “you’re from X Group and I think you’re pretty cool” or “we met at the trade show last weekend, let’s keep in touch”. The primary point is to keep people from thinking your invites are spam, and the default message tends to look like that to experienced users.
Moving forward, it’s generally a good idea to treat LinkedIn like your address book or contacts list. When you meet someone and get their contact information, look them up on LinkedIn afterwards. It’s a lot more acceptable than stalking them on Facebook, for example.
Step 3: Maintain a Baseline Level of Activity
If you want to take LinkedIn seriously, you need to keep active on the platform. This is just as critical as it is on Facebook, Twitter, or Google+: if you’re not active, people don’t see your posts and think you’re not as worthwhile a connection to have.
I recommend posting about three times per week, though you can post every day if you like. I would caution you against posting more than once per day, since LinkedIn isn’t quite as active a social network as some others may be.
There are three kinds of content you can share. The first is personal status updates. Unlike Facebook, where you should never share something like that, LinkedIn makes personal updates shine.
The key here is that a personal status update humanizes your brand page and reminds people that you are, in fact, a person on the other side of the account. It also gives you “filler” posts to round out your feed when your links have been exhausted.
One good type of status update you should try is actually a sort of engagement bait post. Ask questions and solicit information about a specific topic. For example, maybe I just learned that Facebook swapped their profile pictures from a square to a circle. I might ask my network what they think of the change, and why they think Facebook did it.
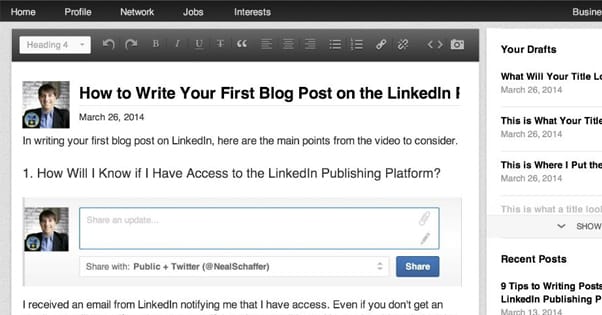
The second type of content is links to your own blog posts. If you’re running both a personal and a brand page, I would emphasize them on your brand page; you can link to the post from your personal page, and direct link to the occasional top-tier post you want to give extra promotion.
The third type of content is links to other blogs. In this case, you want to be sharing thought pieces, updates, and news about your industry to your audience. The idea being that you want your connections to find value in your feed, so they don’t mute you.
As with a blog and other social networks, keeping an editorial calendar can be a great idea. You can see what you’re publishing, how often, and you can make sure you never miss a day.
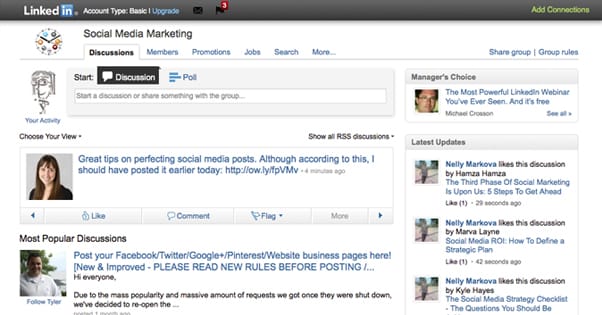
Step 4: Join Plenty of Groups
LinkedIn Groups are like Facebook Groups, except they aren’t exclusively filled with moms or people who think they’re edgy. There are over 1.5 million different groups on LinkedIn, generally centering around communities, either in person or online. They might also be about shared common interests, professions, or other commonalities between users. The point is, everyone in the group has something in common with everyone else, and that’s a great starting point for marketing.
You can do simple keyword searches to find groups, but one technique that is often overlooked is simply looking at your top colleagues and connections. Find the people you consider influencers or peers on LinkedIn – rather than schoolmates, personal friends, or followers – and see what groups they’re in. Group admins can set a group to private, but good ones keep the group public so that people can discover them. Look for the groups shared and promoted by your influencers, and ask to join.
Make sure any group you join is active. If the group is not active, it’s not going to have much value to you. That’s pretty simple.
When you join a group, spend a while reading up on their rules and getting used to the culture. You’ll get a feel for who the best users are, what kind of content is posted, and what they might block you for doing if you break a rule. This first phase is generally called lurking, and it can last for a few weeks or even months depending on how active the group is.
Once you’re done lurking and feel confident of the culture, you can start posting. Don’t immediately share your own content; just start with comments on the content posted by others. This starts to get your name and picture recognized.
After a while of that, you can start posting content you think the group would like. You can share content you’ve found by way of curation, and you can share your own content. Just make sure you’re not sharing content you’re trying to self-promote when it isn’t necessarily a fit for the group. Groups aren’t there for every post; special posts can go in different groups.
You can own and manage up to 30 groups at once, and you can be a member of up to 100 groups at a time. There are a couple of other limits as well. Regardless, since it takes a while to onboard into a group and use it appropriately, I recommend only joining one or two at a time.
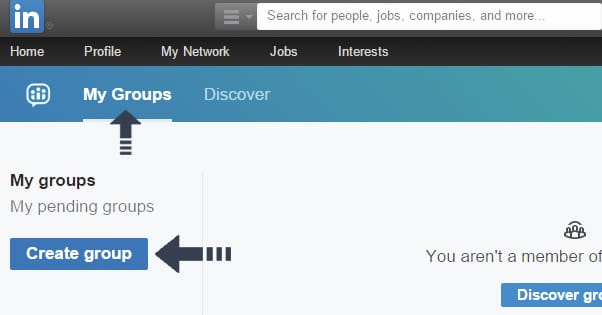
Step 5: Create a Group
Once you’re familiar with how successful groups are run, create one of your own. As the owner and moderator of the group, you’re able to focus it around whatever topics you want, which should coincide with the topics of your blog. This way you can invite both followers and peers/influencers from other groups to join your group, and then share a lot of your own content for comment and circulation.
By creating your own small community on LinkedIn, you’re able to provide a more direct line of contact between a reader and you. You need to maintain this by engaging with group members on a regular basis. Ideally, your group will grow due to the value of the discussion and the high profile names that join.
Step 6: Use the Messaging System
You’re able to create semi-mass messages for your network with relative ease on LinkedIn. You can make use of these messages to push out high profile information you want everyone to see. For example, you might create a short list of influencers on a specific topic and notify them when you publish a new blog post on the topic, or an ebook. You might send a broad-spectrum notice when you start a contest or sweepstakes, to get as many people to enter as possible.
The important part is that you shouldn’t just send out a message every time you have a blog post to share. It needs to be saved for some special time or content, otherwise people are simply going to sever their connection with you or mark you as spam.
Of course, all of this centers around you having good content to share. You need to make sure you have excellent content before you can get people to care about it.

James is a content marketing professional who enjoys writing useful content for bloggers. He’s a contributing writer at Forbes, Entrepreneur, Inc, and Business Insider.