
Key Takeaways
- Blog images are essential; posts with images earn significantly more views and social media demands higher visual quality than ever.
- Traditional image sourcing methods-Google searches, paid stock photos, and Creative Commons-each carry legal, financial, or complexity drawbacks.
- WordPress plugins like Instant Images and Free Assets Library let users search and insert free, licensed images without leaving the dashboard.
- AI tools like Midjourney, DALL·E, and Adobe Firefly generate unique, customizable, licensing-free images in seconds from simple text prompts.
- Regardless of image source, always optimize using compression plugins like Smush and include proper alt text for SEO and accessibility.
Finding high quality images for a blog is not as easy as it looks. You have to find the right image, make sure that you have the rights to use it, and format it for your blog - it’s a tedious and time-consuming process. In 2026, that feels more unnecessary than ever - because the tools available make the whole process dramatically easier.
Thankfully, there are now a few better ways - including some powered by AI that didn’t exist just a few years ago.
Images Aren’t Optional
Before we start I just want to take a bit to remind everyone that images in your blog posts aren’t optional. There are some blogs out there that don’t use them, or use them very sparingly. But images are basically too helpful to skip.

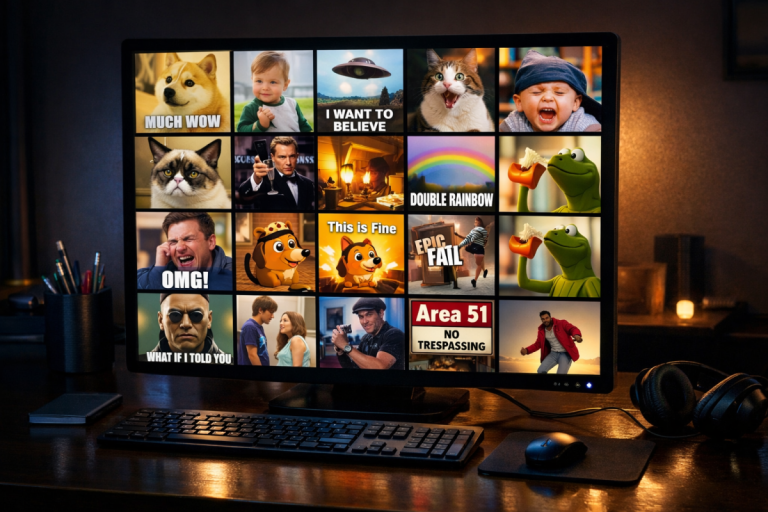
Blog posts with images earn more views than pure text posts. Images in press releases can improve views by 45%. Image quality is a giant factor in online purchasing decisions. And with social media places like Instagram, TikTok, and Pinterest built very much around visual content, the bar for visual quality on blogs has never been higher. If anything, the importance of images has grown - not shrunk.
AI-generated images have entered the picture (pun intended). Tools like Midjourney, Adobe Firefly, DALL·E, and Canva’s AI image generator now let you create custom images from a text prompt in seconds - awesome for bloggers who struggled to find relevant, quality images before. We’ll come back to this shortly.
How People Used to Find Blog Images
Traditionally, there were three ways to find images for your blog. You could pull whatever came up in a Google search, buy images from stock photo sites, or use Creative Commons licensed photos. All three had drawbacks.
Pulling images from a Google search is still a terrible idea in 2026. Copyright law hasn’t changed. The original creator owns the rights to their image, and using it without permission exposes you to legal action. Even if you’ve never been caught, it’s not worth the danger - and it’s just not ethical.
Buying stock photos is fine. But the cost piles up fast. If you publish five posts per week with three images each, you’re sourcing 15 images per week. At even a modest per-image cost, that’s a significant annual expense - for content that isn’t even unique to your site. Run any popular stock photo through a reverse image search and you’ll find it plastered across hundreds of other websites.
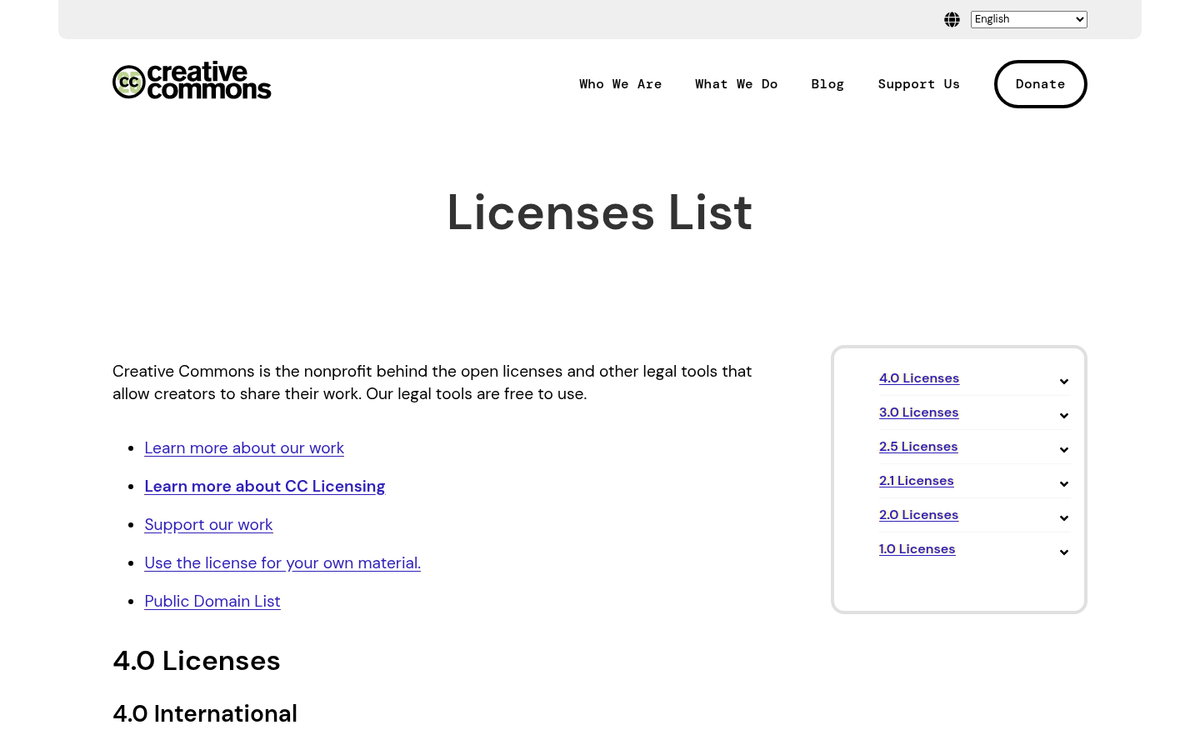
Creative Commons has always had its own complications. Not all images are CC licensed, quality varies widely, and the license types themselves can be confusing. There are six main Creative Commons licenses and they each have different rules around commercial use, derivative works, and attribution requirements. If you’re running a commercial site, a few of these licenses basically won’t work.
The Creative Commons License Breakdown
For anyone still navigating CC licenses, here’s a quick reference. Remember: an image has to be explicitly labeled as Creative Commons - it’s not the default. Copyright is assumed unless otherwise stated.
- CC BY: allows remixes and edits, allows commercial usage, requires attribution.
- CC BY-ND: allows commercial use, does not allow derivative works, requires attribution.
- CC BY-NC-SA: allows derivative works, does not allow commercial use, requires attribution.
- CC BY-SA: allows derivative works, allows commercial use, requires attribution.
- CC BY-NC: allows derivative works, does not allow commercial use, requires attribution.
- CC BY-NC-ND: does not allow derivative works or commercial use, requires attribution.
Most CC licenses also require that any derivative work be released under the same license, so you can’t take a CC image, edit it, and sell it commercially.
Picking the Right Images
Regardless of how you source your images, some types of images perform better than others. Let’s talk about what to keep in mind:
- When relevant, include pictures of real people. Authentic-looking photos of real people outperform generic stock photography. Headshots and natural portraits work better than obviously staged stock photos.
- Use photos with text or data overlays when possible. Infographics, charts, and annotated images tend to perform very well. They add informational value on top of visual appeal.
- Optimize every image you upload. Compression and appropriate sizing matter enormously for page load speed, which is both an SEO ranking factor and a user experience factor. This is especially critical on mobile.
- Prioritize high quality. Crisp, clear images reflect on the professionalism of your blog. Blurry or pixelated images can undermine the credibility of even excellent written content.
- Use an appropriate number of images. A common guideline is roughly one image for every 300-350 words of content, though this depends on your layout and content type.
The Modern Way: Free Image Sources and WordPress Plugins
The good news is that sourcing free, legally usable images has never been easier. Here are the best options available in 2026:
Openverse is one of the most powerful free image search engines available. Maintained by the creators of WordPress, it gives access to over 600 million Creative Commons licensed and public domain images and audio files - it’s free and built specifically for legal reuse. You’ll find it at openverse.org.
Unsplash, Pexels, and Pixabay remain excellent sources of free, high-resolution images. Pixabay alone has over 150,000 quality public domain photos, and all three allow free commercial use without attribution (though attribution is always appreciated). Flickr also has over 200 million Creative Commons licensed images, which makes it one of the largest CC repositories in the world.
For WordPress users specifically, there are a few plugins that dramatically smooth out the image sourcing process:
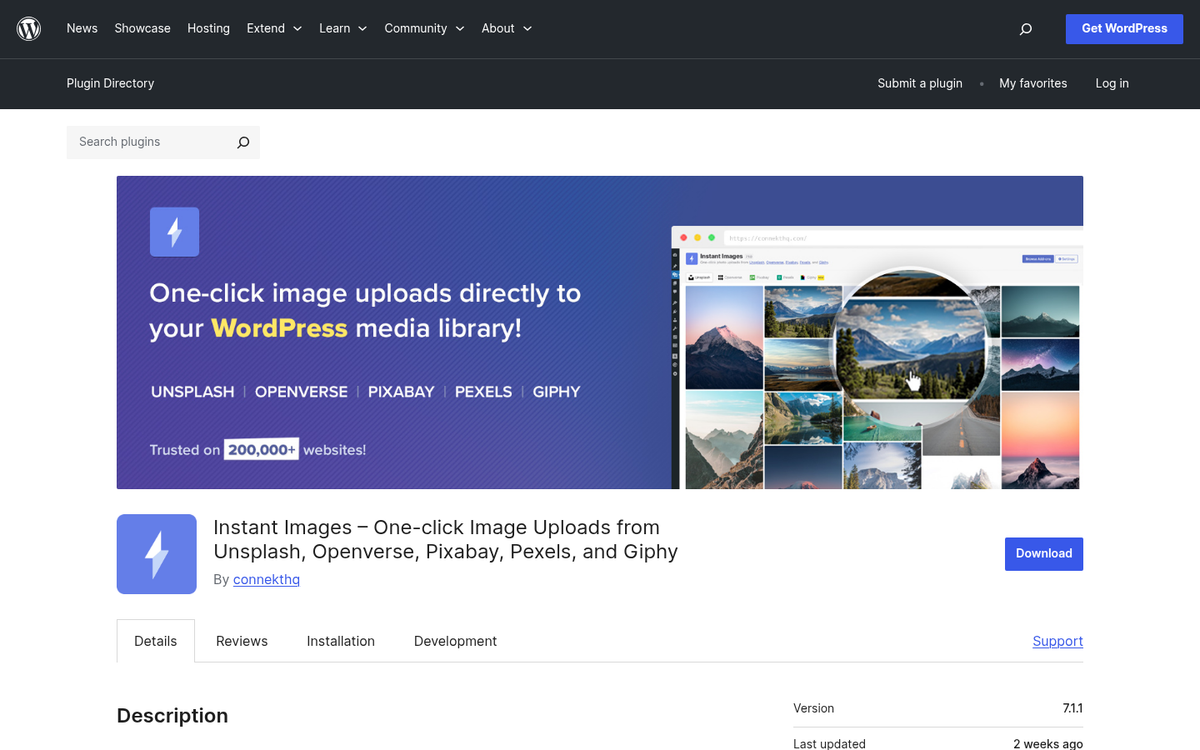
- Instant Images is one of the best WordPress image plugins available today. It supports one-click uploads directly from five sources: Unsplash, Openverse, Pixabay, Pexels, and Giphy. You can search, preview, and insert images without ever leaving your WordPress dashboard.
- Free Assets Library is a WordPress plugin that gives you access to over 600 million free images directly within WordPress. It has earned over 90,000 downloads and is a solid all-in-one solution for bloggers who want a massive image library at their fingertips.
- Pixabay Images is a more focused plugin pulling directly from Pixabay’s public domain library. It’s trusted by over 20,000 websites and holds a strong 4.5-star rating with over 8,000 active installs.
All of these plugins work the same way: you search for image keywords, browse thumbnails, and insert your chosen image directly into your post. The image is downloaded to your server (no hotlinking), and the process takes a fraction of the time compared to hunting for images manually.
The Game Changer: AI-Generated Images
If free image libraries don’t solve your problem - maybe you need something very specific or heavily branded - AI image generation is now a legitimately viable option for bloggers.
Tools like Midjourney, Adobe Firefly, DALL·E (via ChatGPT), and Canva’s AI image generator let you describe the image you want in plain English and generate it in seconds. Want a photo-realistic image of a coffee shop with warm lighting and a laptop on the table? Done. Need a custom illustration of a concept unique to your blog post? Done. These tools have matured enormously since their early days, and the output quality in 2026 is often indistinguishable from photography.

The key benefits of AI-generated images for bloggers:
- They are completely unique. No other website will have the same image.
- They are highly customizable. You can match your brand’s color scheme, tone, and style.
- They eliminate licensing headaches entirely. Images you generate yourself are yours.
- They are fast. A good prompt takes 30 seconds and produces multiple options to choose from.
The main caveat is that AI image tools can vary in their terms of service around commercial use, so always check the usage rights for whichever platform you use. Most of the tools allow commercial use on paid plans.
Don’t Forget to Optimize
However you source your images - a plugin, a free library, or an AI generator - you still need to optimize them before publishing. A few things to keep in mind:
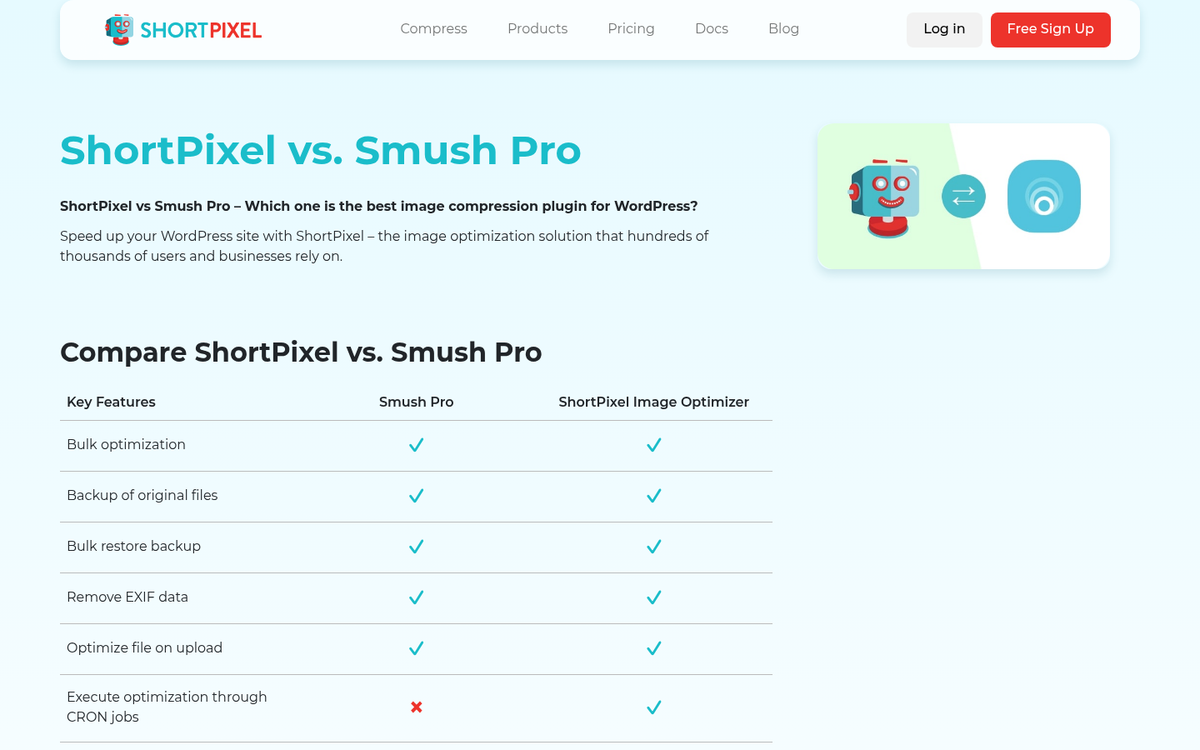
Use a WordPress plugin like Smush, ShortPixel, or Imagify to automatically compress images on upload. These tools cut back on file size without a big drop in quality, which keeps your page load speeds fast and your Core Web Vitals scores healthy - both of which matter for SEO in 2026.
You can also add a small CSS rule to prevent oversized images from breaking your layout:
.entry-content img { max-width: 100%; height: auto; }
And always fill in your image alt text - it’s an accessibility requirement, it helps search engines understand your content, and it’s one of the small details that separates a well-maintained blog from a sloppy one.
All of this together - free image libraries, WordPress plugins, AI generation tools, and optimization - is a legitimately streamlined image workflow that would have seemed like science fiction not long ago. There’s no excuse in 2026 for spending hours hunting down images or spending thousands of dollars on stock photography. The tools are there, most of them are free, and they’re better than ever.