Beginners Guide to Writing a Blog Post in WordPress
Published by Drew Hendricks • Content Marketing • Posted August 25, 2016 ContentPowered.com
WordPress is one of the top blogging platforms for a lot of different reasons. One of them is the ease of use. It’s pretty easy to get some basic hosting, throw up a WordPress blog, slap on a theme and a couple of plugins, and go to town. You can have a fully functional blog up and running in just a few hours.
The depth of customization is another factor, of course. WordPress is such a flexible and variable framework it’s crazy how much you can do with it. For example, did you know that The New Yorker, the PlayStation Blog, BestBuy.com, Fortune, the Facebook Newsroom, and Reuters are all running on some variant of WordPress? They have custom themes and a whole host of plugins, but it’s still WordPress at its heart.
For the purposes of this post I’m assuming you already have a WordPress site set up, and you’re just looking for a guide for a writing process, tailored to publishing through WordPress itself. That’s what I’ve put together here; a step by step process to writing a post for a WordPress blog.
Step 1: Determine a Topic
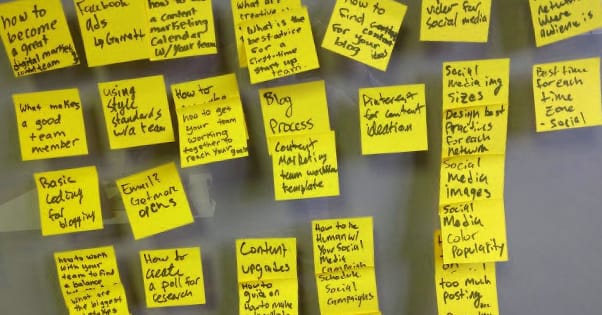
The first thing you need to do for any blog post, regardless of platform, is determine a topic. A lot goes into this, more than you might think if you’re a novice blogger. It’s easy to come up with the first few, beginners guides and basic topics that get your feet wet in the industry, but those aren’t going to get you a ton of exposure because they’ve already been covered in detail by brands with a lot more reputation.
Thankfully, all you really need is an awareness of your brand and your industry. As long as you have an idea for the keywords and topics in general you might cover, you can use one of a dozen or so tools to come up with more specific ideas. We wrote a pretty detailed post about doing just that over here, if you want to check it out.
Once you have a topic, you can start with the writing. I’m not going to tell you how to write, that’s a skill you develop on your own, but I do believe that writing at least a basic outline first is always a good idea.
Step 2: Write an Outline
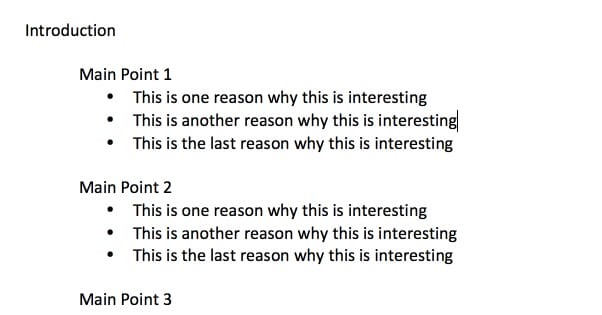
At this point, I wouldn’t have even logged in to my blog. I like to write outlines locally, where I don’t have to shuffle around browser tabs or windows. I can benefit from tools as simple as Google Docs or Microsoft Word, or I can go minimalist and just jot down notes in Notepad.
Outlining is also a skill you develop over time. A simple method is to just come up with a series of subtitles you would use for the post. Take this post for example; a simple outline is nothing more than each step written out. It’s a mere 11 lines long, which is plenty to get me to where I need to be in terms of content.
I can rearrange the steps to adjust flow, I can add new ones to clarify a step, I can remove redundant steps or minimal steps that don’t need to be covered outside of a footnote, and so forth. If you find that you prefer a more detailed outline, that’s perfectly fine.
Step 3: Find Sources and References
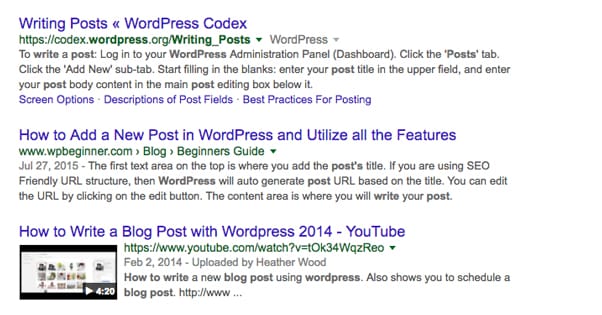
At this point I like to run some Google searches to find other posts that have been written on the same topic I’m covering. Some of them will be redundant, and I can use them to see if I have the right ideas, or if there’s something obvious I’m forgetting. I can see what they’re doing and strive to make my posts better than theirs.
I can also find posts that supplement what I’m writing about. Some will take a topic I gloss over and explain it in detail. Others will be sources for data I cite. Finding quality links now is a good shortcut for writing later, because you don’t need to fish for them when you’re working.
It’s better in general to find sources from sites you recognize as high quality, which means you have to have some level of awareness of your industry. Newcomers will take some time to get the sense of things, to learn the lay of the land, but that’s okay. There’s nothing wrong with linking to sites other than the top end.
Step 4: Pick the Visual or Text Editor
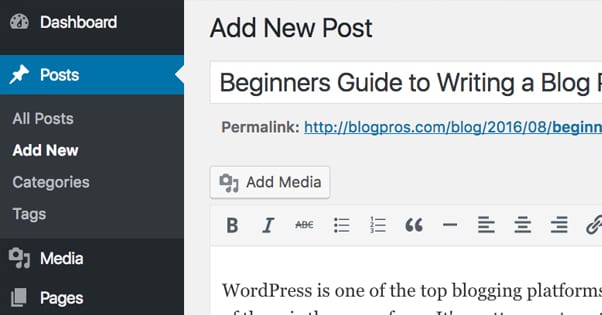
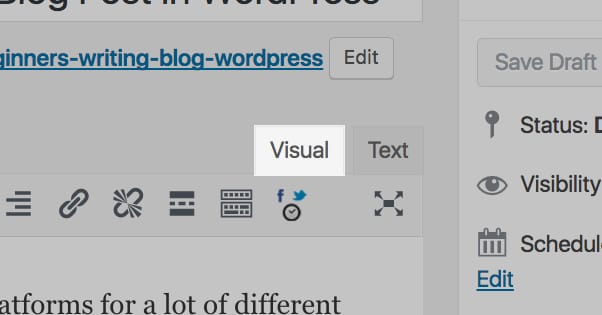
Now you get to log into your WordPress installation and click to create a new post. You will be brought to a post composition window with a lot of stuff hovering around it. Don’t worry about anything except the big, central composition box. In the upper corner you will see a selector between “visual” and “text” and you will want to choose one of them.
The visual editor is like your standard word processor. It has formatting options and everything built in. Highlight a section and click bold to bold it, etc. The text editor, meanwhile, is more like notepad or coding directly. If you want to bold a section, you will need to type in the appropriate HTML.
I prefer the visual editor, though it can sometimes make precise formatting a little annoying. Use whichever one you prefer; if you’re a coder by habit, perhaps the text editor is better for you.
Step 5: Write the Post
Now you have an outline and a text editor; write your post! You’ll see a word count in the bottom corner keeping you up to speed on how many words you’ve written. If you’re shooting for a specific length, you can take the number of subheadings you want and divide the target word count by it, so you know how many words per section you should aim for. Otherwise, you can just write as much as the topic calls for.
Generally, a good blog post is going to be between 1,500 and 3,000 words. Some blogs get away with much longer posts, and some with shorter, but if you’re under 1,000, you’re probably getting too short for comfort. This is because Google doesn’t like short content, and since you’re asking for a tutorial using WordPress you’re probably a relatively new blogger. This means you don’t have the clout built up yet to be able to get away with the occasional shorter post.
Step 6: Add Media for Images
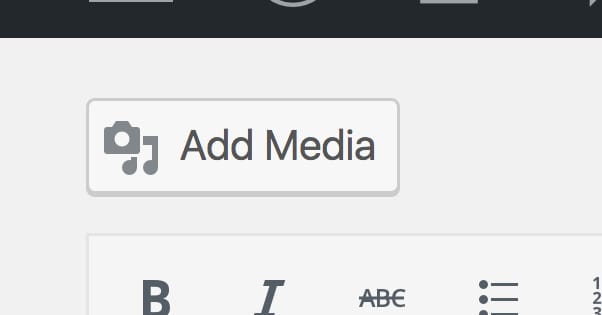
There’s a button called “add media” up in the corner. If you were wondering how to insert images into your blog posts, this is how you do it. With WordPress, you have to upload images to the media library. Once in the library, you can use them in as many posts as you want, and they will always come from the same source, so you’re not using up excess space on your web host.
Now, there’s one important thing to know about images, and that’s how to get them. No, you can’t just do a Google search and take whatever you want. You need to find images you have the rights to use, which means you either need to make them yourself, you need to buy the rights to them, or you need to find images available under creative commons.
Step 7: Add and Check Formatting
Once you have a post written, it’s time to do an editing pass. This is where I like to add formatting, the bolds and the italics you see throughout a post, the heading code, and so forth. It’s also where I do a pass to make sure images are aligned properly, their captions are in place, and there are no typos in the post. Of course, some slip through occasionally, so it’s not perfect.
WordPress saves your post automatically as a draft every so often, depending on your settings. However, I recommend saving an official draft and clicking the preview button now. This allows you to make sure everything looks good, everything is in place, and it looks like a post you would want to read on the internet.
Make sure you hit preview, not publish, by the way. Publishing it makes it go live; preview just shows you what it would look like if it was live.
Step 8: Create a Compelling Title
There’s a certain art to creating a blog post title, and it’s something you develop with experience, much like writing along the way. Thankfully, up until you do develop that skill, you can fake it. You just need to read about the types of titles you can create and use them to develop formulas that will work.
Step 9: Fill Out Meta Data and Category
Technically, the title can fall under the meta data category, but I’m putting it in its own place just for the added emphasis.
Now let’s look at the other forms of meta data surrounding your post composition box.
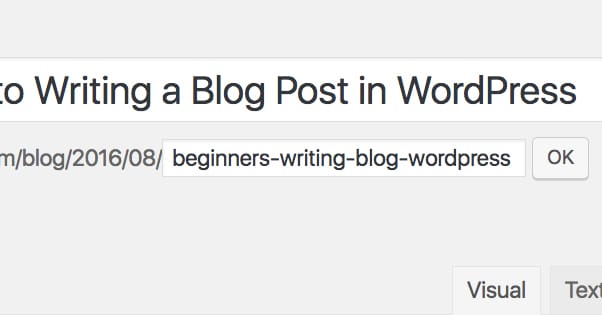
- The permalink will fit in one of a few different formats. Ideally, it should be human readable, probably with hyphens in it. If not, feel free to make it so.
- The category will typically just be a basic checkbox for “uncategorized.” However, you can add new categories, which creates sortable pages for all posts in that category. I recommend establishing a couple now, and expanding as you find need for them.
- Tags help search engines find you and help users read all the posts on your site using specific tags, if they want.
- The description may or may not be available to customize depending on your plugins. If it is, write a short one or two sentence summary of your post in a way that entices people to read. This is what shows up in Google’s search results.
At this time, you should also make sure you filled out the meta data associated with the images you added to your post. I don’t mean the caption, I mean the filename and description when you uploaded it. It’s easy to skip them in the rush to add them to your post, so go back and add them now.
Step 10: Pick a Featured Image
Featured images can be tricky. On many WordPress blog layouts, they are what you see as the thumbnail for the post. If you don’t set one, the post won’t have a thumbnail, and your blog layout will look empty or half loaded. On the other hand, a featured image is automatically added to the top of your post. That means if you already had it up top, it will be duplicated. Of course, you can tamper with theme files to fix this, but it’s easier to just adapt your image positioning to fit the images you want to use.
Step 11: Publish or Schedule the Post
Now you decide; do you publish now or schedule for later? I like scheduling even if you could publish immediately, simply because that allows you to publish at a more opportune time.
If you want to schedule the post, all you need to do is change the publication date in the publish box to something in the future. If you change it to a date in the past, it will be published and backdated. There are occasionally uses for this, but it’s not as valuable as you might think, so I generally don’t bother.
Once you have the post ready to be published, give it one final once-over to make sure all the typos and formatting errors you can think of have been squashed. Make sure the post timing is accurate for your scheduling, and hit the schedule button to set it for publication. This will save the finished product and publish it when the time comes. Congratulations! You’ve now published a post on WordPress, with as much ease as you can.
You may have discovered that some aspects of WordPress are less than ideal for your purposes. Thankfully, you can customize every aspect using a variety of plugins. Simply figure out what you would prefer to have happen, and look for a plugin; I can almost guarantee one exists.



Great article about blogging. This is very helpful. I have been blogging about fashion for my Apparel Search website for many years, but have not received much traction for the efforts. Hopefully your suggestions will be of help. Even though I post often and I think with helpful information for people interesting in clothing, I don t seem to gain any followers. After several years, I have people reading the blogs, but no followers and not many people posting comments. Rather frustrating, but I will continue my efforts. Anyway, thank you for your post and hopefully it helps me and others improve our blogging.