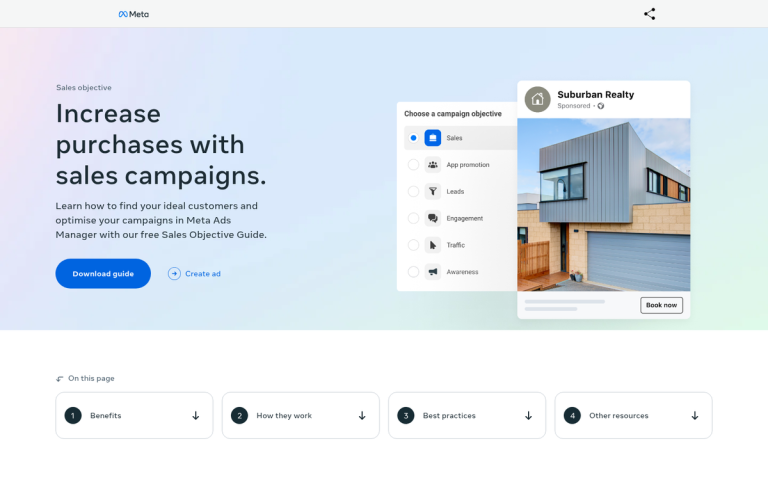





Traditional client-side tracking - the kind that fires a JavaScript pixel in the user's browser - was never bulletproof. But it's become significantly less reliable over the past few years. Depending on your audience and traffic sources, client-side setups can silently drop anywhere from 20% to 40% of conversion events before they ever reach Google, Meta, or whichever platform you're optimizing from. When your ad platform is working from incomplete data, its machine learning models suffer, your ROAS looks worse than it is, and your bidding decisions get made on a distorted picture of reality.
Server-side tracking fixes this by moving the data collection process off the user's browser and onto your own server. Instead of hoping a pixel fires correctly inside a privacy-restricted environment, your server captures the event and sends it directly to the ad platform - no browser interference, no ad blocker in the way. It's a more heavy-duty setup, and for WordPress site owners running paid campaigns, it's increasingly becoming a need rather than a nice-to-have.
This guide will walk through how to set up server-side conversion tracking on a WordPress site. You don't need to be a developer to follow along. But you should be comfortable working inside WordPress and willing to work through a few tools and configurations. By the end, you'll have a tracking setup that's meaningfully more accurate compared to what most sites are running.
Key Takeaways
- Client-side tracking silently loses 20-40% of conversion events due to ad blockers, Safari ITP, and Apple ATT restrictions.
- Server-side tracking sends conversion data directly from your server to ad platforms, bypassing browser-level interference entirely.
- WordPress users can choose between custom server-side GTM, plugin-based tools like Conversios, or a hybrid approach depending on technical skill.
- Deduplication is critical when running both browser and server-side tags simultaneously, as duplicate events inflate conversion data significantly.
- Always test with GTM Preview Mode and Meta's Test Events tool before going live to confirm accurate event firing.
Why Client-Side Tracking Is Quietly Breaking Your Data
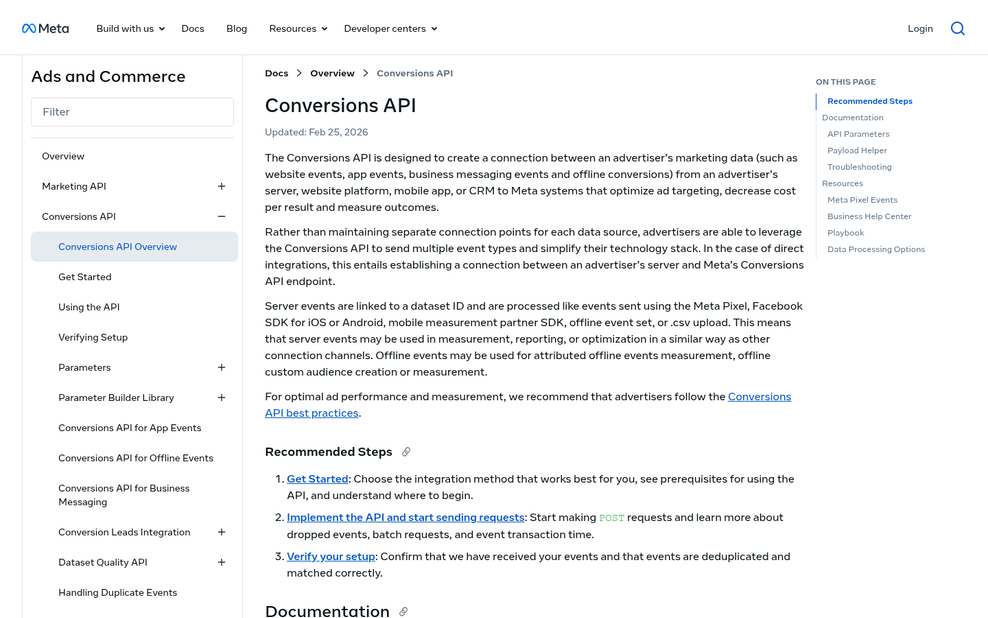
When you place a tracking pixel or tag on your WordPress site, it runs as JavaScript inside the visitor's browser. That script fires and sends conversion data directly to places like Google Ads or Meta - it relies on the browser for the heavy lifting - and that's where the problem starts.
Ad blockers strip those scripts before they ever run. Safari's Intelligent Tracking Prevention deletes first-party cookies after just 7 days. And since Apple introduced its App Tracking Transparency prompt, roughly 75% of iOS users have opted out of tracking entirely. Each of these works against you on its own, but together they create a big gap in your data.
The numbers here matter more than they might look. Studies and platform reports have pointed to 20-40% of conversion events going untracked when relying on browser-based tags; it's not a rounding error.
Consider what that means in practice. If you're spending money on paid ads and your tracking is only capturing 60-80% of conversions, your cost-per-conversion figures are inflated. You might pause a campaign that was actually performing well or increase budget on one that wasn't. Bad data at this level doesn't stay in the analytics dashboard - it feeds directly into spending decisions.
It's also worth noting that this problem has grown steadily as browsers have become more privacy-focused. Firefox, Brave, and Safari all apply some level of tracking restriction by default. Users don't need to install anything extra for your tags to be blocked or limited.
Here's a quick look at some of the main things that cut back on client-side tracking accuracy:
| Factor | What It Does to Your Tracking |
|---|---|
| Ad blockers | Block tracking scripts from loading entirely |
| Safari ITP | Deletes cookies after 7 days |
| Apple ATT | Removes consent for tracking on ~75% of iOS devices |
| Privacy-focused browsers | Apply default restrictions without user action |
What Server-Side Tracking Actually Does Differently
With client-side tracking, your visitor's browser does the work - it loads the tracking scripts, fires the tags, and sends the data to Google or Meta. But the browser is also where ad blockers live, where cookie restrictions apply, and where things go wrong.
Server-side tracking moves that job somewhere else entirely. Instead of the browser sending conversion data to ad platforms, your web server does it - directly, through an API connection. The visitor's browser doesn't fire anything. The data travels from your server to the platform's server, and ad blockers have no way to intercept it.
That's the core idea behind tools like Meta's Conversions API and Google's Measurement Protocol. Both are basically direct lines between your server and the ad platform. You send conversion data through these connections, and the platforms receive it cleanly without depending on what's going on inside a visitor's browser.

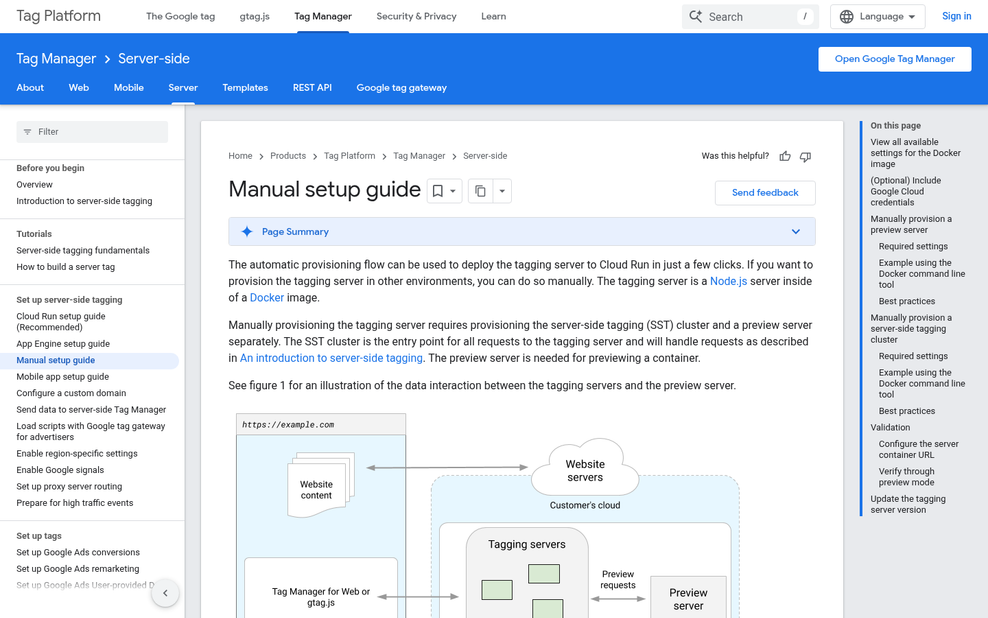
A server-side Google Tag Manager container works in a similar way. Instead of GTM running in the browser and firing tags from there, you run a separate GTM container on a server you control. That container receives event data and then distributes it to your connected platforms - it acts as a middle layer between your site and your ad accounts. If you're exploring options like Cloudflare Zaraz for server-side conversion tracking, the underlying principle is the same.
Because none of this runs in the browser, cookie restrictions don't apply in the same way. You're also not subject to Intelligent Tracking Prevention or any of the other browser-level privacy features that clip client-side data. The data that reaches your ad platforms is more complete and accurate as a result.
There's also a secondary benefit worth knowing about. When you control the data before it leaves your server, you can clean it up, deduplicate it, or enrich it before it gets sent - it's a level of control you don't have when a browser script is doing the firing. Tools like multiple conversion tracking pixels on a single page can complicate this, which is another reason server-side setups offer an advantage.
The mechanism itself isn't tough to understand once you see it laid out. The setup, on the other hand, does take some planning - which the next section gets into.
Choosing the Right Setup Path for Your WordPress Site
Before you touch a single setting, it helps to know which setup path fits your situation. There are three main ways to get server-side tracking running on a WordPress site, and they each ask something different from you in terms of technical skill.
The full custom server-side GTM setup has the most flexibility. You host your own tagging server, configure everything manually, and can connect to almost any ad platform. That power comes at a cost though - this path takes a few hours and you are going to need development experience to pull it off without problems.
Plugin-based services like Conversios manage the server-side connection for you and can reportedly get you up and running in around 15 minutes with no custom code at all. If you run a WooCommerce store and want to get tracking working without hiring a developer, this is a helpful path.
The hybrid strategy sits in the middle. You might use a plugin to manage one platform while creating a custom GTM container for another - it works for sites that need a bit more control in places but still want to keep things manageable.
| Setup Approach | Technical Skill Needed | Avg. Setup Time | Best For |
|---|---|---|---|
| Custom Server-Side GTM | High | Several hours | Developers, complex setups |
| Plugin-Based (e.g. Conversios) | Low | ~15 minutes | Small to mid-size stores |
| Hybrid Approach | Medium | 1-3 hours | Sites needing custom + ease |
Think about which ad platforms you run and how many there are. A single-platform setup is much easier to manage than tracking across Google, Meta, and TikTok at the same time. Your honest assessment of your technical comfort level matters here just as much as your platform combination does.
Step-by-Step: Configuring Server-Side GTM and Your Tracking Container
This section assumes you're going the manual path and creating server-side GTM yourself - it takes more effort upfront, but you get full control over how your data moves.
Create Your Server-Side Container
Log into Google Tag Manager and create a new container. When prompted for the container type, choose "Server." GTM will generate a tagging server URL that you'll use throughout the rest of the setup.
Deploy a Tagging Server
You need to host the tagging server somewhere - Google Cloud (via App Engine or Cloud Run) is the most common pick. GTM gives you an auto-provisioning option inside the container setup screen, which handles the infrastructure automatically and is the fastest path if you're not comfortable with Cloud configuration. Once deployed, copy your server URL and keep it handy.
Connect the Server to Your WordPress Site
Head back to GTM and open your existing web container. You'll update your GTM snippet to point to your new tagging server URL instead of the default Google endpoint - this is where data starts routing through your server instead of going directly to Google or Meta.
Route Your Tags Through the Server Container
Inside your server container, set up client tags to receive incoming hits. Then create the outbound tags - like Google Ads Conversion or Meta Pixel - to fire from the server side. Make sure your triggers match the events you're sending from the browser container.
Mismatched triggers are one of the most common problems here. If your server tags fire on the wrong conditions, you'll either miss conversions or send duplicates - and duplicate events can inflate your data significantly.
| Common Mistake | What Goes Wrong | How to Fix It |
|---|---|---|
| Misconfigured triggers | Tags fire at the wrong time or not at all | Match trigger names exactly between web and server containers |
| Duplicate event firing | Conversions are counted twice | Disable the browser-side tag once the server tag is live |
| Wrong server URL | Hits never reach the server container | Double-check the transport URL in your web container settings |
Test everything in GTM's preview mode before you publish. The debug view will show you which tags fired and what data came through.
Connecting Google Ads and Meta Conversions API to Your WordPress Server
With your server-side container running, the next step is to connect your ad platforms to it. Google Ads and Meta have server-side options, and they work a little differently from each other.
Google Ads via Measurement Protocol
Google Ads connects to your server container through the Measurement Protocol. Inside your server-side GTM container, you'll configure a Google Ads Conversion Tracking tag and point it to your server endpoint instead of the browser. You'll need your Conversion ID and Conversion Label from Google Ads, which you can find under Tools and then Conversions in your Google Ads account.
One thing to get right here is deduplication. If your browser container is still firing Google Ads tags alongside the server, you can end up counting the same conversion twice. Use a transaction ID or event ID to let Google know which events are duplicates so it can filter them out automatically.

Meta Conversions API
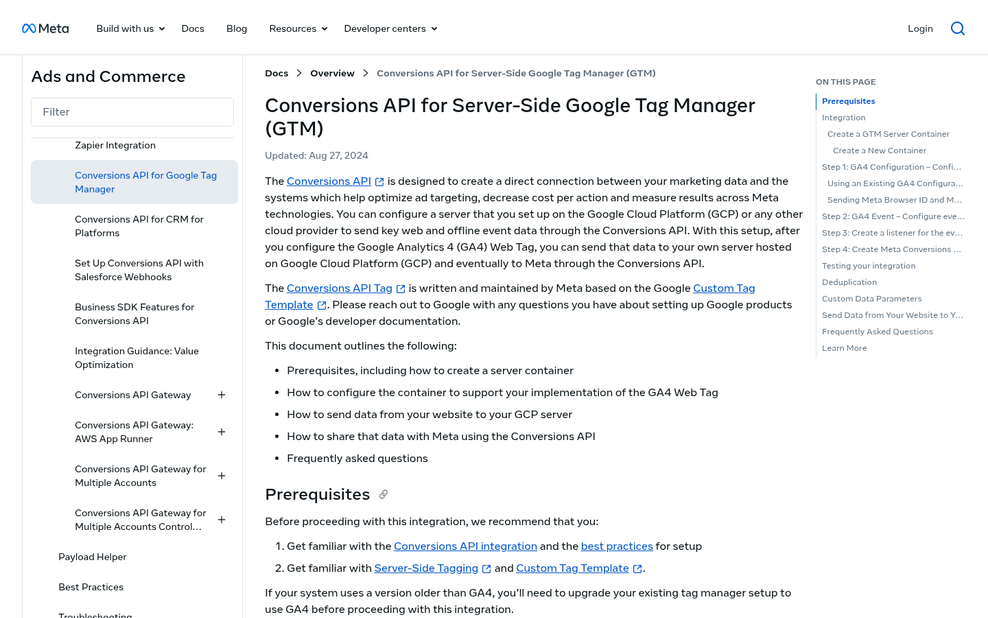
Meta's Conversions API (CAPI) sends event data directly from your server to Meta without relying on the browser pixel. In your server container, add a Facebook Conversions API tag and enter your Pixel ID and access token from Meta's Events Manager. Make sure to pass an event ID that matches the one your browser pixel sends - this is how Meta deduplicates events on its end.
Getting deduplication wrong is one of the most common ways a server-side setup inflates conversion numbers - it's worth double-checking this before you go live. This is also related to why many advertisers see no conversions in AdWords even when campaigns are running correctly.
The payoff for doing this right can be big. A WooCommerce store using Conversios reported a 90% lift in reported Meta conversions and a 50% lift in Google Ads conversions after switching to server-side tracking - largely because server-side data fills in the gaps that browser-based tracking misses. If you're also trying to pass your conversion value to Google Ads, getting your server-side setup correct first is essential.
After connecting each platform, run through these checks to confirm everything is set up correctly.
| Platform | What to Verify |
|---|---|
| Google Ads | Conversion tag firing in server container, event ID passed for deduplication, no duplicate tags in browser container |
| Meta (CAPI) | Pixel ID and access token entered correctly, event ID matches browser pixel, events visible in Meta Events Manager |
Testing, Debugging, and Confirming Your Tracking Is Actually Working
Getting everything connected does not mean everything is working. Before you run a single live campaign with your new setup, you'll have to verify that events are firing the way you expect them to.
GTM's built-in preview mode is a good place to start - it lets you walk through your site as a visitor would and watch which tags fire at each step. You can see if your server-side container receives the events and if the right parameters are attached to each one.
For Meta, the Test Events tool inside Events Manager is your best bet here. You enter a test code into your server container setup, then trigger a conversion on your site and watch the event appear in real time - this confirms that your Conversions API is sending data and that Meta can read it correctly.
Google's Tag Assistant works in a similar way for Google Ads - it connects to your browser session and shows you a log of what fired, when it fired, and what data was sent along with it. If something looks wrong, the log usually tells you where the problem happened.
One thing to watch for is duplicate events. If your browser-side tags are still active alongside your server-side setup, the same conversion can get reported twice - this inflates your numbers and skews your optimization data, so it's worth cross-referencing your event logs before you go live.
Missing parameters are another common problem to check for. Events that fire without key details like purchase value, currency, or user data are far less helpful to the ad platforms. A validated setup should pass these through cleanly. Third-party tracking tools can sometimes help you spot these gaps before they affect your campaigns.
Run at least two or three test conversions end-to-end before the setup goes live. A server-side switch done right can improve tracking accuracy from somewhere in the 40-70% range all the way to close to 100%. But only if you take the time to confirm it's working first.
Your Conversion Data Deserves Better Than a Leaky Pipeline
The path forward is clear - even if the setup takes some patience. You now know why client-side tracking falls short, how to choose the best strategy for your site, and how to connect your WordPress backend to GTM, Google Ads, Meta, or whichever platforms drive your campaigns. More importantly, how to verify that it's all actually working - because a server-side setup you can't confirm is another source of uncertainty. Traffic numbers in Google Analytics can look very different once you close the gaps in your tracking pipeline.
If you're still not sure, get a plugin. Tools like Stape or a dedicated server-side connector lower the barrier and get you most of the benefit without requiring custom infrastructure. You can always build a more refined setup later once you've seen what cleaner data looks like. And once your attribution aligns, your ROAS stabilizes, and your campaigns have a more accurate signal to optimize against - you'll understand why this work matters.