


Key Takeaways
- Tracking pixels are present on over 94.5% of domains, making them the backbone of modern digital advertising and analytics.
- Before installing any pixel, define your conversion goal and identify the specific confirmation page that only appears after a successful conversion.
- Google Tag Manager is the recommended installation method, allowing you to manage all pixels without directly editing website code files.
- Always verify your pixel is firing correctly using tools like Meta Pixel Helper or Google Tag Assistant before considering setup complete.
- Browser-based pixels are becoming less reliable due to privacy restrictions; pairing them with server-side solutions like Meta's Conversions API is strongly recommended.
What Is a Tracking Pixel and How Do You Install One?
In the early days of web tracking, a tracking pixel was exactly what it sounds like: a single, solitary pixel. Literally a 1x1 image, usually the same color as the page background or completely transparent, quietly loading in the background while you went about your business online. Simple, clever, and surprisingly effective.
The concept hasn't changed much. You place a pixel somewhere you want to track activity - a webpage, an email, a landing page. When the user loads that page or opens that email, their browser requests the pixel image from your server. You check your server logs, count the requests, and suddenly you have real data. For example, you send out an email newsletter with a couple of ads embedded. The advertisers want to know how many people actually saw those ads. You pull your server logs and see the pixel was loaded by 15,000 unique IP addresses. There's your number.
What has changed is the scale and sophistication of how tracking pixels are used today. Research crawling over 84,000 web pages across nearly 9,000 domains found that invisible tracking pixels are present on more than 94.5% of domains and make up over 35% of all third-party images. This is not a niche tool anymore. It is the backbone of modern digital advertising and analytics.
Today, tracking pixels come in several forms. There's the classic image-based pixel, third-party script-based trackers, and tag-based pixels from platforms like Meta (formerly Facebook), Google, TikTok, LinkedIn, and others. Most modern pixels are JavaScript-based, firing additional data alongside the basic page load - things like browser type, screen resolution, referral source, and behavioral events.
It's also worth noting that the regulatory landscape around tracking has shifted significantly. The EU introduced tracking technology regulations as far back as 2002, and by 2009, the EU Directive required websites to obtain user consent before deploying profiling technologies. In 2018, GDPR tightened this further. Today, if you're running a website targeting users in the EU or UK, consent management is not optional - it's a legal requirement that affects how and when your pixels fire. And even with tools like EasyList, EasyPrivacy, and Disconnect combined, researchers found that around 30% of trackers still slip through on the majority of websites, which tells you just how deeply embedded this ecosystem has become.
For this guide, I'll use the Meta Pixel as the primary example, but the process is largely the same for Google Ads conversion tags, TikTok Pixel, LinkedIn Insight Tag, or any other major platform. The differences come down to where you get the code, not how you install it.
Step 1: Determine What Your Ad Objective Is
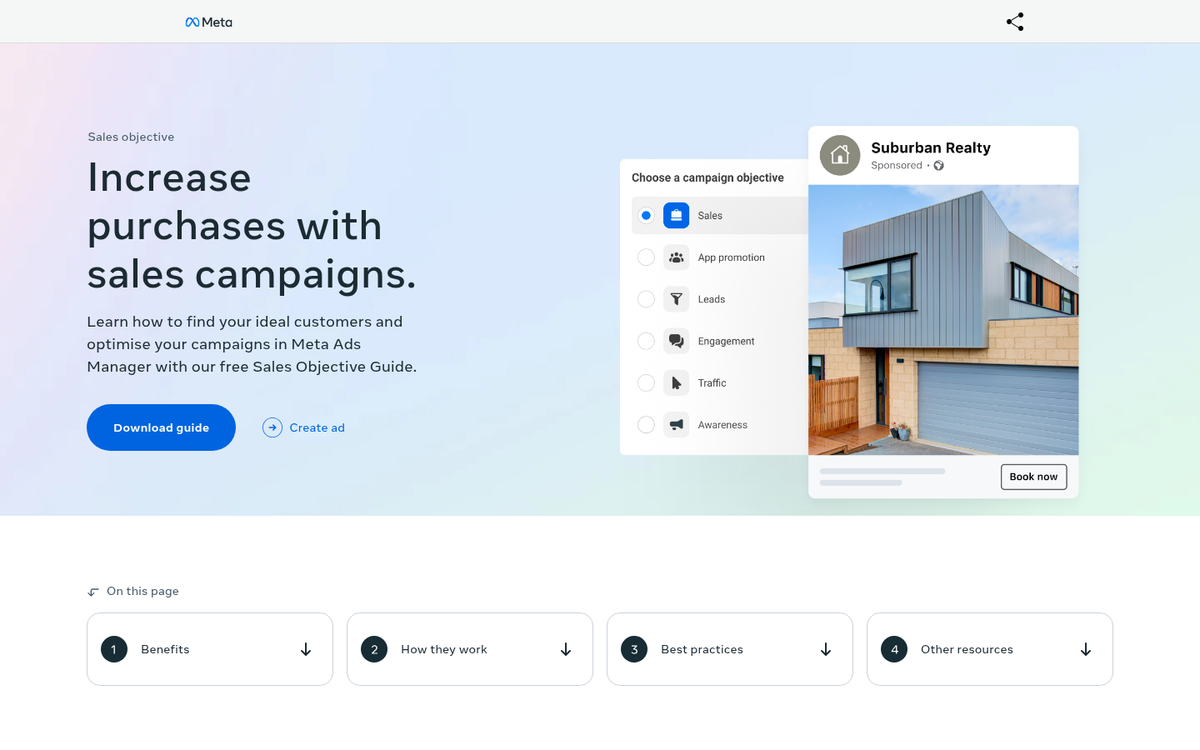
Before you generate any pixel code, you need to define what a conversion actually means for your campaign. This shapes everything downstream. Here are common examples:
- Getting people to sign up for your email list or newsletter.
- Getting people to complete a purchase on your website.
- Getting people to submit a contact or lead generation form.
- Getting people to download a digital product from your site.
- Getting people to book an appointment or register for an event.
What all of these have in common is that the conversion happens on a page you control.
This is an important distinction. If you're driving traffic to an affiliate offer, the conversion confirmation page lives on someone else's domain. You can track clicks leaving your site, but you cannot place your own conversion pixel on a page you don't own. For affiliate traffic, you'll be relying on the affiliate network's own reporting for conversion data. Keep that in mind when planning your attribution strategy.
Step 2: Determine What Page Indicates a Successful Conversion

Once you know what you're tracking, you need to identify the specific page that only appears after a successful conversion. This is where your pixel event code will live.
Examples:
- Email signup: The "Thanks for subscribing!" confirmation page shown after form submission.
- Product purchase: The order confirmation page displaying an order number.
- Lead form: A "Thank you, we'll be in touch soon" page shown after form submission.
- Digital download: The page where the user accesses or downloads their purchased file.
Two requirements apply here. First, the page must only be reachable by users who have actually converted - if anyone can navigate directly to it, you'll collect false positives. Second, you need to be able to edit the page, either directly or with help from a developer. If you don't have access, loop in whoever manages your site before moving forward.
Step 3: Generate Your Pixel Code
This step varies by platform, but the concept is the same across all of them.
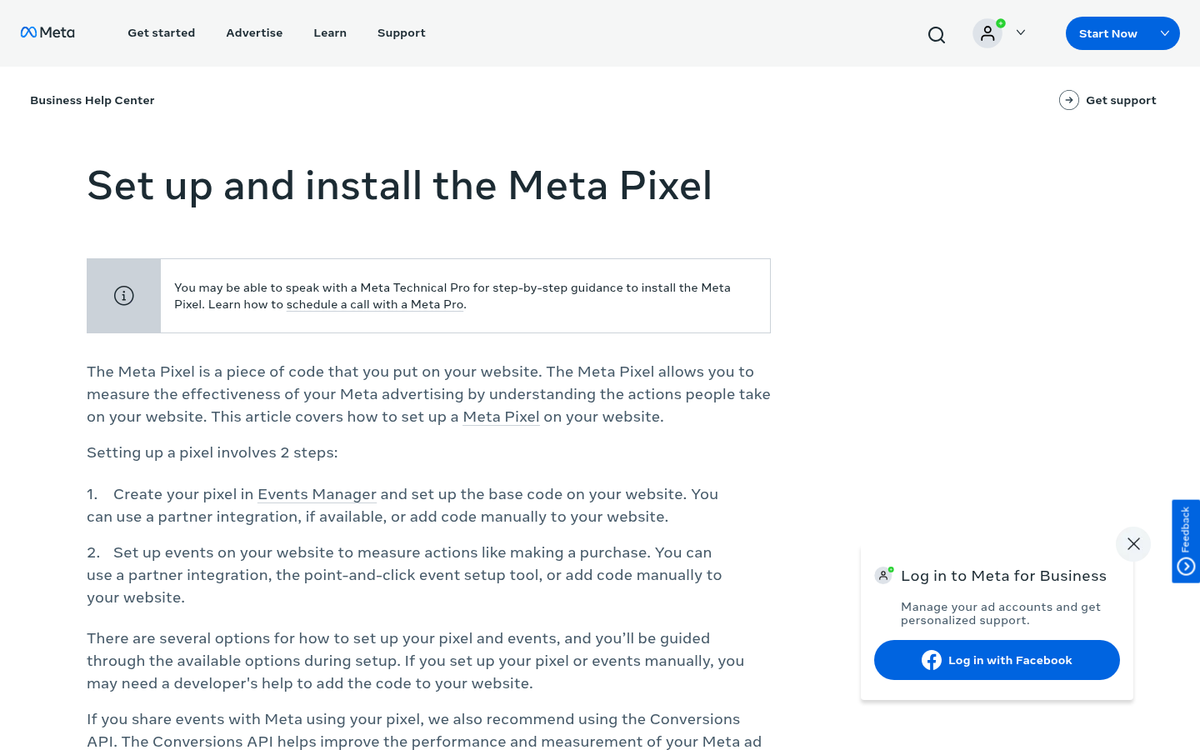
On Meta (Facebook), log into your Meta Business Suite or Ads Manager. Navigate to the Events Manager, select "Connect Data Sources," choose "Web," and follow the prompts to create a new pixel. You'll be given a base pixel code to install site-wide, plus event-specific code snippets for actions like purchases, leads, and sign-ups. Meta also now supports the Conversions API (CAPI) as a server-side complement to the browser pixel, which has become increasingly important as browsers restrict third-party cookies. If you're running serious Meta ad campaigns in 2026, setting up CAPI alongside your pixel is strongly recommended.
On Google Ads, go to your Google Ads account, navigate to Goals > Conversions > Summary, and click "New conversion action." Choose "Website" as the conversion source, define your conversion event, and Google will generate a global site tag (now part of Google Tag) along with an event snippet for your conversion page. Google Tag Manager is the preferred method for most marketers today, as it lets you manage all your tags from one interface without touching code on every page.
For TikTok, LinkedIn, Pinterest, and other platforms, the process follows the same pattern - find the pixel or tag section within their respective ad platforms, generate your base code and event snippets, and follow their documentation. Most major platforms have native integrations with Google Tag Manager, Shopify, WordPress, and other common environments, which can significantly simplify installation.
Step 4: Locate Your Conversion Page
Go back to the conversion page you identified in Step 2 and find where it actually lives on your website. If your confirmation page is at www.example.com/checkout/thank-you, you need to locate that file or template in your CMS or server directory.
On WordPress, you have several solid options for managing pixel installation:
- Google Tag Manager is arguably the cleanest solution. Install the GTM plugin, connect your container, and manage all pixels from the GTM interface without touching theme files.
- Insert Headers and Footers (or similar plugins like WPCode) lets you paste code directly into your site's header and footer without editing theme files. If you're unsure what plugins your WordPress blog is using, there are ways to check.
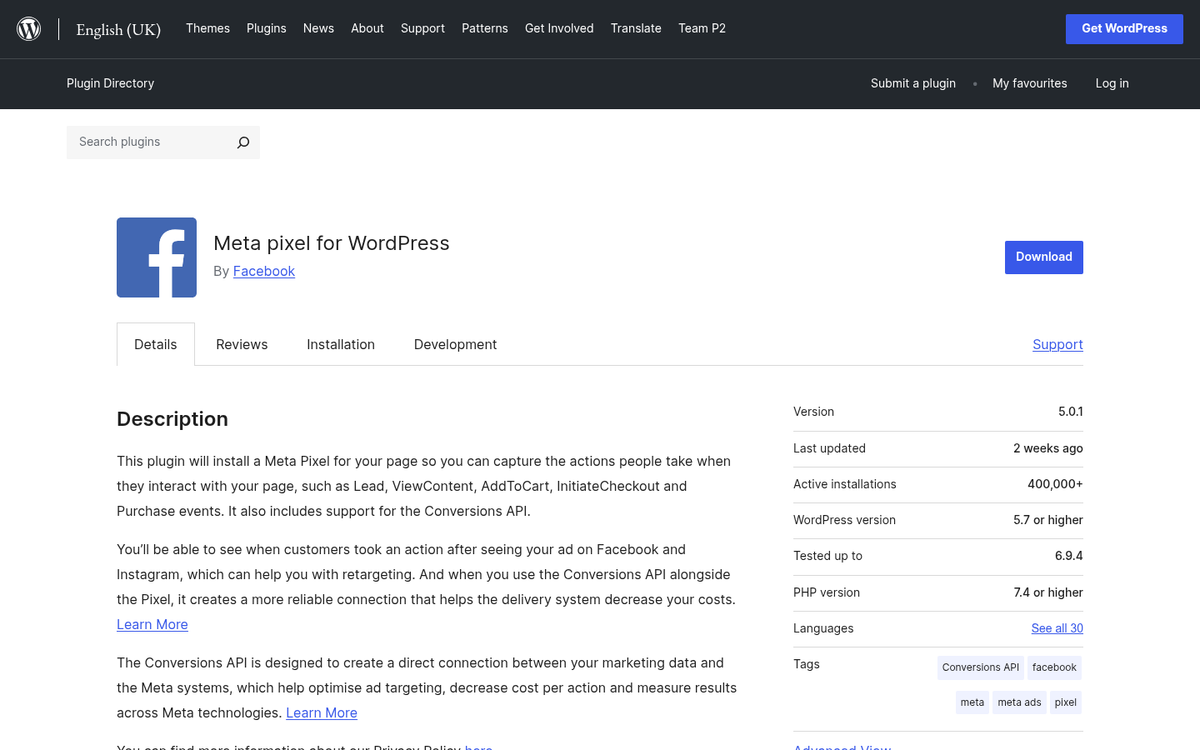
- Platform-specific plugins exist for Meta Pixel, Pinterest Tag, TikTok Pixel, and others - useful if you want a simpler setup with a dedicated UI.
Keep in mind: the base pixel code goes on every page of your site, while the conversion event snippet goes only on the confirmation page. Don't mix these up.
Step 5: Install the Pixel Code

At this point you have your code ready and you know where it needs to go. Here's how to get it there.
If you're using Google Tag Manager (recommended for most users), you'll create a new tag in your GTM workspace, paste in your pixel code or use the built-in templates for Meta, Google Ads, LinkedIn, etc., set your trigger to "All Pages" for the base code and a specific page URL trigger for your conversion event, and publish your container. No file editing required.
If you're editing files directly, you'll need FTP or SFTP access to your server. Tools like FileZilla, Cyberduck, or the built-in file manager in cPanel work well. Download the file you need to edit, save a backup copy before touching anything, and open it in a code editor. VS Code, Notepad++, and Sublime Text are all solid choices in 2026.
Placement matters:
- Meta Pixel base code: Paste just before the closing
</head>tag. - Google Ads / Google Tag: Paste just after the opening
<body>tag. - Event-specific snippets: Follow each platform's documentation, as placement requirements vary.
Once you've made your edits, save the file, keep your backup intact, and upload the modified file back to your server via FTP, overwriting the live version. If anything breaks, your backup gets you back to a working state quickly. If you're also tracking purchase values, see our guide on how to pass your conversion value to Google Ads for additional setup steps. For those using Stripe, you may also want to review how to set up conversion tracking with Stripe Checkout.
Step 6: Verify the Pixel Is Working
Don't skip this step. Installing the pixel is only half the job - you need to confirm it's actually firing correctly.
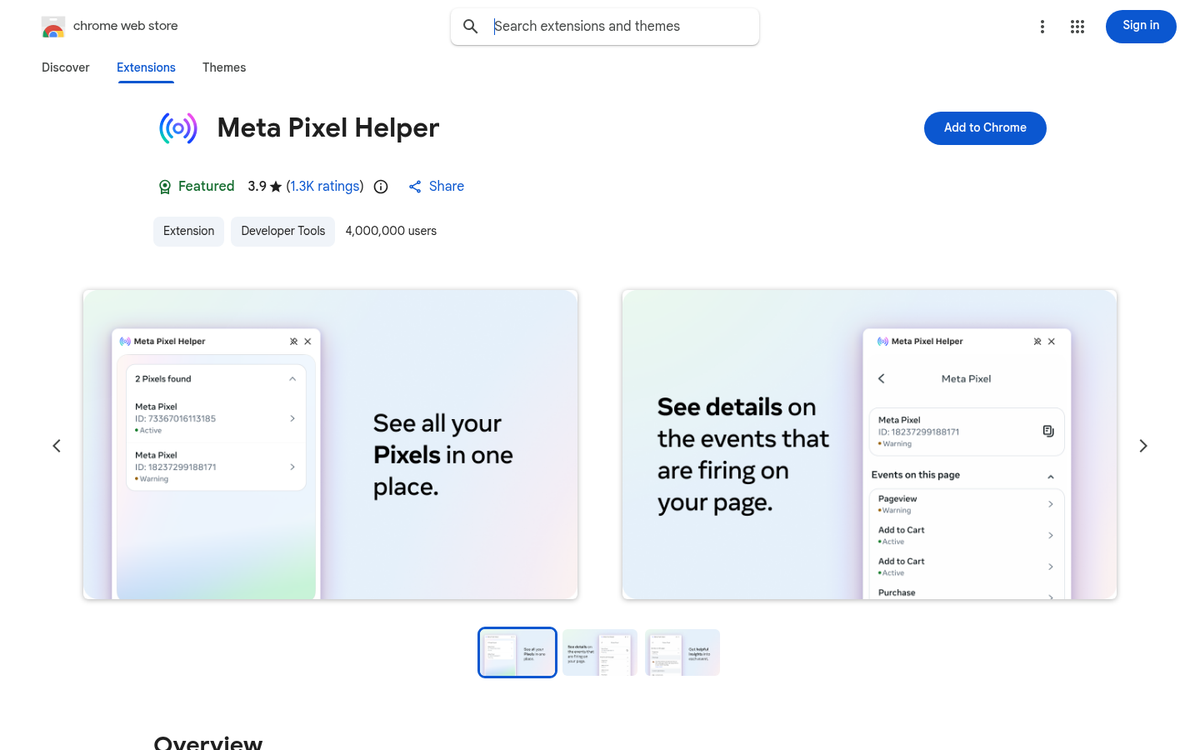
- Meta Pixel Helper is a Chrome extension that shows you whether the Meta Pixel is firing on a given page and what events it's sending.
- Google Tag Assistant (also a Chrome extension) serves the same purpose for Google tags.
- Within Google Tag Manager, use Preview Mode to see exactly which tags fire on which pages before publishing.
- Most platforms' Events Manager or conversion tracking dashboards will show "Active" status within a few minutes of a successful test conversion.
Walk through the conversion flow yourself - fill out the form, complete a test purchase, or trigger whatever action you're tracking - and then check your platform to confirm the event was recorded. If it shows up, you're live. If it doesn't, go back and check your placement, triggers, and whether the pixel ID in the code matches your account.
One final note: with increasing browser privacy restrictions, iOS privacy updates, and the ongoing deprecation of third-party cookies, relying solely on browser-based pixels is becoming less reliable. For 2026 and beyond, pairing your pixel with a server-side solution like Meta's Conversions API, Google's enhanced conversions, or a customer data platform (CDP) gives you much more complete and accurate conversion data. The pixel is still valuable - but it works best as part of a broader measurement strategy, and tracking conversions accurately is not something you want to leave to a single tool.


1 response
Thoughtful replies only - we moderate for spam, AI slop, and off-topic rants.
What is the pros and cons of embeding pixel on website VS enabling it on a link?