

WordPress is the platform behind over 43% of all websites on the internet, reaching more than 400 million readers every month. Choosing it for your blog means you're building on the same foundation trusted by everyone from independent writers to media outlets. You're not figuring something out in isolation - you're walking into a massive, well-supported ecosystem.
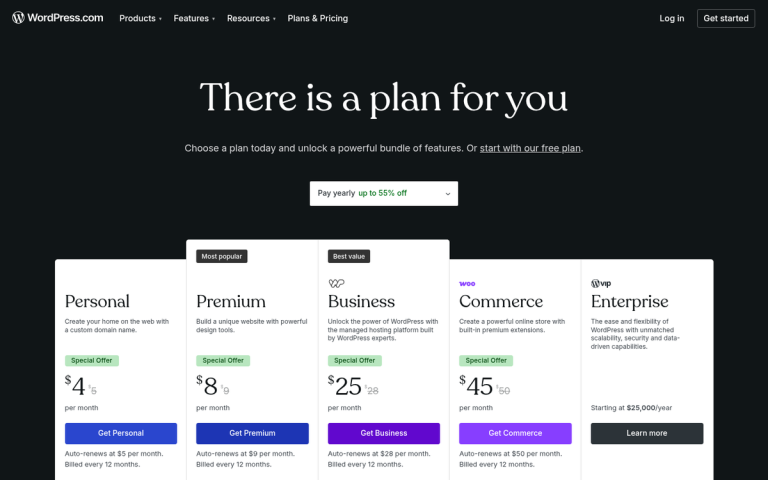
That said, not all WordPress setups are created equal. There's an important distinction between self-hosted WordPress (the software from WordPress.org on your own hosting account) and managed platforms like WordPress.com. With a self-hosted blog, you own your content outright, you choose your hosting, and you have full control over how your site looks, functions, and grows. There are no forced limitations on monetization, plugins, or design - it's legitimately yours in a way that other platforms basically don't allow.
The only question is how you want to set it up - this post walks you through three different methods, ranging from a beginner-friendly one-click install to a more advanced approach - so you can choose the path that fits your comfort level and get your blog live without unnecessary frustration.
Key Takeaways
- Self-hosted WordPress gives full ownership of content, with no restrictions on monetization, plugins, or design.
- Starting costs are minimal: hosting runs $3-$10/month, and domains are often free the first year.
- Three setup methods exist: beginner-friendly one-click install, manual FTP installation, or local setup via LocalWP.
- Manual installation requires creating a database and uploading files via FTP, but builds useful technical understanding.
- After launching, prioritize setting permalinks, choosing a theme, and installing security, caching, and SEO plugins.
What You Need Before You Start (Hosting, Domain, and Costs)
There are three things you'll need to get a self-hosted WordPress blog up and running: a hosting plan, a domain name, and the WordPress software itself. The good news is that WordPress is free to download from WordPress.org. That leaves hosting and a domain as your only costs.
Here's a quick look at what each piece costs and what it does.
| What You Need | Typical Cost | Notes |
|---|---|---|
| Web Hosting | $3-$10/month | Shared hosting is fine for new blogs |
| Domain Name | $7.99-$14.99/year | Often free for the first year with hosting |
| WordPress Software | Free | Downloaded from WordPress.org |
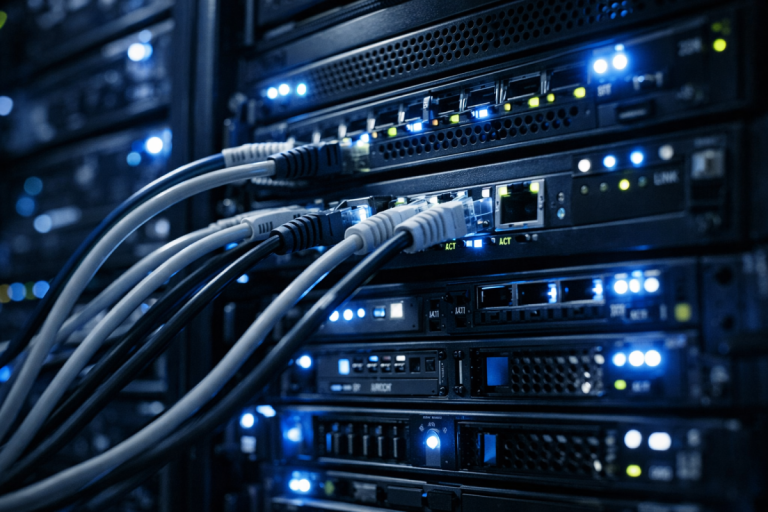
Web hosting is what makes your blog accessible on the internet - rented space on a server where your site's files live. Most new bloggers do well on shared hosting; your site shares server resources with other sites to keep costs low.

Shared hosting gets a bad reputation in some circles. But for a blog that's just starting out, it works well for the job. You're not running a high-traffic news outlet on day one, and you don't need to pay as though you are. If you're curious about how much traffic shared hosting can actually handle, it may surprise you. A basic plan in the $3-$10/month range is enough to get started and grow for quite a while.
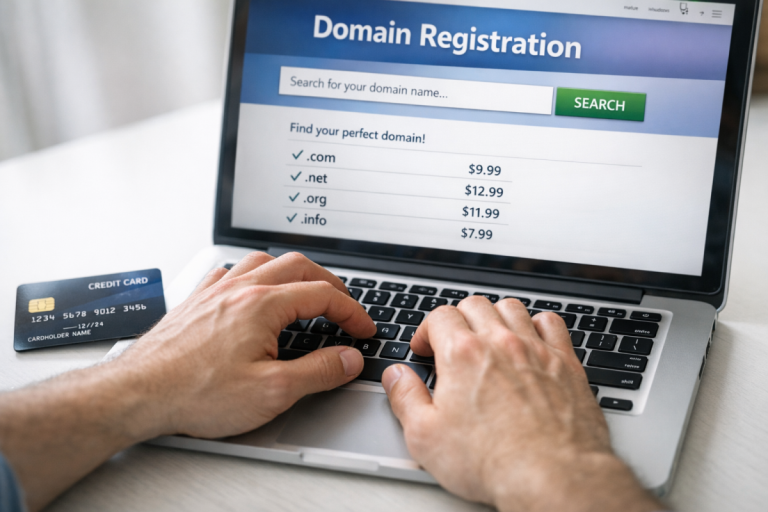
Your domain name is your web address - the part visitors type into their browser to find you. Many hosting providers include a free domain for the first year when you sign up for a plan, so it's worth checking before you buy one separately. After that first year, a .com domain renewal runs around $7.99-$14.99 per year depending on your registrar. If you haven't settled on a name yet, it helps to read up on how to come up with a good blog name before you commit.
One thing worth learning about: you don't need to buy extra features like dedicated IP addresses, SSL upgrades, or premium backup add-ons before you've even published your first post. Many hosts push these during checkout and they can double your bill fast. Stick to the basics for now - you can always add things later as your blog grows.
Method 1 - One-Click WordPress Installation Through Your Host
The easiest way to get WordPress running is through your hosting provider's built-in installer, and it's where most beginners should start. Your hosting provider does the heavy lifting for you - no file transfers, no database commands, nothing technical to wrestle with.
Most shared hosting plans have a built-in installer tool. You'll usually find it inside your hosting control panel, which is either cPanel or a custom dashboard depending on your host. Look for a section labeled something like "WordPress" or "Website Installer" and click it to get started.
What Actually Happens When You Click Install
It's worth learning about what's going on silently - even if you never have to touch any of it yourself. When you run the installer, your host automatically gives you a database, drops the WordPress files into the right folder on your server, and connects everything together. What used to take developers a half hour of setup now takes about two minutes.
The steps are just being handled.
Walking Through the Setup Screen
The installer will ask you a few things before it runs. Let's talk about what to expect in each field.
| Field | What to Enter |
|---|---|
| Domain | Select the domain you want to install WordPress on |
| Directory | Leave blank to install at your root domain (e.g. yoursite.com) - though it's worth considering whether your blog should live on a separate domain |
| Site Name | Your blog's name - you can change this later in WordPress |
| Admin Username | Pick something other than "admin" for basic security |
| Admin Password | Use a strong password and write it down immediately |
| Admin Email | Use an email address you actually check |
The most common hang-up at this stage is breezing past the username and password fields without saving them somewhere. Once the installer finishes, you'll need those credentials to log in to your WordPress dashboard - so take ten seconds to copy them into a notes app or password manager before you click the final button.
After the install completes, you'll get a confirmation screen with a link to your new WordPress login page. That address is usually yoursite.com/wp-admin. If you started out on WordPress.com and are moving over, our guide on migrating a WordPress.com site to a self-hosted install covers what to do next.
Method 2 - Manual Installation Using the Famous 5-Minute Install
If your host doesn't have an auto-installer, or you just want to know what's going on under the hood, the manual path is the way to go- it takes a little more effort but gives you a fuller picture of how WordPress actually works.
Let's look at how to do it, step by step.
- Download WordPress. Go to WordPress.org and download the latest version. You'll get a zip file - extract it on your computer before you do anything else.
- Create a database. Log into your hosting control panel and find the MySQL Databases section. Create a new database, then create a user and assign that user to the database with full permissions. Write down the database name, username, and password - you'll need all three in a moment.
- Upload the files via FTP. Use an FTP client like FileZilla to connect to your server. Upload the extracted WordPress files to your root directory, which is usually called
public_html. - Run the setup wizard. Visit your domain in a browser and WordPress will detect the uploaded files. It walks you through a short setup form where you enter your database credentials and site details, then finishes the installation automatically.
The whole process does take about five minutes once you've done it before. The first time could be a bit slower while you get familiar with FTP and the database panel. But nothing about it's tough.

The most common mistake people make here is entering the wrong database credentials in the setup wizard. WordPress will throw an "Error establishing a database connection" message if the username, password, or database name doesn't match what you set up. Double-check all three before you submit the form - it saves head-scratching.
For some, the manual path is about understanding what they're building on. When you've created the database and uploaded the files yourself, you have a clearer sense of where everything lives and why. That knowledge is helpful later if you need to troubleshoot something or find out more about your WordPress setup when migrating your site to a new host.
Method 3 - Installing WordPress Locally Before Going Live
A local installation means running WordPress on your own computer instead of a web server. Nobody else can see it and nothing is live on the internet - it's a private sandbox where you can build, break and experiment freely.
It fits a few types of people well. If you want to learn WordPress without touching a live site, this is a great place to start - it's also a fit for designers who want to build a site before launching it to the public.
The tool used for this is LocalWP (also called Local by Flywheel) - it's a free desktop app that sets up everything you need - a local server, PHP and a database - with just a few clicks. You don't need to configure anything manually, which makes it far more accessible than it sounds.
How to Get Started with LocalWP
Download and install LocalWP from its official site at localwp.com. Once it's open, click "Create a new site," give it a name and follow the prompts. Within a couple of minutes you'll have a working WordPress install running on your laptop.
From there, you can install themes, add plugins, create pages and get everything looking the way you want it. Nothing you do can affect any live website because it stays on your machine.
Moving Your Local Site to Live Hosting
At some point you'll want to take your locally built site and put it on hosting so the world can see it - this process is called migration and it means moving your files and database to your hosting account.
LocalWP has a built-in export feature that works directly with managed hosts like WP Engine or Flywheel. For other hosts, a free plugin like All-in-One WP Migration does the job reliably. You export your site as a single file and then import it on your live host.
Migration can add an extra step compared to the first two methods covered here. But for anyone who wants to build privately first and launch with a finished product, that trade-off is worth it. You get full control over the timing of your launch without anything half-finished going public.
Your Blog Is Live - Here's What to Do in the First 24 Hours
Before you dive too deep, here are a few quick wins to help with immediately:
- Set your permalinks. Go to Settings → Permalinks and choose the Post name structure. Do this first - changing it later can break existing URLs.
- Choose a theme. Pick something clean and simple to start. You can always switch later, and a lightweight theme will help you focus on content over design.
- Install a handful of essential plugins. A security plugin, a caching plugin, and an SEO plugin are a solid starting three. Resist the urge to install everything at once.
- Write a test post. Hit Posts → Add New and write something - anything. Familiarity with the block editor now saves frustration later.
The dashboard can seem a bit stressful at first, and it's normal to click around not sure of where to start. The best thing you can do is publish something imperfect and learn as you go. Every successful blog started with a first post that its author probably cringes at now - it's the point. You've done the hard part. The rest is writing.