


Key Takeaways
- Migrating offers access to 5,000+ free themes, unlimited plugins, and full design control unavailable on WordPress.com.
- Before migrating content, configure security essentials: change default credentials, install security plugins, and enable two-factor authentication.
- Some content won't transfer automatically, including custom fonts, widgets, permalink settings, and blog statistics, requiring manual recreation.
- After importing, manually reassign user roles since WordPress.com imports default all users to "Subscriber" status.
- Redirect old URLs to your new site and perform backlink outreach, as direct link updates preserve more SEO value than redirects.
Migrating a site from a hosted WordPress.com version to the self-hosted WordPress.org version might seem straightforward, and to a certain extent it is. The problem comes from doing steps in the wrong order, skipping a step, or just not learning about what the process means. Thankfully, it's easy enough to talk about, so I'll give you a guide to make the whole process easy.
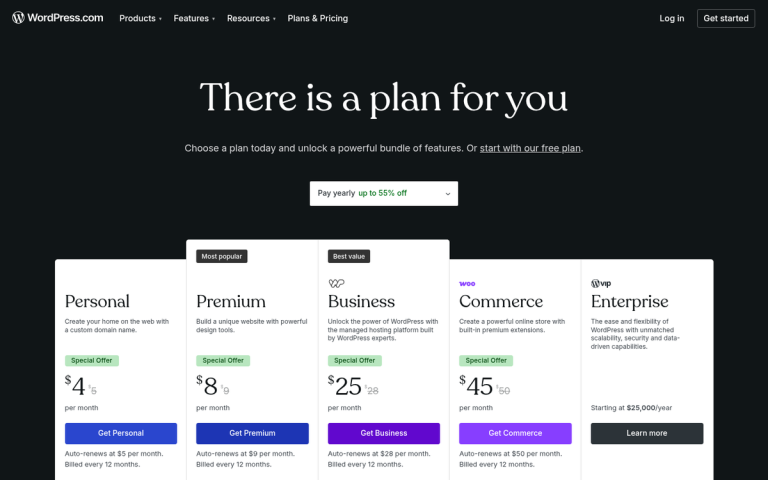
First of all, obviously you have to have a WordPress.com blog and you have to have a pressing reason to migrate away from .com and into .org. Generally, there are two reasons you want to do this. The first is to have access to more plugins and themes. WordPress.com is very limited - even in their premium expensive tiers, with what you can and can't include in your installation. The reason, of course, is because it's all running on a single multisite instance, and that means any plugin installed has to be installed for all users. Rather than allow custom plugins, they just have a fixed set. By contrast, WordPress.org gives you access to over 5,000 free themes on WordPress.org alone, plus the entire ecosystem of premium themes and plugins.
The second reason is that you want more control over your content and design. There are a number of blogs out there that you would never believe run on WordPress.org, because of how different and how customized they are. The fact is, you can make WordPress look and act just about any way you might want - something that's basically not possible on WordPress.com's managed environment.
If you're migrating for another reason, that's fine. Just make sure it's a good reason - not a redundant one. For example, if you want a custom domain name, you can do that with WordPress.com, and probably for less money than it costs to buy, migrate, and care for a self-hosted installation. But the maintenance tasks are performed by WordPress on their .com sites. With .org, you are responsible for doing it all yourself - like updates, backups, and security.
Convinced that you want to migrate and set things up yourself? Alright, let's get started on the process.
Step 1: Buy Hosting and a Domain
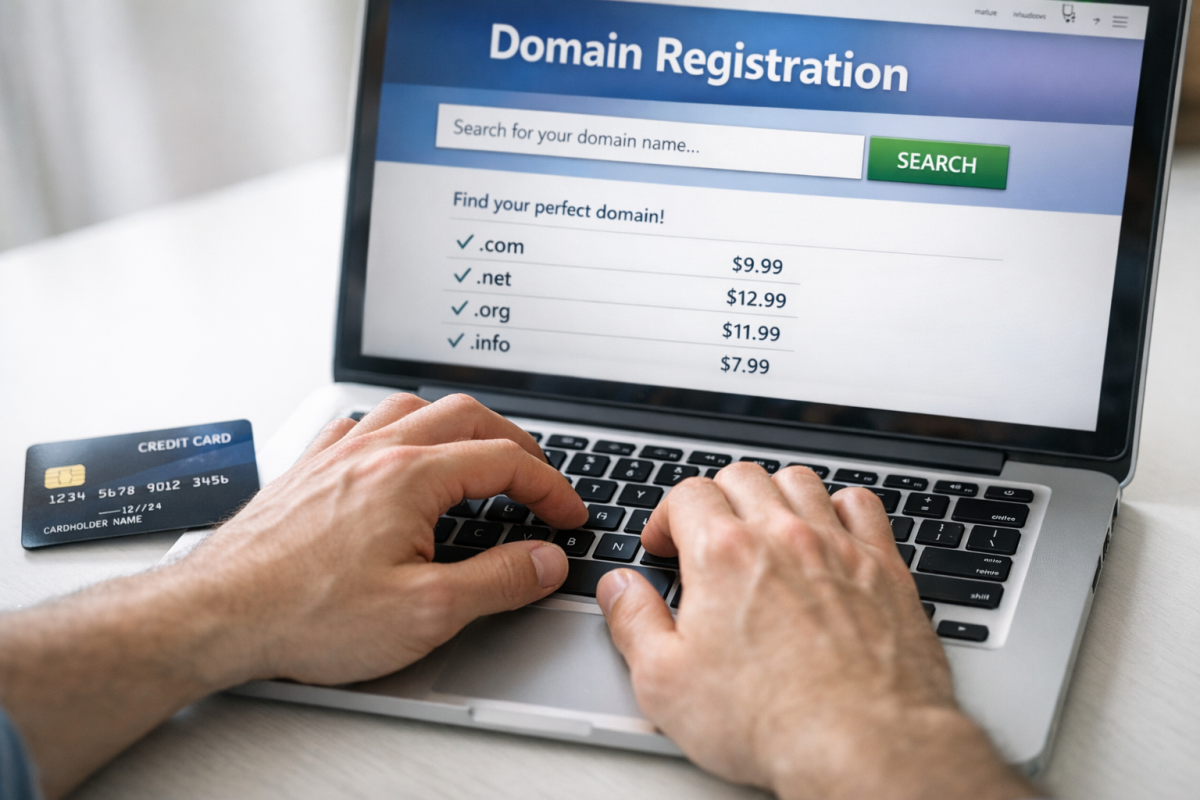
The two elements you'll have to migrate to your destination are parts of that destination. One is the web host, and the other is the domain name. You might already have a domain name if you've been using a custom domain through WordPress.com. If you haven't, and you still have the .wordpress.com URL, then you'll need to register one.
Registering a domain name is cheap. Stick with a .com if at all possible. It's still the default extension people expect. Beyond that, keep branding in mind and stay away from overly long or hyphenated names.
Hosting is a little more complicated. The good news is that in 2026, managed WordPress hosting has matured. You have a number of options depending on your budget and technical comfort level. Providers like Kinsta, WP Engine, Cloudways, and SiteGround all give you WordPress-optimized environments. For those on a tighter budget, Bluehost and DreamHost remain solid entry-level options. Many hosts now include AI-assisted setup tools and one-click WordPress installs as standard, so getting up and running is faster than ever.
If you're concerned about technical requirements, WordPress needs a host capable of running PHP (8.1 or higher is recommended as of 2026) and MySQL or MariaDB. Any reputable managed WordPress host will handle this automatically.
Step 2: Set Up Configuration
At the beginning of this step, you'll have a WordPress.com blog with your settings, themes, plugins, and content. You will also have a WordPress.org site on your own hosting, with your own domain and a clean installation of WordPress. What you need to do now is bring your new installation as close to parity as possible.
This means installing a theme, any plugins you want to carry over, and any new plugins you want to use. Worth noting: some elements from your WordPress.com site are not exportable - like custom fonts, widgets, and site settings like your permalink structure. You'll need to manually recreate these on your new installation, so take note of your current configuration before you start.
By the end of this step, you should have a custom theme and the relevant plugins you want. But no content outside of maybe a test post. Explore your settings and configure them before importing anything.
WordPress.org means you are now fully responsible for your own security and maintenance. Take the following steps before importing your content:
- Make sure any theme, plugin, or framework you use is up to date. If something hasn't been updated in over a year, replace it or remove it. Unpatched security holes are a common attack vector.
- Change the default username and password for your admin account. If the username is left as default, it cuts the work a hacker has to do in half.
- Change the login path. By default, WordPress login lives at domain.com/wp-login.php. Changing this removes an easy target.
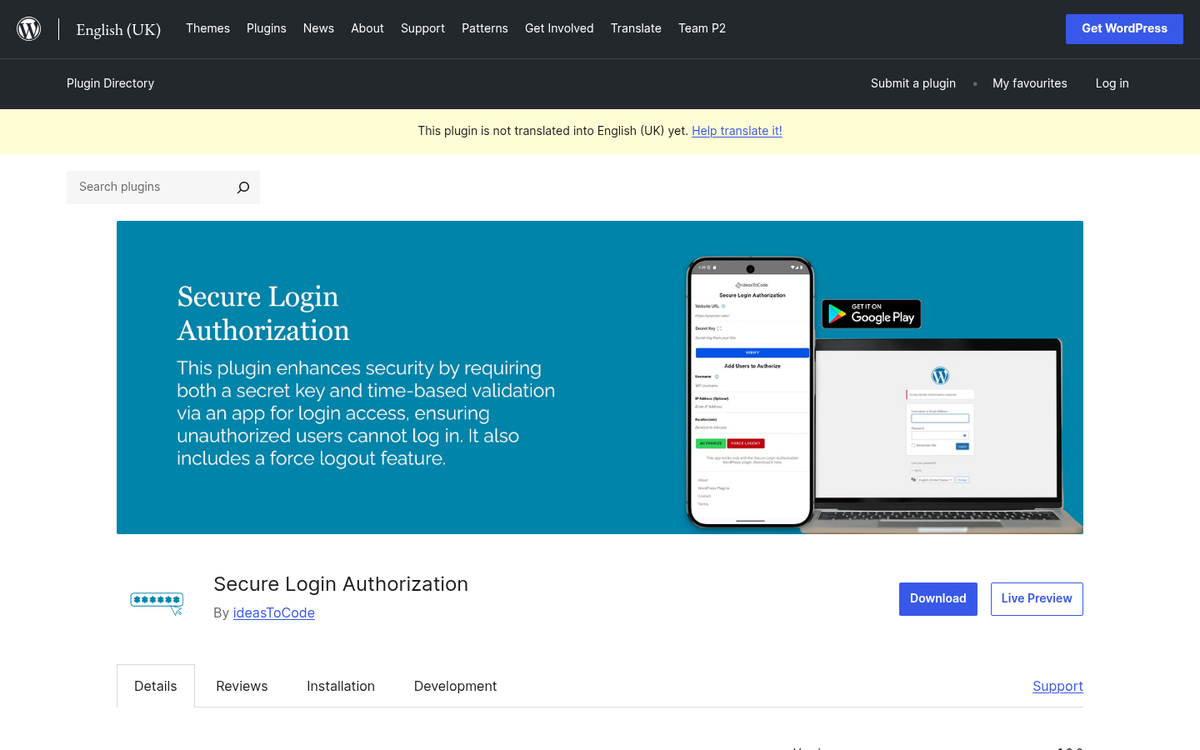
- Install security plugins. Wordfence and Sucuri are both well-regarded options for firewall and general security. Akismet remains the standard for anti-spam comment protection.
- Enable two-factor authentication (2FA) on your admin account. In 2026, this is a basic and essential step that most security plugins support natively.
There are also other security steps you can take. Most small business sites won't be aggressively targeted. But it never hurts to layer your defenses.
Step 3: Export WordPress.com Content
This part concerns only your hosted .com blog, the one where your content currently lives. Log in to your site and go to the WP Admin section. Click Tools on the left-hand sidebar and click the Export option that appears. Make sure the "all content" radio button is selected, and then click to download the export file.
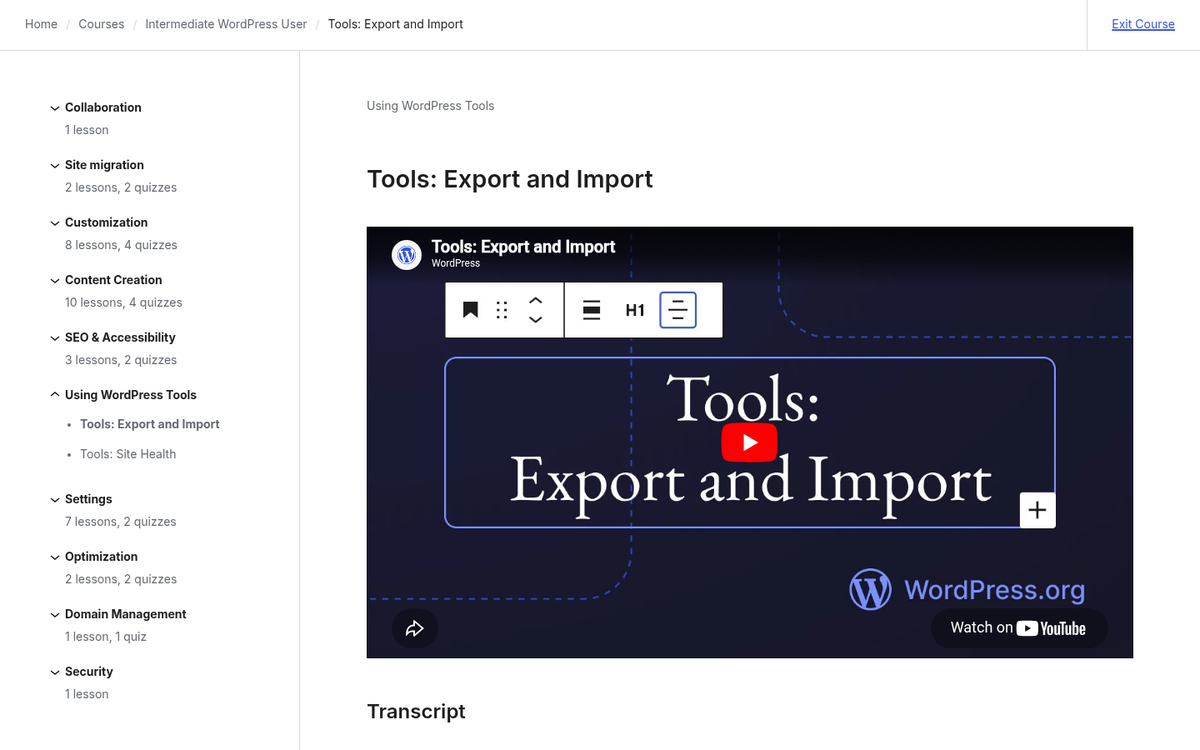
Depending on the size of your blog and how long it has been active, it will take a little bit of time - it downloads an XML file containing your posts, pages, comments, terms, custom posts, and more. Once it's downloaded, back it up somewhere safe before proceeding.
Important limitations to be aware of before you export:
- Custom fonts, widgets, and some site settings including your permalink structure will not transfer. You'll need to recreate these manually.
- Blog statistics and post likes will not transfer unless you pay an additional $149 fee to Automattic to migrate that data.
- If you plan to use the All-in-One WP Migration plugin as an alternative method, be aware that it requires a Business plan on WordPress.com, and your site must be under 2GB. Larger sites will require the paid unlimited extension.
Step 4: Import Content to WordPress.org Installation
Now go to your new clean installation. Navigate to Tools, then Import. Make sure the box for "Download and import file attachments" is checked, then browse to your XML export file and start the import. Depending on the size of your blog, it will take some time. Don't navigate away from the page or close your browser until it completes.
One important thing to know: by default, all users imported from WordPress.com are assigned "Subscriber" as a security measure. If you had authors, editors, or contributors on your old site, you'll need to manually reassign their roles on your new installation after the import is complete.
Once the import finishes, go through your content to verify that posts, pages, and media have transferred correctly. Manually recreate any widgets, custom fonts, or permalink settings that didn't come through in the export. You may also want to review what plugins to install on your new WordPress site to get everything set up properly.
Step 5: Redirect Your Domain
If you've been using the default domain.wordpress.com URL for your blog, existing links will still point at your old site. To send that traffic to your new site, you'll need to buy the redirect option from WordPress.com. The latest fee is approximately $13 annually.
- Purchase the redirect through your WordPress.com dashboard.
- Input your new blog URL and click the redirect button.
- Confirm the redirect and its expiration date.
- Perform outreach to existing backlinks to have them updated directly, which preserves more SEO value than relying on the redirect long-term.
If you've been using a custom domain registered through WordPress.com, you'll need to either update the nameservers to point to your new host or move the domain to another registrar entirely. If the domain was registered through a third-party registrar, update the DNS records there to point to your new host. Instructions will vary by registrar but are usually straightforward.
Regardless of which path you take, test all URLs carefully to make sure old links reach your new site correctly.

Note: If you made heavy use of Jetpack on your WordPress.com site, install the Jetpack plugin on your new self-hosted installation and use the Jetpack subscription migration tool to move your subscribers and connected settings.
For backlink outreach, the process is as follows:
- Use a backlink analysis tool like Ahrefs or Semrush to pull a complete list of sites linking to your old URLs.
- Draft a concise, professional outreach email explaining that you've moved your site.
- Customize each message to include the specific old URL and the corresponding new URL, making it as easy as possible for the webmaster to find and update the link.
- Send these once your new site is fully live and verified. Monitor responses and track which links are updated. Even links that don't drive direct traffic can carry SEO value.
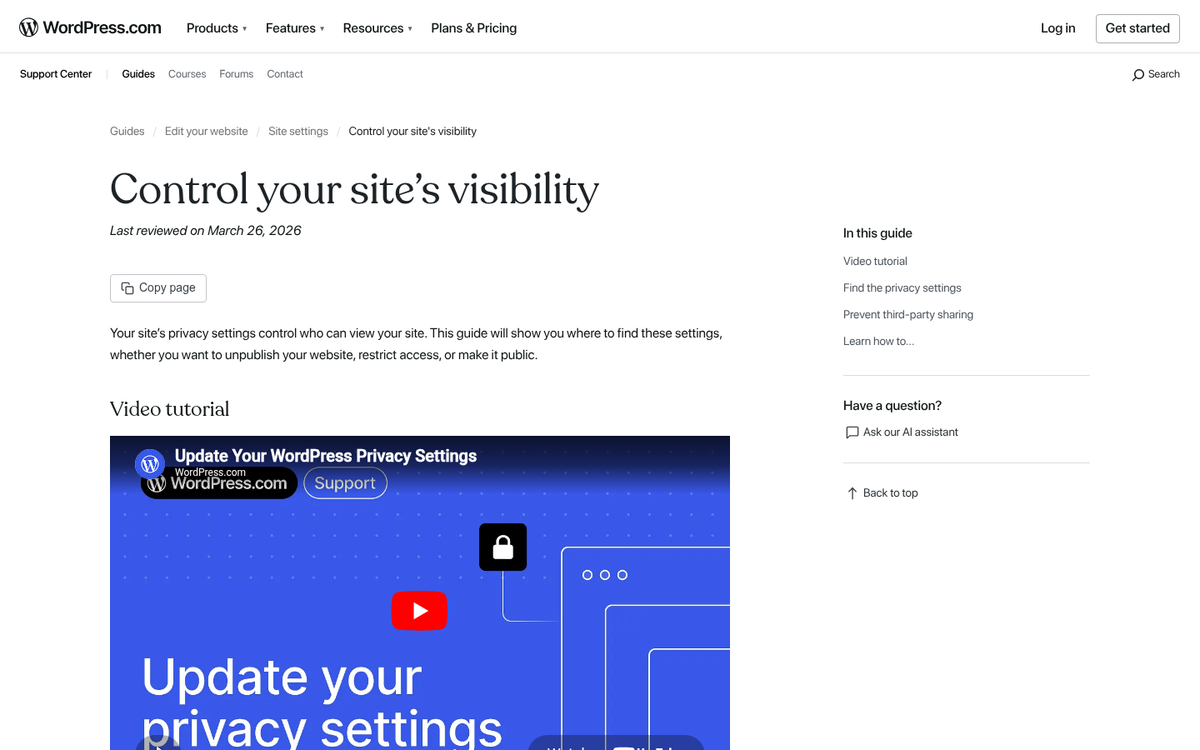
Step 6: Hide Your Old Site
If you didn't do a redirect, you'll want to prevent your old site from appearing as a duplicate or abandoned property. Publish a post pointing users to your new URL and leave it prominent for a few months. You should also discourage search engines from indexing the old site. To do this, go to Settings and under the Reading option, check "Discourage search engines from indexing this site."
After a few months, once the majority of your traffic has transitioned, you can make the old site private. Go back to that same section and set the strictest option, "I would like my site to be private, visible only to users I choose." This will hide your site completely.
At this point, your new site should be up and running. Your content is migrated, your plugins and theme are configured, user roles have been reassigned, and any outreach has been completed to update backlinks. If you implemented a redirect, any visitor landing on an old URL will be forwarded to the new site automatically. There's nothing more to the process. You're done!
If you need support for any part of this process, WordPress.org has an excellent documentation library, and your web host's support team will usually be happy to help with the technical side of things.