


Key Takeaways
- Google confirmed HTTPS as a ranking signal in 2014; Chrome now labels non-HTTPS sites "Not Secure," directly harming user trust.
- Free SSL via Let's Encrypt suffices for most blogs; paid certificates suit eCommerce, financial, or enterprise sites needing extended validation.
- Installation varies by platform: cPanel offers AutoSSL, Apache uses command-line configuration, and WordPress users can use the Really Simple SSL plugin.
- After installing SSL, set up HTTP-to-HTTPS redirects and fix mixed content warnings and broken internal links to preserve SEO equity.
- Update Google Search Console by adding your HTTPS property and submitting a fresh XML sitemap to speed up Google's re-crawl.
Installing SSL is one of those foundational website tasks that pays dividends in security, user trust, and SEO. Google officially confirmed HTTPS as a ranking signal back in August 2014, and since July 2018, Chrome has actively labeled non-HTTPS sites as "Not Secure" - a warning that kills user trust almost instantly. Research from GlobalSign found that 84% of users would abandon a purchase if data was sent over an insecure connection, and over 50% won't visit an unsecured website at all. Real-world migrations have shown a +7% increase in organic traffic within 30 days for eCommerce businesses and a 4% ranking improvement for mid-sized blogs. The bottom line: if your site still isn't running HTTPS in 2026, it's costing you.
What I've done here is given you a quick tutorial for installing SSL on a few different website architectures. I've covered probably the three most common: Apache, cPanel, and WordPress. Yes, I know those aren't all equivalents - bear with me.
Step 1: Ensure Access
In order to actually use SSL on your site, you'll have to be able to access the server in a way that you can validate that you own it. If you're not the one in control of your web server, the person who is will need to be the one adding SSL.
Generally, what you need is called Domain Validation Rights. What that means is that you need access to the email address that was used to register your domain name, and access to upload files to your web server. If you don't have access to the email, the certificate authority won't be able to validate your ownership of the domain. If you can't upload files to your web server - like if you're on a restricted shared host - you won't be able to upload the certificate files.
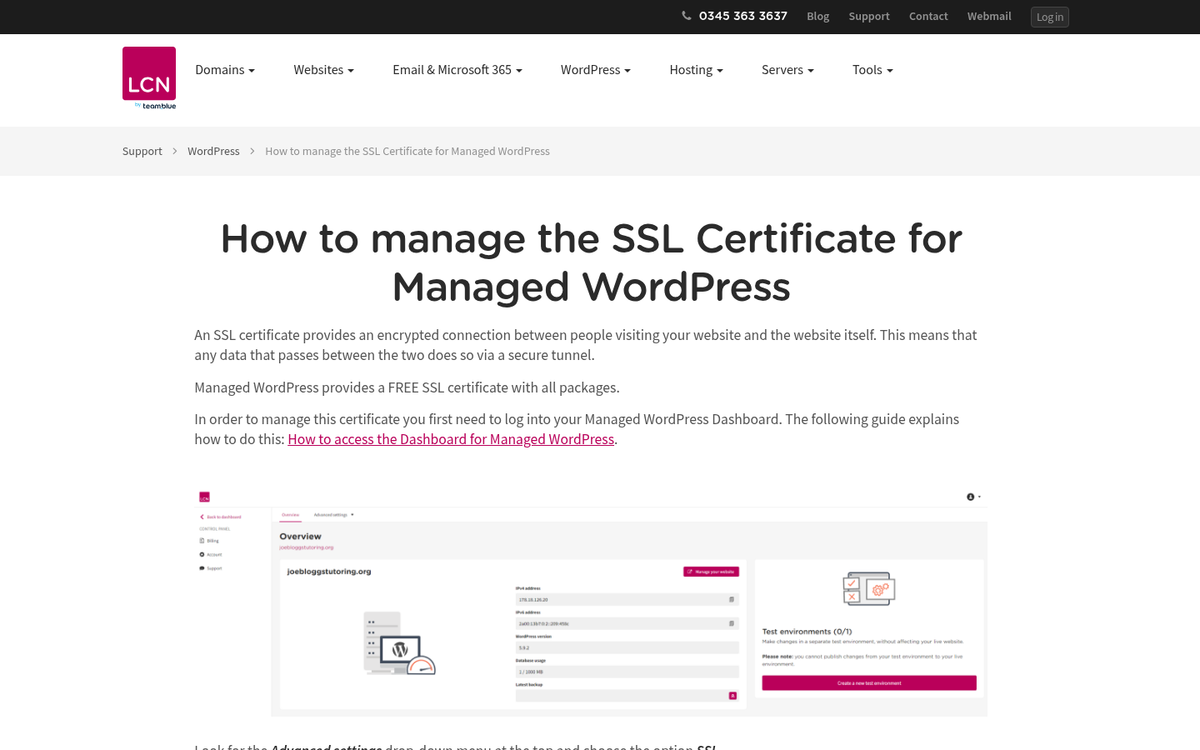
Many shared hosts now include free SSL through Let's Encrypt and manage installation automatically through their control panel. If you're on one of those, you may be able to skip most of this guide and basically toggle SSL on from your hosting dashboard. Otherwise, contact your host to see what options are available to you. If you're looking for a more hands-off experience, consider checking out the best managed WordPress hosting options that handle SSL and other technical details for you.
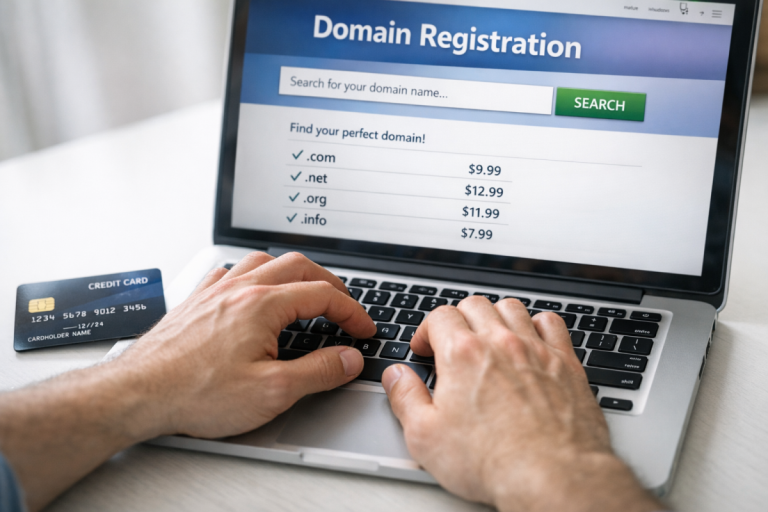
Step 2: Get a Certificate
Regardless of your site architecture, you're going to need an SSL certificate. You have two main routes here:
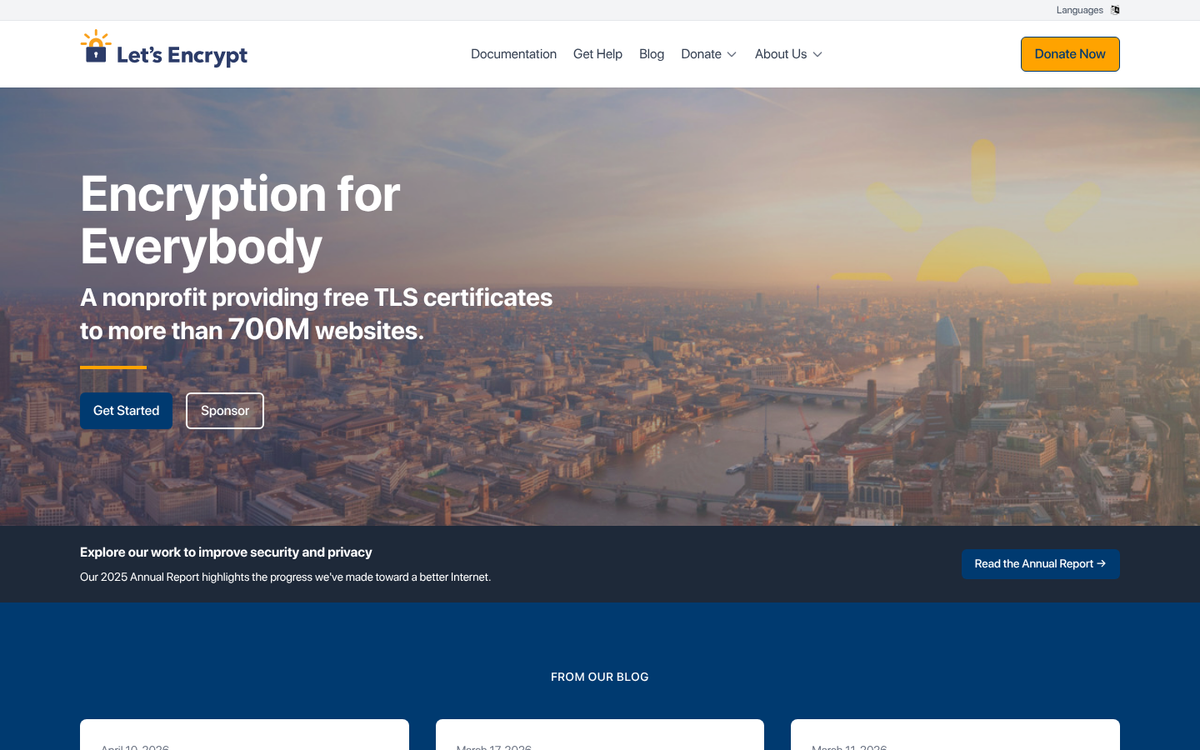
- Free via Let's Encrypt: Let's Encrypt is a widely trusted, nonprofit certificate authority that provides free Domain Validation (DV) certificates. Most major hosts support it natively. For the vast majority of blogs and small-to-mid-sized websites, Let's Encrypt is completely sufficient.
- Paid certificates: Paid certificates from authorities like DigiCert, Sectigo, or GlobalSign make more sense if you need extended validation (EV), organization validation (OV), or warranty coverage - typically relevant for eCommerce, financial sites, or enterprise environments.
There are three types of certificates based on your domain structure:
- If all your pages live under a single domain like example.com, a single domain certificate covers you.
- If you use subdomains like store.example.com or blog.example.com, you need a wildcard certificate, which covers the root domain and all its subdomains. These are more flexible but typically more expensive when purchased commercially - though Let's Encrypt also offers wildcard certificates for free.
- If you operate multiple entirely separate domains for the same organization, a multi-domain (SAN) certificate lets you cover all of them under one certificate. Having a custom domain matters more than you might think.
Step 3: Install the Certificate
The process of installing a certificate includes generating private keys and a certificate signing request (CSR), uploading the certificate itself, and confirming everything is in place. The process changes based on your site architecture.
For cPanel, log in to your cPanel dashboard and navigate to the SSL/TLS section under Security. If your host supports Let's Encrypt, you'll probably see an "AutoSSL" option that handles everything automatically - run it and you're done. For manually installed certificates, go to the SSL/TLS Manager, generate a new private key for your domain, then generate a CSR with your domain details (name, country, city, company, and email). Submit the CSR to your certificate authority, who will return a .CRT file. Return to the SSL/TLS Manager, paste in your certificate and any intermediate CA bundle provided, and save. Finally, go to "Install and Manage SSL" to assign the certificate to your domain.
For Apache servers, you'll go through the same basic process via the command line. Generate your private key and CSR with:
openssl req -newkey rsa:2048 -nodes -keyout example.com.key -out example.com.csr
Submit the CSR to your certificate authority and receive your .CRT file in return. Then open your Apache config file (usually found in /etc/apache2/sites-available/) and configure your VirtualHost block for port 443, referencing the paths to your certificate file, private key, and CA bundle. Restart Apache once changes are saved.
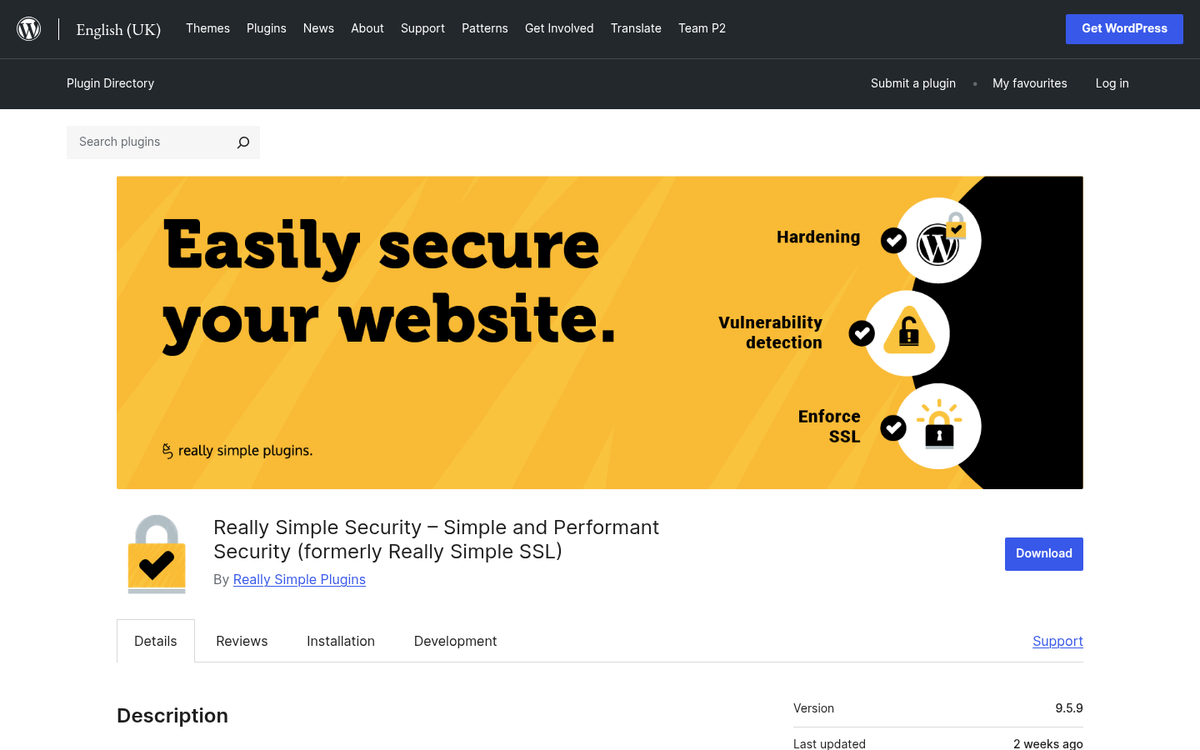
For WordPress sites, if you'd prefer not to manage this manually, the Really Simple SSL plugin remains a popular option - it automatically detects your settings and migrates your entire site to SSL with minimal configuration. Install it like any other WordPress plugin, make sure your certificate is already in place at the server level, then activate the plugin and let it do its work. Keep in mind that as of 2025, Really Simple SSL also has a Pro version with extra security hardening features beyond SSL setup.
Step 4: Check for Appropriate Redirects
Once you have the SSL certificate installed, give it a few minutes for changes to propagate, then verify your site is redirecting all HTTP traffic to HTTPS.
If you use a Linux-based architecture like cPanel or Apache, modify your .htaccess file to include:

If you're on a Windows-based architecture like Plesk, add the following to your web.config file instead:
You should land immediately on the HTTPS version. If you hit a 404, investigate immediately - Google will interpret a missing site as a disappearance and your rankings will suffer. If HTTP still loads without redirecting, your redirect rules aren't in effect yet and you'll want to troubleshoot your configuration.
Step 5: Check for Broken Links and Mixed Content
After migration, two problems commonly surface: broken internal links and mixed content warnings.
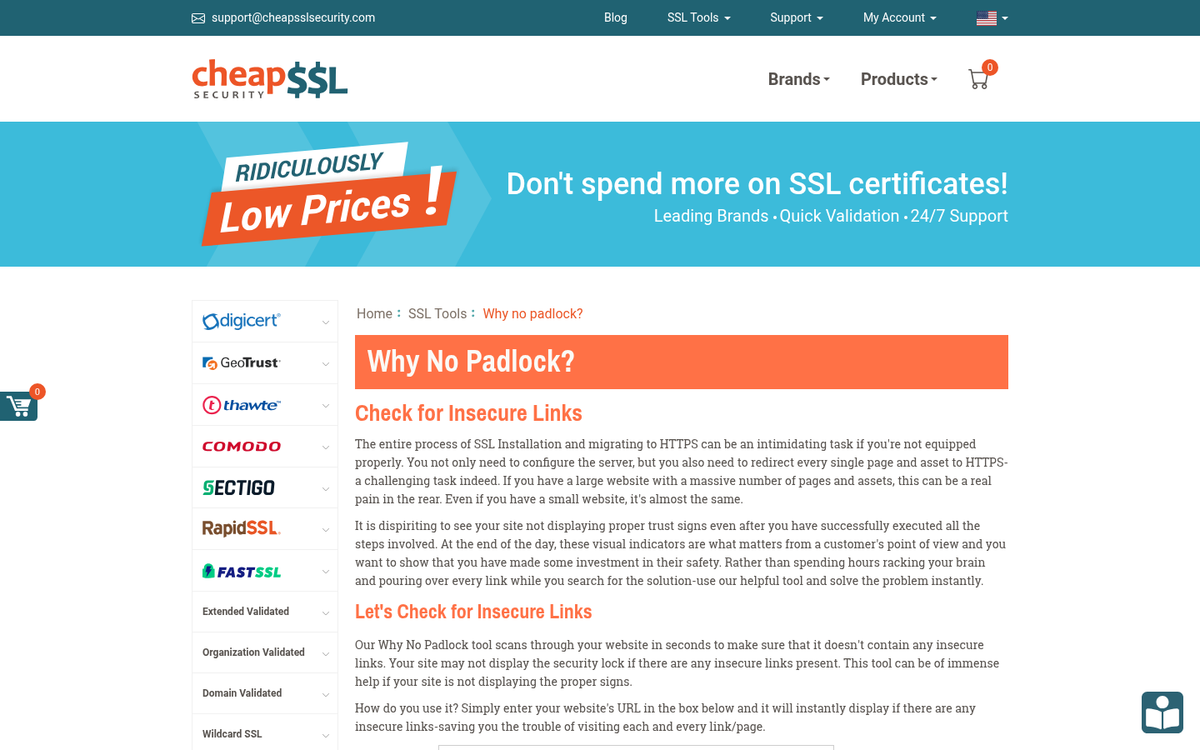
Mixed content happens when your HTTPS page loads resources - images, scripts, stylesheets - over HTTP. Browsers will block or flag these, undermining your SSL setup visually and functionally. Use your browser's developer tools (F12 → Console) to check for mixed content warnings on key pages, or use a tool like WhyNoPadlock.com to scan for them automatically.
For internal links, any link still pointing to the HTTP version of your own pages now passes through a redirect, losing a small amount of link equity in the process. The fix is to update those links to point directly to HTTPS. WordPress users can use the Better Search Replace plugin for a database-wide find-and-replace of http://yourdomain.com with https://yourdomain.com - this works with links, image URLs, and other references in one pass.
For broken links, the Broken Link Checker plugin for WordPress will scan your entire site and report links that 404, redirect, or fail to resolve. Use this as an opportunity for a wider link audit:
- Update all internal links to point to HTTPS directly.
- Review outbound links that now redirect - the destination may have moved entirely.
- Remove or replace outbound links pointing to 404 pages, especially on high-traffic pages.
Non-WordPress sites can use tools like Screaming Frog SEO Spider (free up to 500 URLs) or Ahrefs Site Audit to accomplish the same thing at scale.
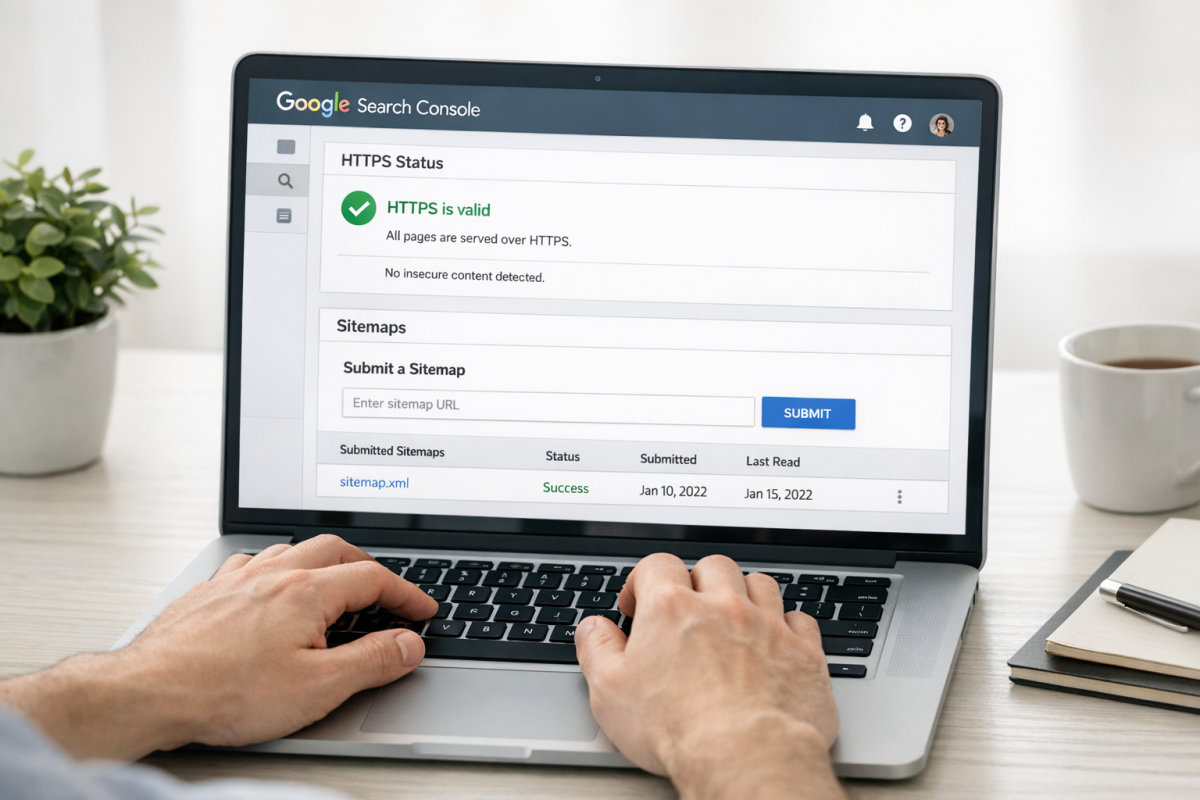
Step 6: Update Google Search Console
The final step is to let Google know about your migration. In Google Search Console (formerly Webmaster Tools), HTTPS and HTTP are treated as separate properties. You'll need to add your HTTPS domain as a new property if it isn't already there.
The cleanest strategy in 2026 is to use a Domain property in Search Console, which covers all protocols (HTTP and HTTPS) and all subdomains under a single property via DNS verification. If you haven't set this up, now is the time.
If you're using separate URL-prefix properties, make sure your HTTP and HTTPS versions are verified and set the HTTPS version as your preferred domain in settings - this guarantees continuity in your performance data and ensures that Google correctly identifies your canonical URLs. Optimizing your blog in Search Console can help you get the most out of these settings.
Finally, generate and submit a fresh XML sitemap with all HTTPS URLs through Search Console. Google will crawl your site on its own, but submitting an updated sitemap speeds up the process and helps ensure no pages are missed during the transition. Tools like Yoast SEO, Rank Math, or Google's own sitemap generator can manage this automatically.