


Key Takeaways
- No single tool is perfect; some miss errors while others incorrectly flag correct content like brand names or stylistic passive voice.
- Grammarly is the most full-featured option, catching homophones, suggesting synonyms, explaining errors, and integrating with browsers and Word.
- Hemingway Editor focuses on readability and clarity rather than grammar, making it a strong complement to tools like Grammarly.
- ProWritingAid offers deeper reporting than Grammarly, covering sentence variation, pacing, and readability, with lifetime licensing options available.
- AI writing assistants can catch contextual and structural issues but work best as a second pass after dedicated grammar tools.
Human error is the one constant throughout all of human history. Nobody is exempt from error, though some errors are bigger than others. In the space of blogging, errors can be factual, they can live in code, or they can be baked into the text.
Spelling and grammar are, well, quite tough. English is not an easy language, Americans say when they demand others learn it. Think about it, "Read and lead rhyme and read and lead rhyme, but read and lead don't rhyme, and neither do read and lead."
English is terribly tough, even for native speakers, and ESL bloggers have it even harder. On top of the language itself, you also have different style guides to contend with. Do you go for the academic MLA, the professional AP, or a more casual Internet style? You can argue one way or the other about the Oxford Comma. But at least use a comma, not a semicolon.
There are a few tools you can use to check spelling and grammar, though I will say up front that no one tool is perfect. Sometimes they will miss errors, and sometimes they will flag items as errors when they are not. A spellcheck will pick up a brand name as a spelling error if it's not in their dictionary, just to give you an example. Likewise, grammar checks will sometimes flag passive voice as a problem when it's just a matter of style.
Here are six tools I've found that cover the bases fairly well. I recommend that you use them for a few blog posts, until you find which ones work best for your style and which don't. Once you've narrowed it down, you only need one or two. Here are some options.
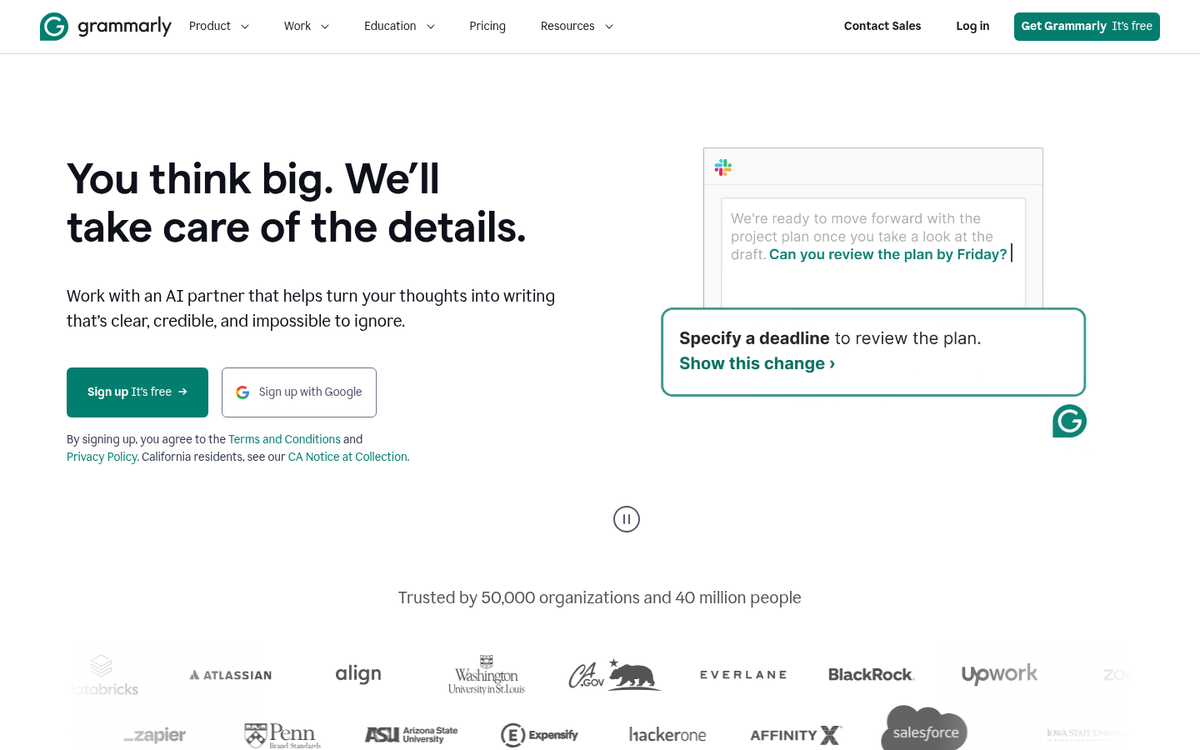
1: Grammarly
Grammarly is probably the most well-known and oft-recommended tool online, and with reason, it's one of the most refined and full-featured tools out there. It catches hundreds of possible grammatical errors and, of course, spelling problems. It's pretty good at catching misused homophones, like the "their/there" and "to/two/too" problems that plague far too many writers. Their engine actually can scan the context of your post and recommend synonyms to vary your word choice and improve context. They don't blindly recommend word alternatives; they actually use topic and context to recommend better words. They also don't limit themselves to a single alternative; they present you with half a dozen options and reasons why they're options.
They also don't just correct mistakes. When they find a mistake, they have an automatic explanation engine that will teach you what the error is, why it's an error, other examples of the error, and corrected versions of the sentence so you can learn how to fix your content. With enough time, you can learn to improve your writing automatically.
Grammarly is not a tool you simply paste your content into and let it check. Rather, it's an add-on for your browser. If you type up or paste a post into the compose window in WordPress or a document editor like Google Docs, it will automatically activate and scan your content. They also have a plugin for Microsoft Office and a stand-alone desktop app, and a plagiarism checker that scans billions of web pages but will require you to log in to see the full results.
The basic version is free and covers spelling and grammar checks. As of 2026, Premium pricing has shifted over the years, so check Grammarly's website directly for latest rates, as they frequently run promotions. They also now offer a Grammarly Business tier focused on teams and organizations, which includes style guides, brand tones, and centralized billing, which is worth thinking about if you manage a team of writers or contributors.
This puts it in closer competition with tools like Hemingway Editor and even general-purpose AI assistants. For bloggers, it remains one of the most well-rounded options available.
2: Word Processors (MS Word, LibreOffice, Google Docs)
Some prefer a workflow where they produce content in a word processor and paste it into their blogging platform later. There's nothing wrong with this process. But you have to make sure that you're using the right settings on your word processor to get the most out of your spelling and grammar checks.
You're obviously not going to have the deep contextual engine that Grammarly has for catching valid but contextually incorrect words. Depending on what program you use, the process for setting this up will be different.

For Microsoft Word, click the File tab, then Options, and navigate to the Proofing section. Here you can configure what Word scans for, and it's worth looking at if you're already paying for a Microsoft 365 subscription.
For Google Docs, the native spelling and grammar checker has improved considerably and it's now enabled by default under Tools > Spelling and grammar. It catches most common errors without needing a third-party add-on. That said, if you want more depth, Grammarly integrates directly with Google Docs via its browser extension and remains one of the cleaner integrations available. ProWritingAid also has a Google Docs add-on worth thinking about if you want writing reports.
3: WP Spell Check Pro
For those who like composing content directly in their WordPress dashboard, you have a few options. Your browser will probably have a spellcheck built in. But it won't do grammar. You can use Grammarly, of course. But you can also use a WordPress plugin.
The benefit of a WordPress plugin, at least of this particular plugin, is that it will helpfully scan your existing content and new content you produce. This way you can go back and correct errors you might have missed in your old content so they don't sit around and give your site a bad impression.
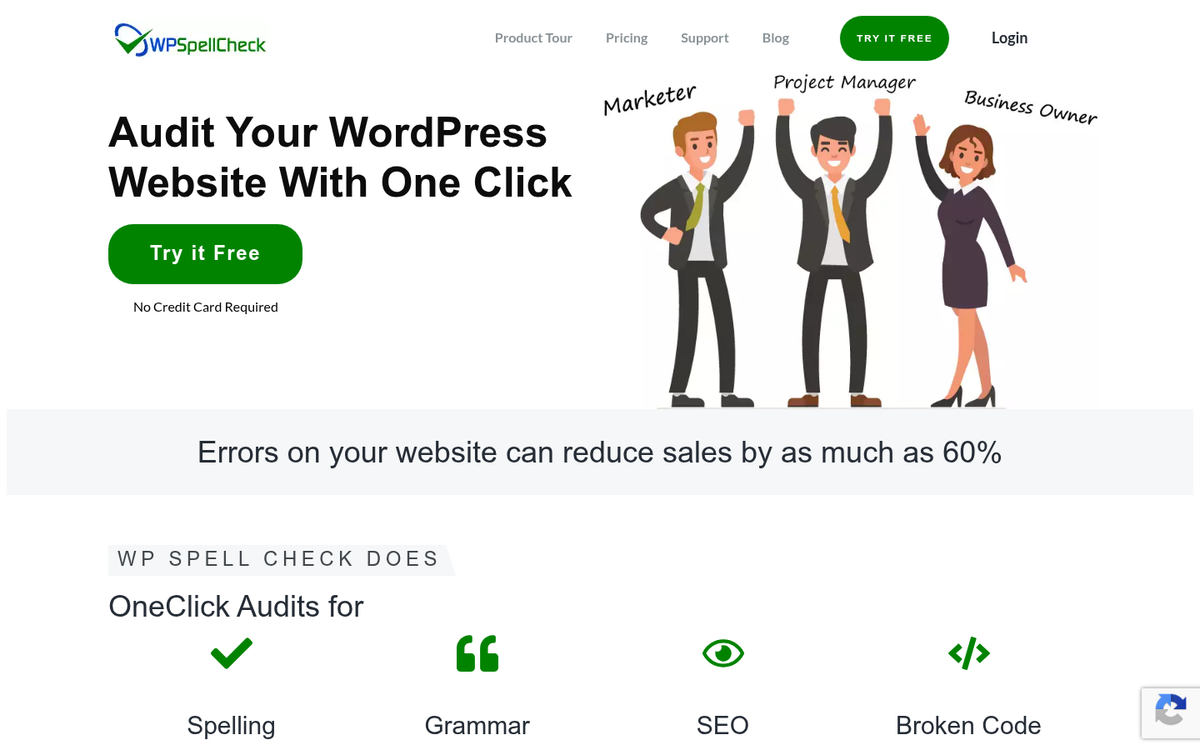
WP Spell Check Pro has a free version that works for an unlimited number of sites but will only scan up to 500 pages and posts. The paid versions scan 1,000 or more pages and posts. Check their latest website for up-to-date pricing, as it has changed over time.
The free version of this plugin is also quite limited in another way, which is why I recommend Pro. It doesn't scan the titles of pages or posts, post slugs, tag titles, descriptions, SEO information, category information, alt text, captions, or anything relating to eCommerce pages or plugins. All of these are restricted to the paid versions. If all you need is a scan of your post body content, the free version works fine. If you need wider coverage of your site's text, it's worth paying for.
4: Hemingway Editor
The Hemingway Editor has become one of the most popular writing tools for bloggers over the past few years, and for good reason. Rather than focusing purely on spelling and grammar, it zeroes in on readability and clarity, which matters enormously for blog content that needs to hold a reader's attention.

Paste your content into the web-based editor at hemingwayapp.com and it will show sentences that are hard to read, very hard to read, uses of passive voice, unnecessary adverbs, and overly complex phrases with easier alternatives. It also gives your content a readability grade level, which is helpful if you're writing for a general audience and want to keep things accessible.
There is a free web version and a paid desktop app. It doesn't replace a grammar checker like Grammarly, but used together, they complement each other well. Grammarly catches technical errors; Hemingway catches bloated writing. If you're looking for more options, check out these tools to help you write blog posts distraction-free.
5: ProWritingAid
ProWritingAid is one of the most comprehensive writing analysis tools available and it's positioned as a direct alternative to Grammarly. Where it differentiates itself is in the depth of its reports. Beyond catching grammar and spelling errors, it generates reports on things like sentence length variation, overused words, readability, pacing, dialogue tags, and more.
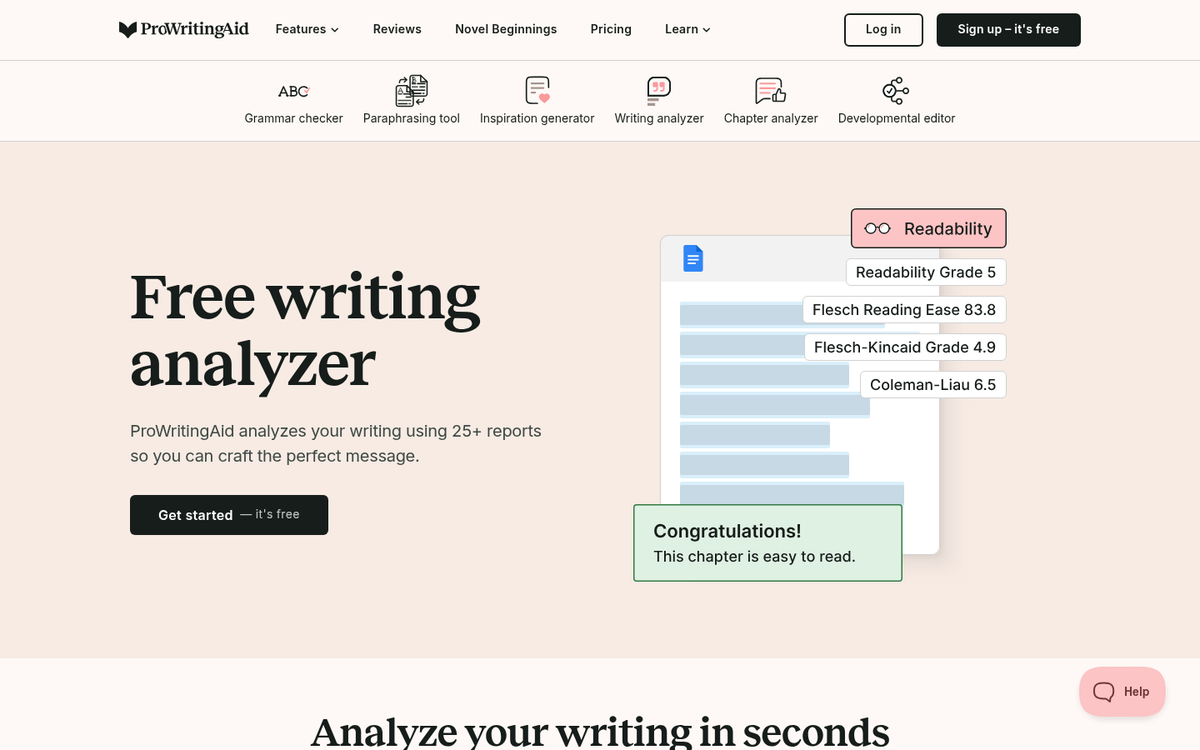
It integrates with Google Docs, Microsoft Word, Scrivener, and most browsers, and also has a web editor where you can paste content.
It has a free version with a word limit per check, and a premium version that removes those limits and unlocks all reports. Premium is usually priced competitively with Grammarly, and they often offer lifetime license options that can be a better value for long-term users. Check their site for latest pricing. If you're working on ways to write blog posts that users will find interesting, tools like this can help sharpen your content before publishing.
6: Built-in AI Writing Assistants
Pasting a blog post into an AI assistant and asking it to "proofread this for spelling, grammar, clarity, and flow" will return fairly solid results. These tools can catch contextual errors, awkward phrasing, inconsistent tone, and structural problems that traditional grammar checkers miss.
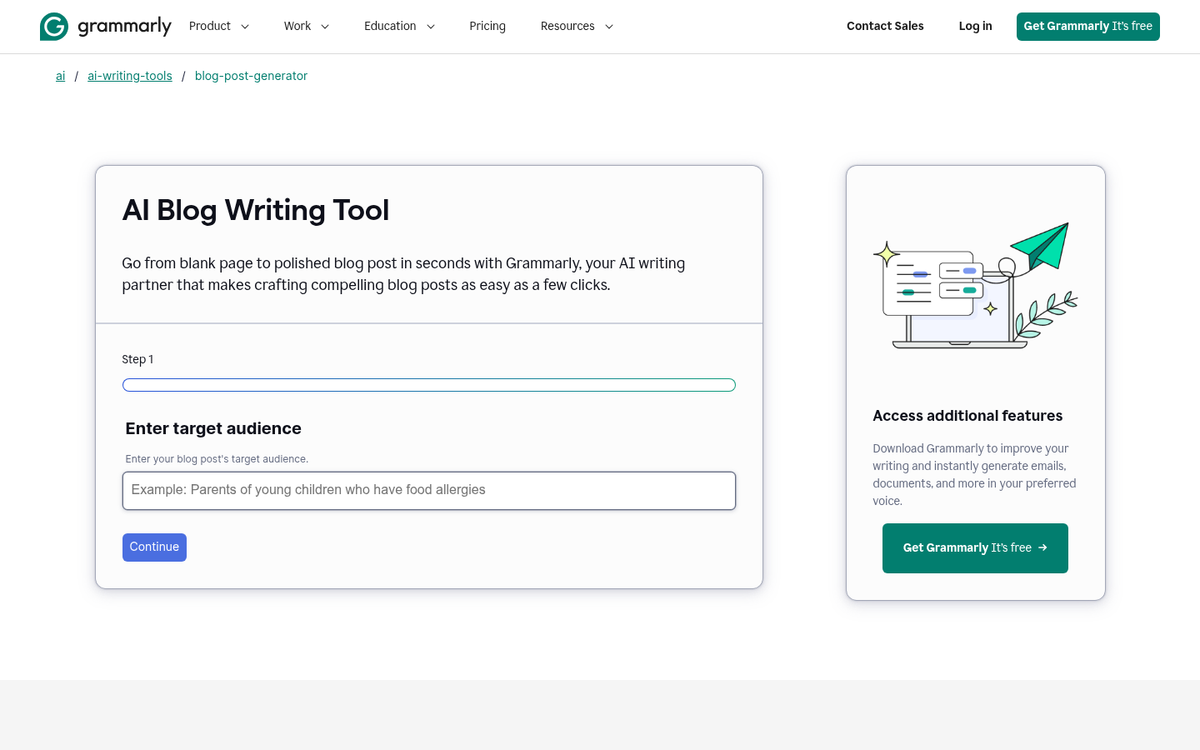
There are caveats, though. AI tools can occasionally introduce errors, change your voice, or confidently recommend something that isn't quite right. They work best as a second pass after a dedicated grammar tool like Grammarly or ProWritingAid has already caught the mechanical problems. Think of traditional grammar checkers as your technical safety net and AI assistants as your editorial collaborator.
Most of these AI tools have free tiers with usage limits, and paid subscriptions for heavier use. If you're not already experimenting with them as part of your editing workflow, it's worth trying.
Your Turn

Do you have a favorite strategy, workflow, or tool for checking the spelling and grammar of your posts? I've shown you some options. But there's a lot more out there. I'd like to hear what you think is the best tool and how you go about running a check. Drop me a line in the comments and tell me what you use, and I'll check it out. In particular, I'd like to know if you have WordPress suggestions that go beyond what's covered here in this post.


1 response
Thoughtful replies only - we moderate for spam, AI slop, and off-topic rants.
Why does Google kick you in the guts every four years? They stole the peanut butter sandwiches from my lunch box.