


Key Takeaways
- WordPress powers over 75 million sites and is the world's most popular CMS, used by major brands like Reuters and Fortune.
- AI tools like ChatGPT can help with topic brainstorming, outlining, and titles, but always verify data and heavily edit AI drafts.
- Blog posts should typically be 1,500-3,000 words; content under 1,000 words may be too thin to rank well on Google.
- Before publishing, preview formatting, run spell checks, fill in image alt text, and complete metadata including permalink and meta description.
- Use plugins selectively-too many can slow your site and introduce security vulnerabilities, so keep your installation lean and updated.
WordPress remains one of the top blogging platforms for many reasons, and ease of use is near the top of the list. It's pretty easy to get hosting, install WordPress, apply a theme and a couple of plugins and get started. You can have a functional blog up and running in just a few hours - and with modern managed WordPress hosts like Kinsta or WP Engine, even less than that.
The depth of customization is another factor. WordPress is so flexible and extensible that it's hard to overstate what you can do with it. Did you know that The New Yorker, the PlayStation Blog, BestBuy.com, Fortune, the Facebook Newsroom and Reuters all run on some variant of WordPress? They have custom themes and a whole host of plugins. But it's still WordPress at its core. With over 75 million blogs and websites currently running it, WordPress is by far the most popular CMS in the world.
For the purposes of this post I'm assuming you already have a WordPress site set up and you're just looking for a guide for a writing process, customized to publishing through WordPress itself; it's what I've put together here: a step by step process to writing a post for a WordPress blog - updated for 2026; AI tools have changed quite a few parts of this workflow.
Step 1: Determine a Topic
The first thing you need for any blog post, regardless of platform, is to choose a topic. A lot goes into this, more if you're a novice blogger - it's easy to come up with the first few beginner's guides and basic topics that get your feet wet. But those aren't going to earn you much exposure because they've already been covered in detail by established businesses with far more authority.

Thankfully, all you need is an awareness of your brand and your industry. As long as you have a general sense of the keywords and topics you might cover, you can use tools like Ahrefs, Semrush, or Google's own Search Console to generate more ideas. AI tools like ChatGPT or Perplexity can also be legitimately helpful at this stage for brainstorming topic angles, recognizing content gaps and what your audience is actually looking for - just make sure that you verify any data they surface before you run with it.
Once you have a topic, you can begin the writing. I'm not going to tell you how to write - it's a skill you develop on your own - but I do believe that writing at least a basic outline first is always a good idea.
Step 2: Write an Outline
At this point, I wouldn't have even logged in to my blog. I like to write outlines locally; I don't have to change around browser tabs or windows. Tools like Google Docs or Notion work well for this, or you can go minimalist and jot notes in a plain text editor.
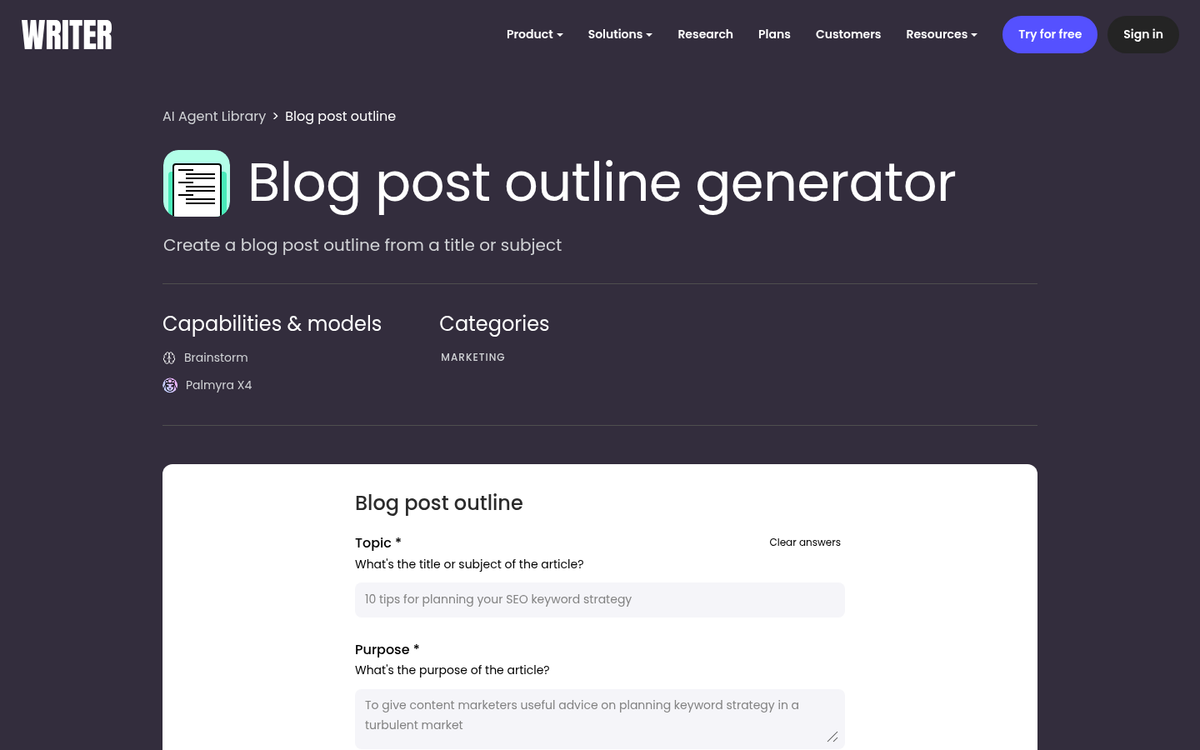
In 2026, AI writing assistants have made outlining faster than ever. Tools like ChatGPT, Claude, or Gemini can generate a structural outline in seconds based on your topic. That said, treat AI-generated outlines as a starting point - not a finished product. You still need to bring your own perspective, experience and voice to it, or you'll end up with content that reads like everyone else's.
An easy manual strategy is to just come up with a series of subheadings you'd use for the post. Take this post as an example: a simple outline is nothing more than each step written out. I can rearrange steps to improve flow, add new ones to explain a point, or cut anything redundant. If you like a more detailed outline, that's fine too. A title idea generator can also help spark subheading ideas if you're stuck.
Step 3: Find Sources and References
At this stage I like to run some searches to find other posts written on the same topic I'm covering. Some will be redundant and I can use them to check if I've got the right ideas - or see something obvious I'm missing. I can see what others are doing and aim to make my content more helpful, more thorough, or more up to date.
I can also find posts that supplement what I'm writing about. Some will look at a topic I only gloss over. Others will serve as sources for data I cite. Gathering quality links early is a time-saver, because you're not fishing for them mid-draft. If you want to find blog article topics with high search traffic, running these searches early in the process helps you spot gaps worth covering.
One important note for 2026: be very careful about AI tools as sources. AI-generated content can have hallucinated statistics, outdated claims, or flat-out inaccuracies. Always trace data back to a primary source - a study, a report, or a credible publication - before citing it in your post. It's better to leave a stat out than to publish something that isn't verifiable.
It's also worth prioritizing sources from sites you find to be high quality. Newcomers will take some time to get a feel for which sources carry weight in their industry and that's okay. There's nothing wrong with writing posts that users will find interesting while linking to mid-tier sources as you're getting started.
Step 4: Choose Your Editor in WordPress
Now you get to log into your WordPress installation and click to create a new post. If you're on a modern version of WordPress (and you should be - older versions have security vulnerabilities), then you'll be working in the Block Editor, also known as Gutenberg - this replaced the old Classic Editor years ago and it's now the standard.
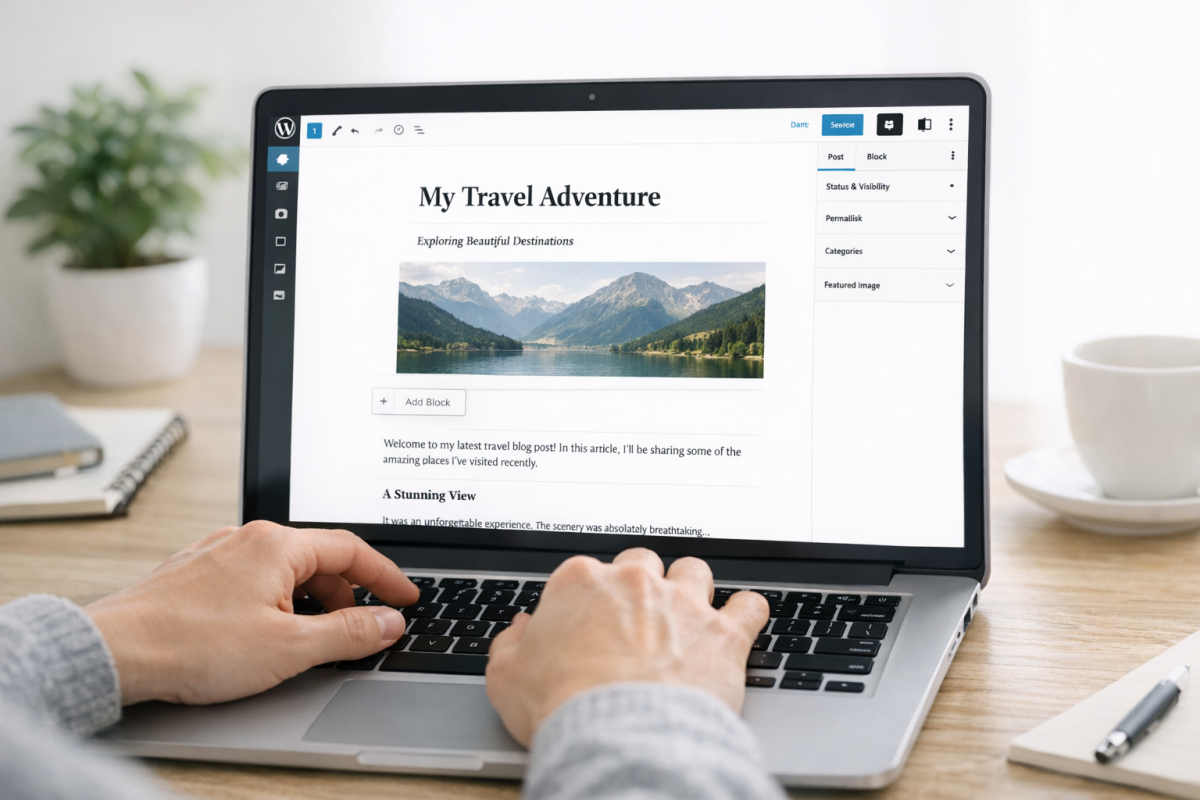
The Block Editor works by building your post out of individual content blocks - paragraphs, headings, images, quotes, lists and more. Each block can be independently formatted and rearranged, which makes it more flexible than the old visual/text toggle. If you've used page builders like Elementor or Divi before, the concept will feel familiar.
If you strongly prefer the old editing experience, the Classic Editor plugin still exists. But it's no longer actively developed and support will eventually be dropped - it's better to get comfortable with the Block Editor. Many users also find that writing their draft externally in Google Docs or Notion first - then pasting it into WordPress - makes the process feel cleaner and less distracting.
Step 5: Write the Post
Now you have an outline and an editor open - write your post! The Block Editor shows a word count at the bottom of the screen. If you're shooting for a length, you can divide your target word count by the number of sections to get a rough per-section goal. Otherwise just write as much as the topic legitimately calls for.
Generally, a blog post will be between 1,500 and 3,000 words. Some established blogs get away with longer or shorter posts. But if you're under 1,000 words, you're probably too thin for comfort - Google doesn't like to reward shallow content and that's also the case for newer sites that haven't built up much authority yet.
On the subject of AI writing tools: in 2026, tools like ChatGPT, Claude and Jasper are commonly used to help draft blog content. There's nothing inherently wrong with using them to overcome writer's block, speed up first drafts, or rephrase awkward sentences. However, publishing raw AI-generated content without heavy editing is a risk. Google's quality guidelines explicitly target unhelpful, low-effort content regardless of how it was produced. If your post doesn't offer genuine information, a unique perspective, or something a reader couldn't find in five other nearly identical posts, it's unlikely to rank or retain readers. Use AI as a tool - not a ghostwriter.
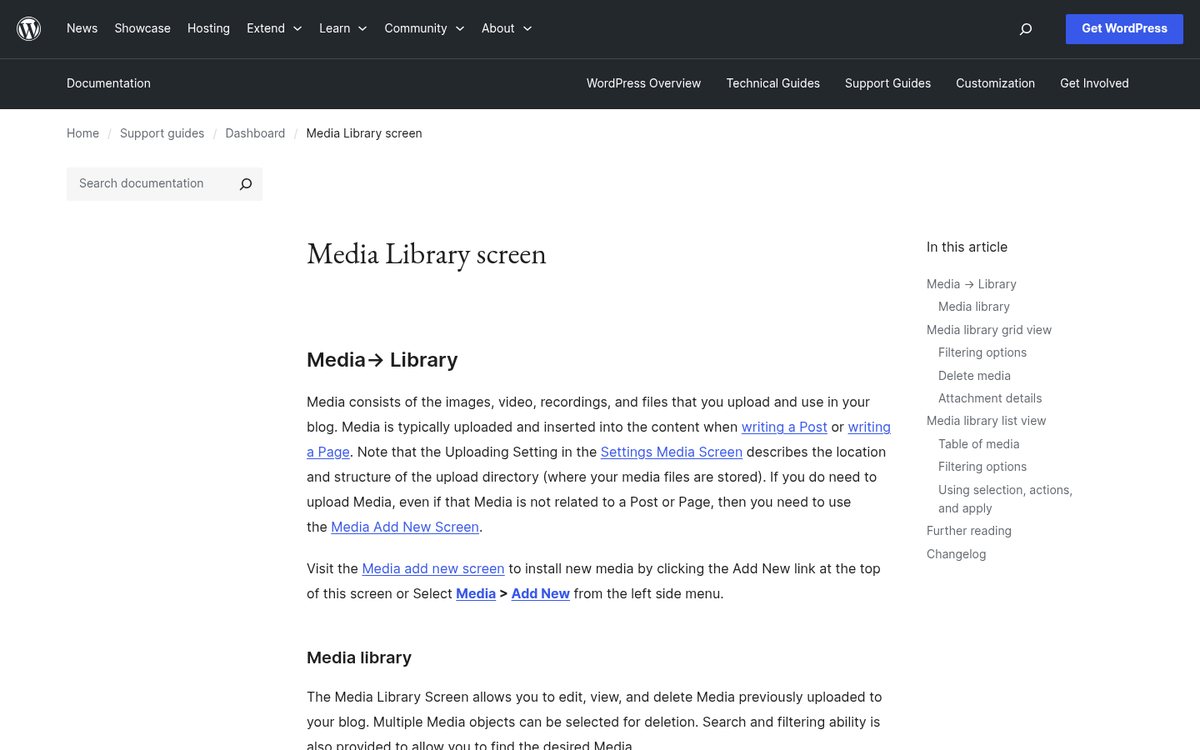
Step 6: Add Media and Images
In the Block Editor, adding images is easy - just insert an Image block wherever you need one. Your uploaded images are stored in the WordPress Media Library and can be reused across posts without duplicating storage.
You need images you have the rights to use, which means one of the following:
- Create them yourself (screenshots, original photography, custom graphics)
- Use a paid stock image service like Shutterstock or Adobe Stock
- Use free resources like Unsplash or Pexels, which offer images under permissive licenses
- Generate custom images using AI image tools like Midjourney, DALL·E, or Adobe Firefly - which has become an increasingly popular option in 2026 for producing unique, on-brand visuals without licensing headaches
Whichever path you take, make sure that you fill out the alt text for every image - this helps with accessibility and gives search engines context about what the image contains. You may also want to consider where you host your blog images to keep your site loading fast.
Step 7: Add and Check Formatting
WordPress autosaves drafts. But I recommend manually saving a draft and clicking the Preview button before doing anything else - this will show you what the post will look like to a reader, and you'll catch formatting problems that aren't obvious inside the editor.
Do not hit Publish when you mean to Preview. Publishing makes the post go live immediately. Before you publish, it's also worth running a quick spell and grammar check on your blog post to catch any errors.
Step 8: Create a Compelling Title
There's an art to writing blog post titles and it's something you develop with experience. A title should accurately reflect what the post delivers, ideally include your primary keyword and give a reason to click over every other result on the page.
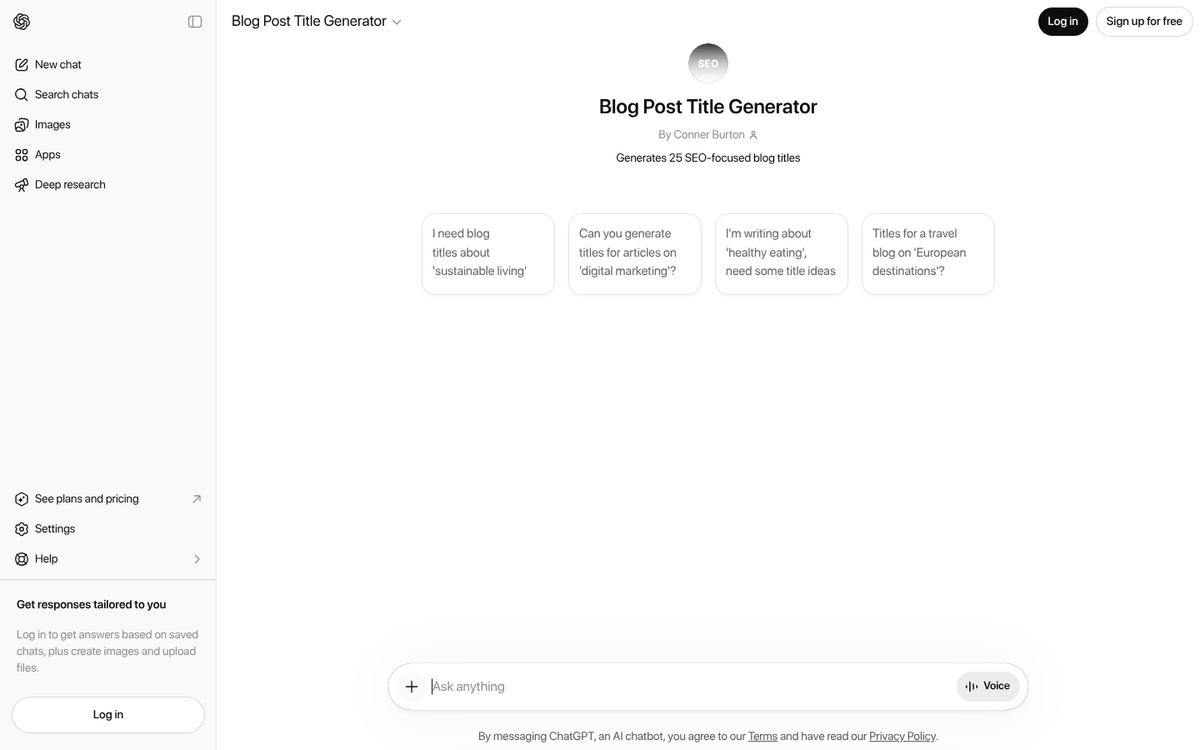
If you're stuck, AI tools are actually pretty helpful for generating title variations. Give ChatGPT or Claude your topic and ask for ten title options - you'll usually find at least one or two worth working with. You can also look at tips copywriters use to craft headlines and think about how to differentiate.
Step 9: Fill Out Metadata and Category
Technically the title falls under metadata. But it deserves its own emphasis. Let's talk about what else to fill out before publishing:
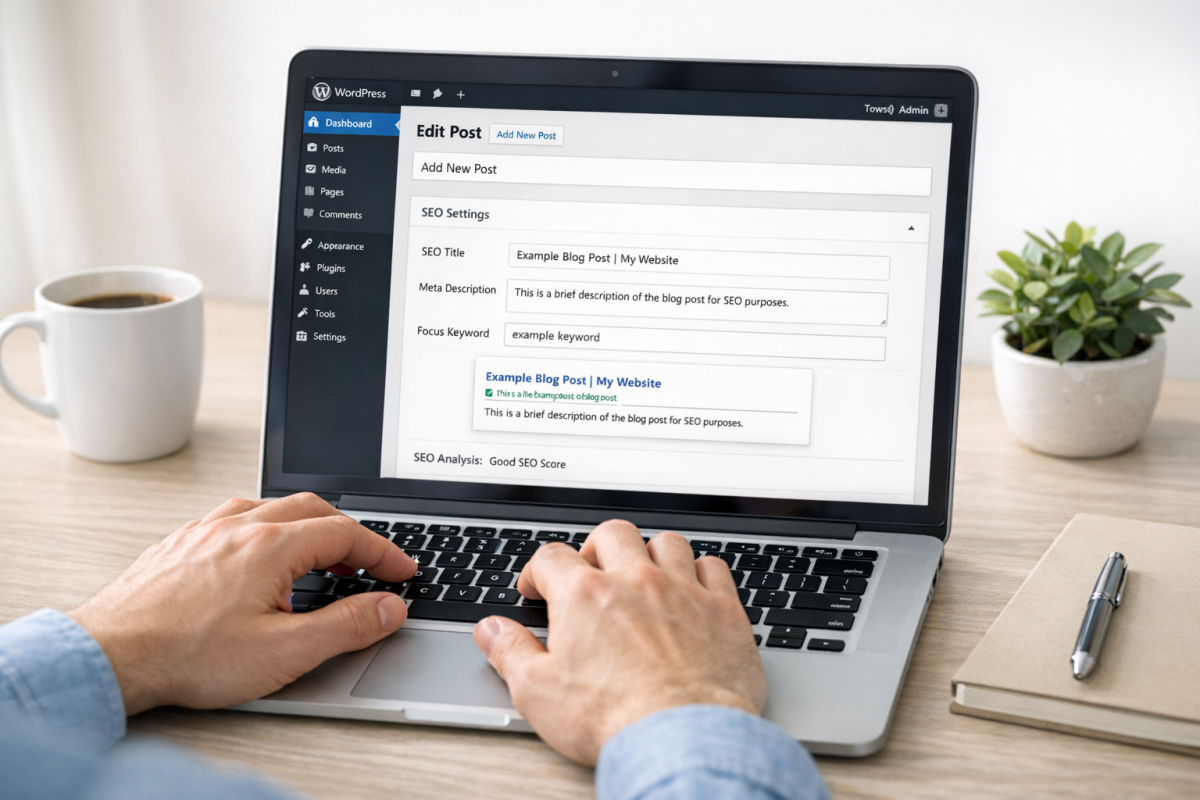
- The permalink should be clean, human-readable, and ideally contain your primary keyword. The Block Editor lets you edit this directly under the post title.
- The category helps organize your content and creates sortable archive pages. Set up a handful of relevant categories early and expand as needed.
- Tags provide additional context for search engines and help users find related posts on your site. Learn more about whether you should remove tags on your WordPress blog.
- The meta description is typically managed through an SEO plugin like Yoast SEO or Rank Math. Write a concise, enticing one or two sentence summary - this is what appears in Google's search results beneath your title.
Also go back and double-check that every image in your post has alt text filled in - it's easy to skip this in the rush of uploading images, so make it a habit to check before publishing.
Step 10: Pick a Featured Image
Featured images can be tricky. On most WordPress themes, the featured image serves as the thumbnail for the post on archive and category pages. If you don't have one, your blog listing page will look broken or incomplete. However, depending on your theme, the featured image may also automatically appear at the top of the post itself - so if you've already placed an image at the top of your content, you could end up with a duplicate.
Check how your theme works with featured images in the preview before publishing and adjust accordingly - it's one of the small things that's easy to forget and looks unprofessional if you don't catch it.
Step 11: Publish or Schedule the Post
Now you choose: publish immediately or schedule for later? Even if you could publish right away, scheduling for an optimal time is worth thinking about - consistency in your posting schedule signals to readers and search engines that your site is actively maintained.
In the Block Editor, you'll find the scheduling option in the right-hand panel under the Post settings. Set a future date and time and WordPress will automatically publish it when that moment arrives. If you accidentally set a date in the past, it will publish and backdate the post - occasionally helpful, but usually not what you want.

Before you finalize anything, give the post one last review. Check for typos, broken links, misaligned images, missing alt text and confirm your metadata is complete. Then hit Schedule (or Publish) and you're done.
WordPress gives you an enormous amount of flexibility. If you find something isn't working the way you'd like, there's almost always a plugin that addresses it. In 2026, the plugin ecosystem is more robust than ever - and increasingly, AI-powered plugins are available for everything from automated SEO suggestions to content optimization and readability scoring. Just be selective: too many plugins can slow your site down and, in worst cases, introduce security vulnerabilities. As many as 15,000 WordPress websites were being hacked as recently as 2023, so keeping your plugins updated and your installation lean is not something to take lightly.

1 response
Thoughtful replies only - we moderate for spam, AI slop, and off-topic rants.
Great article about blogging. This is very helpful. I have been blogging about fashion for my Apparel Search website for many years, but have not received much traction for the efforts. Hopefully your suggestions will be of help. Even though I post often and I think with helpful information for people interesting in clothing, I don t seem to gain any followers. After several years, I have people reading the blogs, but no followers and not many people posting comments. Rather frustrating, but I will continue my efforts. Anyway, thank you for your post and hopefully it helps me and others improve our blogging.