


Key Takeaways
- Adding an embed code to your infographic page makes sharing frictionless, helping it spread and earn backlinks automatically.
- Prepare two PNG versions: a 1,800px full-resolution file and a 600px teaser version linked to the full image.
- Free embed code generators like Siege Media automate the process, requiring no coding knowledge from the creator.
- Each embed includes your site name and URL, generating a visible credit line and a backlink every time someone embeds it.
- In WordPress, paste embed code in the HTML editor and avoid switching back to Visual editor, or use a Custom HTML block.
Every year, data is churned out by companies who conduct surveys to measure user engagement with websites and social media. One stat that continues to hold strong: 80% of marketers report using visual assets when marketing on social media.
And it's easy to see why. Tweets that include images receive 150% more retweets, 89% more likes, and 18% more click-throughs than the ones without. Visual content basically performs better across the board.
When done well, an infographic combines stylistic design, concrete images, and informative or entertaining statistics - a perfect learning combination for the brain. People remember stats they see visualized quite a bit better than stats they read as plain text, and they're far more likely to share them on social media and their own websites.
You already know that though, because you already spent the time and resources to develop a great infographic. Right?
That's why you're here. You've got an awesome infographic, one that should be spreading across LinkedIn, Pinterest, Instagram, and every other social network like a wildfire.
Maybe it has some traction and a few shares. But not the level of engagement you think it deserves.
Have you added an embed code to your infographic page? Probably not.
It's a shame, because that's one of the best ways to get the thing out there quickly.
Embed Codes
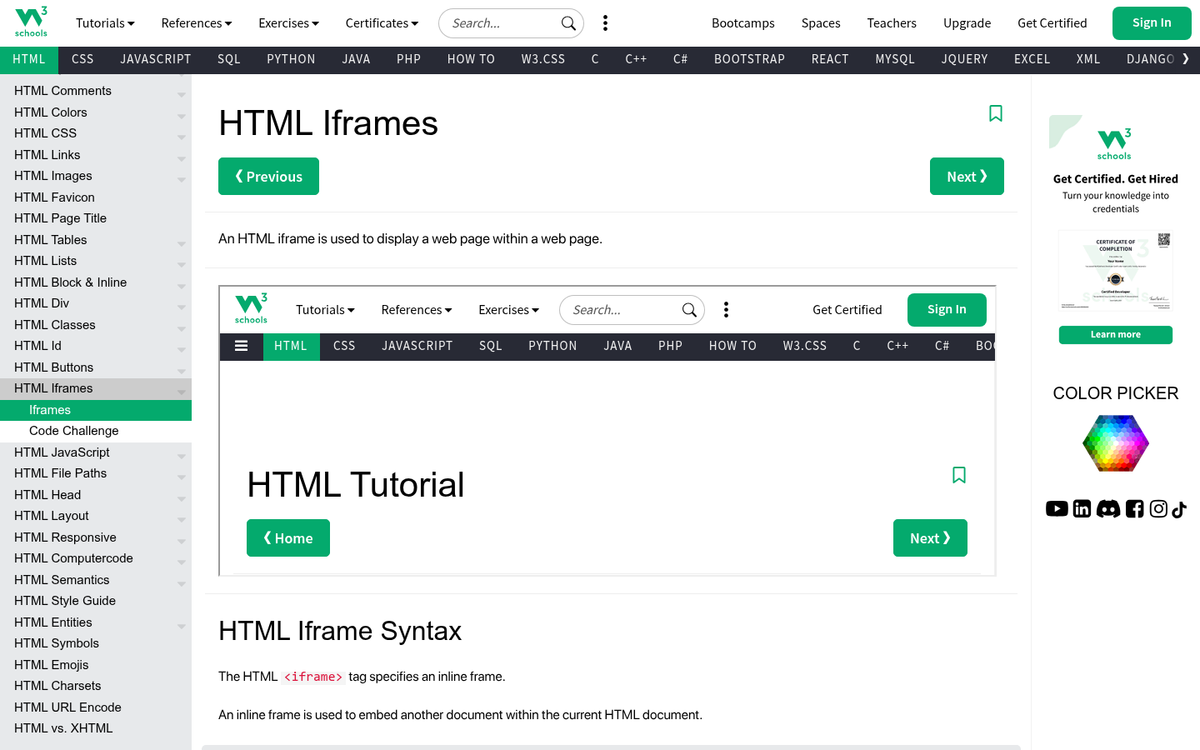
For those that don't know, an embed code is a precise string of code that lets images or videos show up on a web page.
The code employed (in most cases) is written in HTML and can be inserted into the back-end of your website. The following examples will be based on the assumption that you use WordPress. But embed codes can be added to most content management systems.
There are two ways to get media to show up on your website:
- Upload the media. When you want to put your own image, video, or infographic on your own website, you usually upload it. This puts it on your server and creates a file for it in your website's database.
- Embed the media. This allows you to take media from other places - like YouTube, another website, or even an AI-generated asset hosted elsewhere - and place it on your own. Typically, embed codes include links back to the original source, and may carry certain stylistic elements from that source, like YouTube's video player box.
Embed codes also have two sets of pixel dimensions included in the HTML code: width and height. These are adjustable, affect the size of the image or video, and can be changed when you place them in your website.
The beauty of embed codes is that they have been optimized and made largely universal. Everyone wants you to share their media, so the tools for doing so have been made accessible.
If you're looking for embed codes for media, you'll find them under the "..." (ellipses) icon, or represented by the symbols: "< >". For example, embedding Pinterest boards follows this same straightforward process.
Click that and you'll get a string of code that can be copied and pasted right into your website.
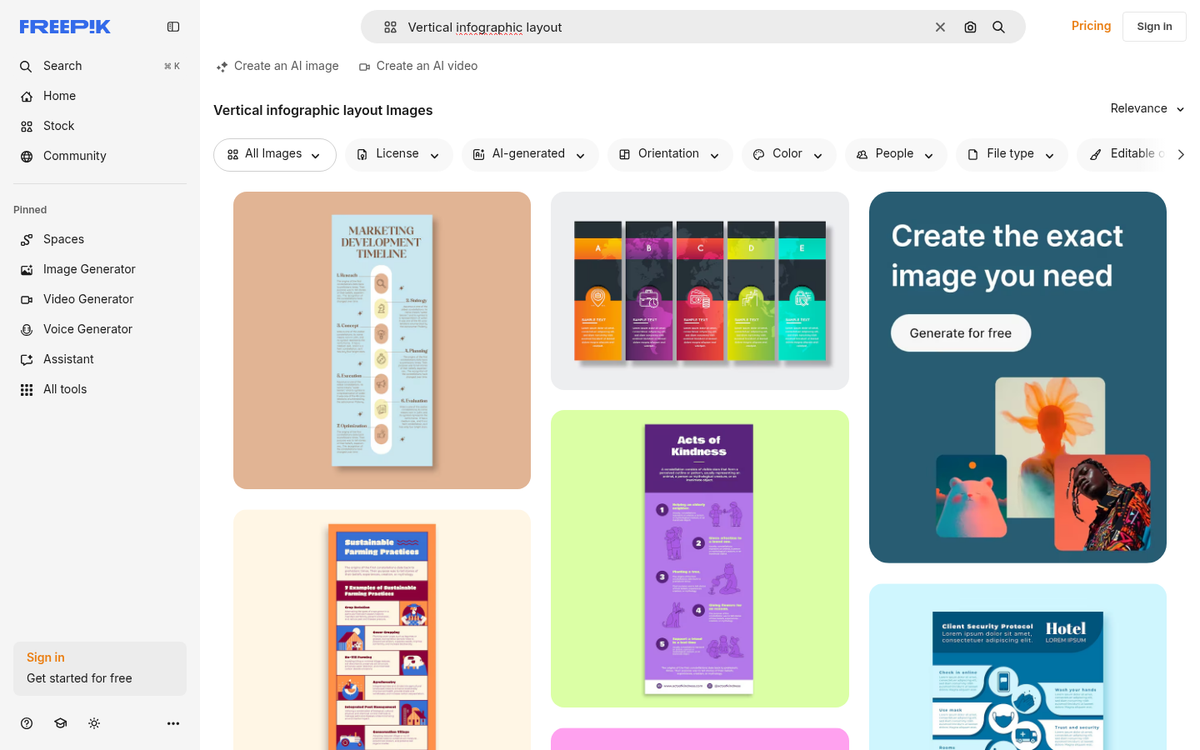
Preparing Your Infographic Files
Before you start adding embed codes, it's worth getting your infographic files set up correctly. Best practice in 2026 recommends creating two versions of your infographic in .png format:
- A "full" version at 1,800 pixels wide - this is the high-resolution version users can open and read in full detail.
- A teaser version no larger than 600 pixels wide - this is what gets embedded in your post and fits cleanly within most web page content areas.
The teaser version should be linked to the full version, so readers can click through to see everything - a common and recommended practice regardless of whether you're using WordPress or another CMS.
Making an Embed Code for Your Infographic
Now that you know what an embed code is, it's time to get to the point of this post - making one for your infographic.
You're in luck - it's not hard. The process has been very automated by a number of free services so you, the hard-working infographic-making content creator, don't have to learn any coding at all.
Embed Code Generator
If you type "Embed Code Generator" into Google you'll find what you need. If you include the word "infographic" it gets a little more specific. But it's not necessary.

All of the tools listed below are embed code generators - free, accessible, and each slightly different in their strategy.
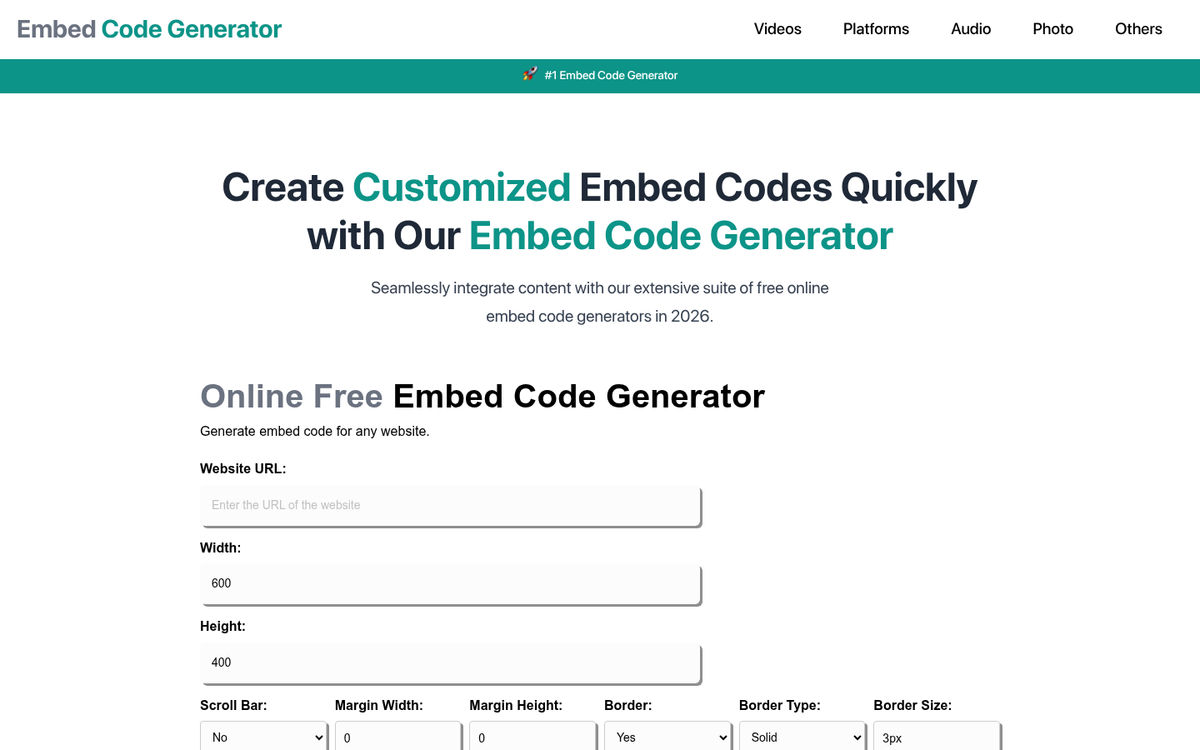
Embed Code Generator by Siege Media
One of the most well-known embed code generators is by Siege Media.
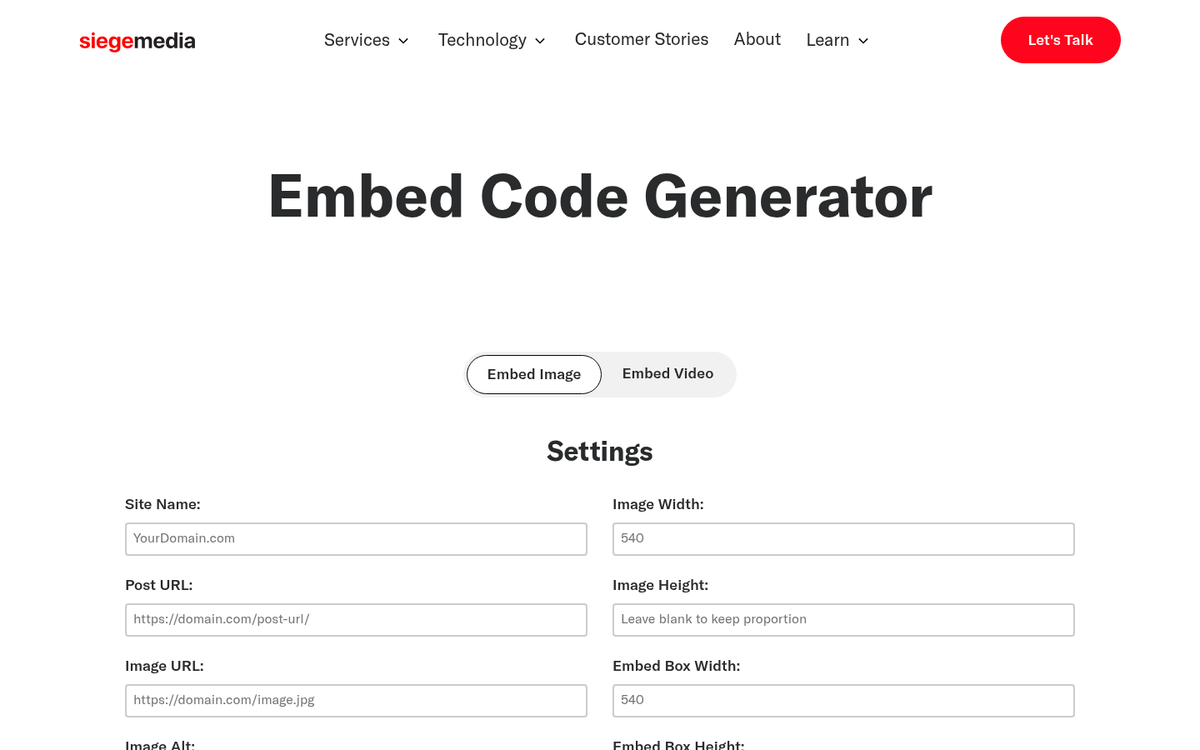
When you head to the site you'll see it takes you right to the code generator, with a series of fields to fill in. These fields are used to generate your embed code, which appears in the box titled "Use This Code."
Below I'll detail each of the fields, as most of them are applicable to other content idea generators as well.
Site Name
The directions here are easy: enter your site's name in this field.
It's worth knowing the purpose behind this. When someone uses the embed code you've created, it will automatically say, "This infographic was brought to you by YourWebsite.com" - giving you visible credit and counting as a backlink.

It also means that your site name can become the anchor text for your embed code. Anchor text is the literal text that supports a hyperlink, and it's something Google tracks when looking at whether links are relevant. Google looks at several signals when evaluating your site's authority.
A practice that was common years ago was to use keyword-rich anchor text instead of your site name - just to give you an example, entering "weight loss" instead of "losingitall.com." Google has long since penalized this, as it's considered manipulative. Stick to your site name.
Part of the reason Siege Media's embed code generator remains popular is because it guides creators toward following best practices without requiring them to know the nuance behind it. This matters especially if you're wondering whether infographics are still valuable for building backlinks in today's SEO landscape.
Post URL
When you create a new infographic, you usually create a new post in WordPress to accompany it - explaining how it was created, why, and what conclusions you've drawn from it.

That post should have its own URL. Put that URL in this field.
For SEO purposes, it's best to include the name of your infographic as the title of the post so the URL, post title, and infographic all share the same optimized keyword structure. This follows Google's recommended URL structure best practices for helping search engines understand your content.
Image URL
Every time you upload an image to WordPress, it gives you a URL for that image - that's the URL you'll enter here.
Most websites never link directly to this URL. But for infographics it matters. Since infographics are usually too small to read at their embedded size, you'll want to link the teaser version to your full 1,800px version. If you need a place to store these large files, check out some reliable websites to host your blog images for free.
In WordPress, go into the post, open Image Details, and set the image to "Link To Media File." Also choose "Open Link in New Tab" so the original page stays open when a user clicks through.
This gives your readers a high-resolution version to read at leisure, and provides the Image URL needed for this field. Keep in mind that sizing your images correctly is also important if you plan to share infographics on Pinterest.
Image Alt
The Image Alt field should have the name of your infographic, ideally with keyword optimization in mind.
You'll also want to fill in the Image Alt field in your WordPress Image Details - this helps Google index and rank your image, contributing to better search visibility.
Width of Image
This is a pixel value that determines how wide your embedded infographic appears on another website. Anyone who embeds it can adjust this on their end, so don't overthink it.

600px is the standard recommendation - it fits cleanly within most web page content areas and goes hand in hand with the teaser version you've already prepared.
Height of Image

Because infographics are usually very tall, Siege Media's generator recommends leaving this field empty - and that's good advice. Setting a fixed height risks cutting off your infographic, which you don't want.
Embed Box Width
This controls the width of the embed code box that will appear on your page - the one visitors will use to grab the code and share your infographic.

Keep it at or slightly narrower than your infographic width. If your infographic is 600px wide, set the embed box to around 540px. You can preview the result live on the Siege Media site.
Embed Box Height
This controls the height of that same embed code box. Keep it thin - around 100px is the standard recommendation. Again, preview it on the Siege Media site to see how it looks in context.
Other Embed Code Generators
There's no strong reason not to use Siege Media - it's free, well-maintained, and the process is easy. However, there are other options.
OctaTools

This embed code generator has a more playful look and functions almost identically to Siege Media. If you look at the HTML output, you'll see OctaTools can add color styling to the embed box, which gives it a slightly different appearance. Go with whichever visual fits your site.
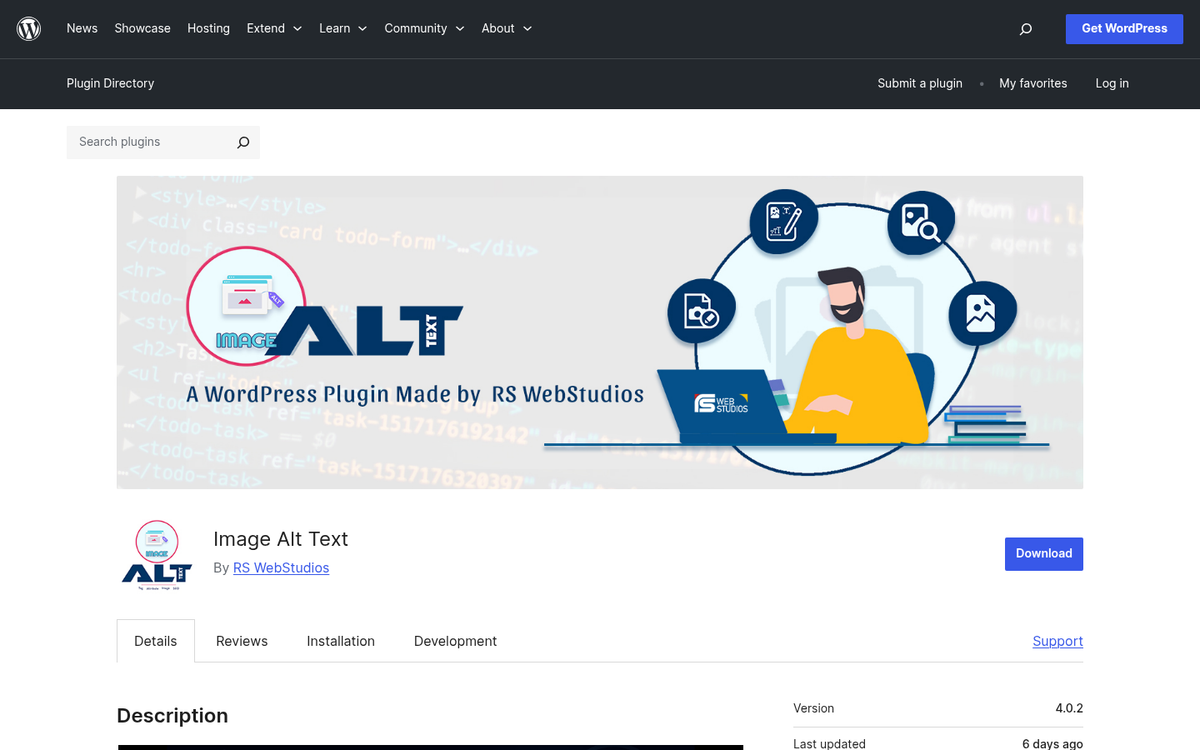
Embed Code Generator WordPress Plugin
For WordPress users, there's a dedicated Embed Code Generator plugin - it was one of the earlier tools built specifically for embedding infographics and remains functional. However, it has not seen active development in years, so compatibility with newer versions of WordPress may vary.

If it works with your latest setup, the convenience of having the generator built directly into your WordPress dashboard is a great touch - no toggling between tabs.
Building Your Own with AI
One development worth mentioning in 2026 is that AI tools have made it easier than ever to generate embed code manually. If you describe your infographic setup to a tool like ChatGPT, Claude, or similar, it can generate a clean, customized embed code snippet in seconds - with more flexibility than the form-based generators above. It's worth exploring if you need something more customized or if the dedicated generators don't quite meet your preferences. If you're using infographics as part of a broader strategy, you may also want to look at ways to build free backlinks to your blog posts.
Embed Placement
Once you have your embed code, it's time to place it in your post.
Remember, you'll already have uploaded the teaser version of your infographic as an image - now you're adding the embed code box, which makes it easy for other site owners to share your infographic on their own pages.
To do this in WordPress, go into the post, switch from the Visual (block) editor to the HTML or Text editor, and paste your embed code either directly above or directly below the infographic.
Placing it above means visitors don't have to scroll to find it. Placing it below looks cleaner. Either works - just make sure it's immediately adjacent to the infographic so it's easy to find.
Save and preview the post. You should see a box containing HTML code that visitors can copy and paste to embed your infographic on their own sites.
That's it!
Troubleshooting
One common issue: if you paste your embed code in the HTML editor and then toggle back to the Visual editor in WordPress, the code may be stripped out.
This is a longstanding WordPress behavior. After pasting your embed code, preview and publish without switching back to the Visual editor and you'll be fine. If you're using the Block Editor (Gutenberg), you can use a Custom HTML block to paste your embed code - this avoids the issue entirely.
Get That Backlink
The whole point of placing a clean embed code next to your infographic is to make sharing it as frictionless as possible.
The embed code lets anyone with a website display your entire infographic on their own pages, and with the links built into the code, you'll earn a backlink every time someone does.
Those backlinks accumulate over time, which helps with your site's authority and rankings in Google - which ultimately drives more traffic back to you.
Pair this with making your infographic shareable on social media directly from the post, and you've given your content every possible path to spread far and wide.